
Building on a Budget (with Hrothgorn’s Mantrappers)
It’s that time again! We’re back with yet another Building on a Budget article, this time focussing on the big man himself, [Hrothgorn]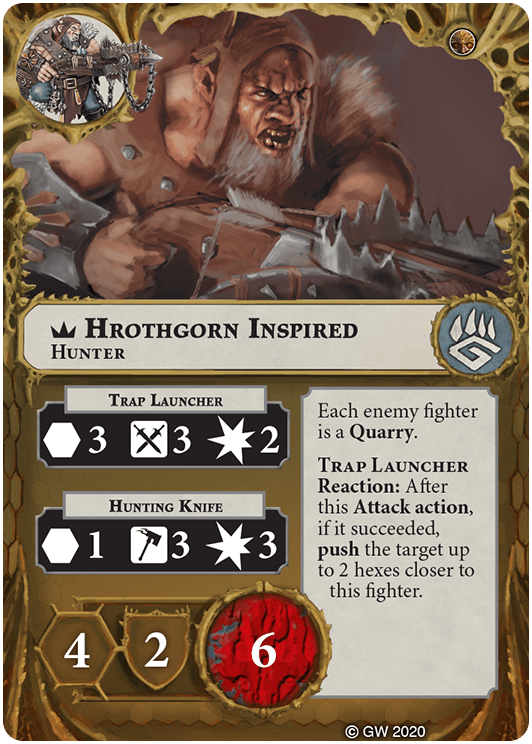 and his Mantrappers. If you’re new to the series, this is part of a collection of articles designed to get you into the more competitive aspect of Warhammer Underworlds, the Championship Format, without breaking the bank or requiring every available card. As always, these are not intended to be T1 tournament decks, but rather a solid base which will enable you to play with and against other meta decks without feeling completely overwhelmed, and give you a great start in the Underworlds competitive scene.
With the Mantrappers, we’re back to another aggressive warband. Whereas previously we used good, basic aggressive cards to get the job done, the unique keyword abilities that Hrothgorn possesses mean we take a slightly different approach than we would with say, [Morgok's Krushas]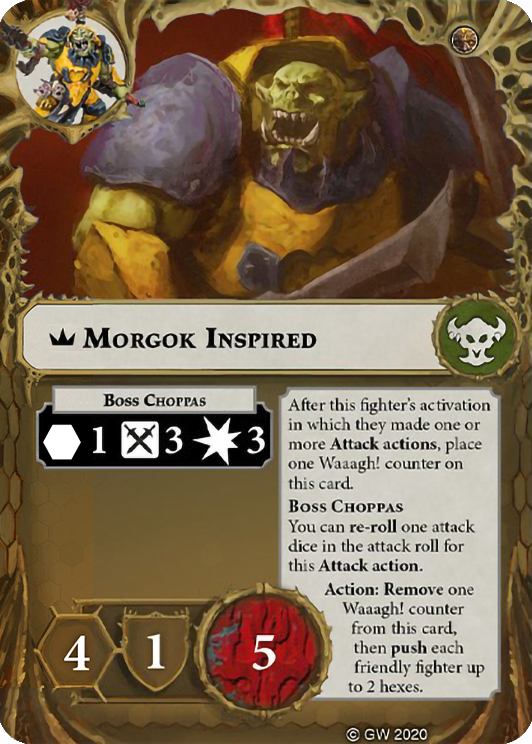 .
.
Out of the Box
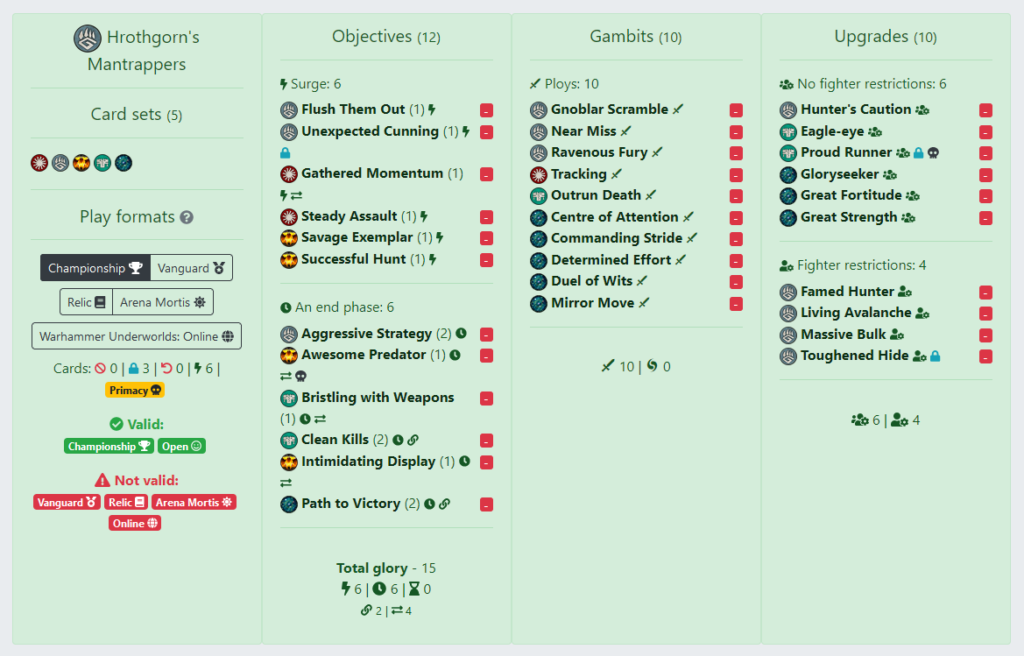
Adding all 32 faction cards from the warband to our deck gives us the following:
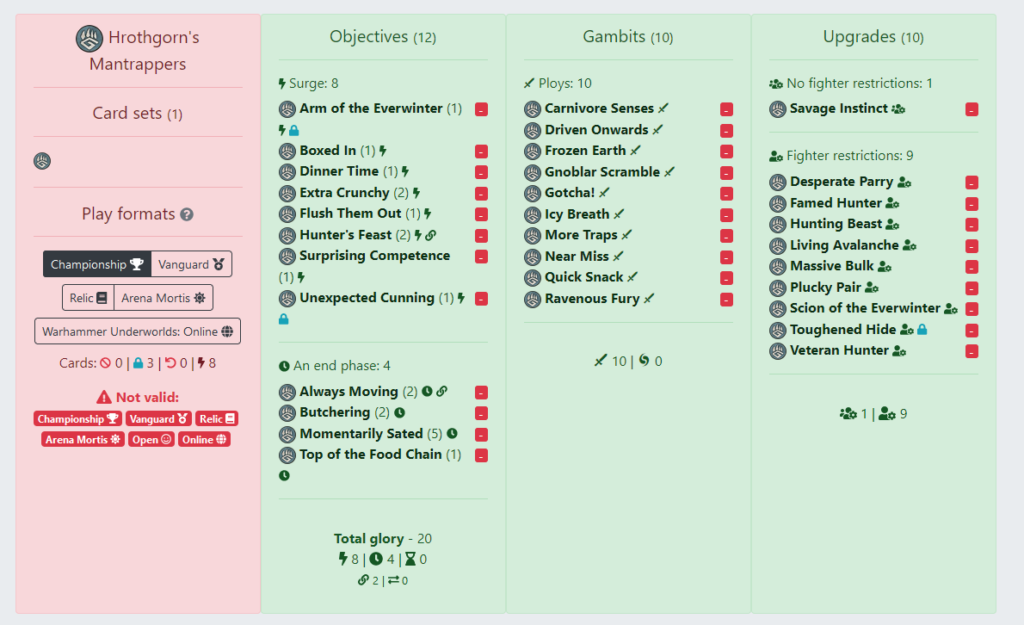
An important note about this warband is that out of the box, the included faction only deck is not Championship legal due to having 8 surges. Not to worry, we’ll fix that in our next section.
Shopping Time
As with all of our Building on a Budget series, we’re going to assume that you have access to the following items:
- Direchasm core set
- Essentials card pack (skip this if you are a returning Shadespire / Nightvault player as you will own most of the cards already)
In addition to these, we are going to be adding two other warbands to our shopping list – one from Beastgrave, and one from Direchasm. These are Rippa’s Snarlfangs and The Starblood Stalkers. These two warbands contain a lot of very useful cards that support our Hunter-based aggressive playstyle.
A note on the Championship Format rotation
As of the writing of this article (mid July 2021), we’re heading towards the twilight months of the current Beastgrave/Direchasm season of the Championship format. What does this mean? It means that at the end of the season (heralded by the release of the starter set for the new season), all Beastgrave universal cards will rotate out of play, and will no longer be legal in the Championship format. As such, the universal cards we’re recommending below from the Rippa’s Snarlfangs expansion will only be useable until that rotation date (which was December for the release of Direchasm, but historically has been around late September). Note that all Beastgrave warbands, and indeed every warband that has been released since the very first Warhammer Underworlds boxed set, will always be legal (and that includes their faction-specific cards, unless banned or restricted in the future).
As a result, where we have recommended universal cards from a warband expansion that will rotate out (both here and in the “potential purchases” section), it’s important you understand that you will only get a limited amount of playtime with those universal cards, and they will not be useable in the Championship format again unless they are reprinted in a future set. As such, where we’ve chosen Beastgrave cards, we’ll give you an alternative card that is printed in either a permanent set (such as the Essential Cards Pack) or an alternative Direchasm season card (including those printed in the Silent Menace deck). If you are a fan of the playstyle, aesthetics or models of any of the previous Warhammer Underworlds warbands, and are interested in them despite their universal cards rotating, then I highly recommend you pick up a copy before they exit widespread circulation.
Evaluating Objectives
Surge Objectives
Let’s take a look at the faction objectives, starting with the surges. As mentioned above, we have 8 available to consider.
- [Replace] [
 Arm of the Everwinter]
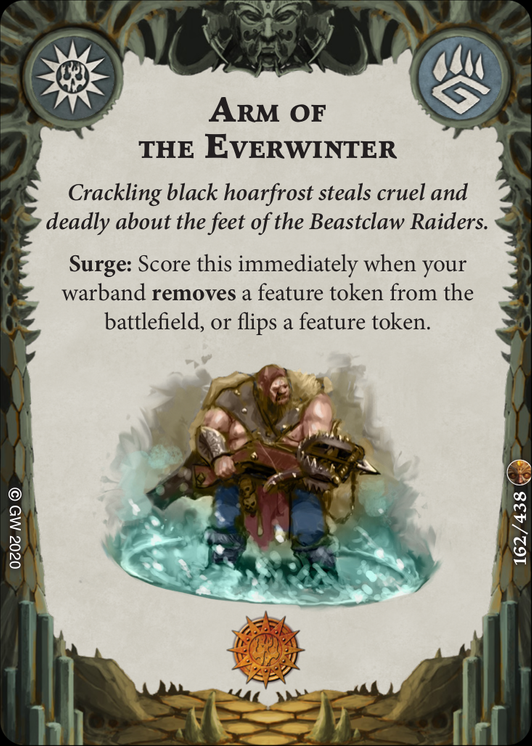 – This is an excellent surge for the other major playstyle for Hrothgorn, which is decks that focus on flipping objectives to score cards such as [Feed the Beastgrave]
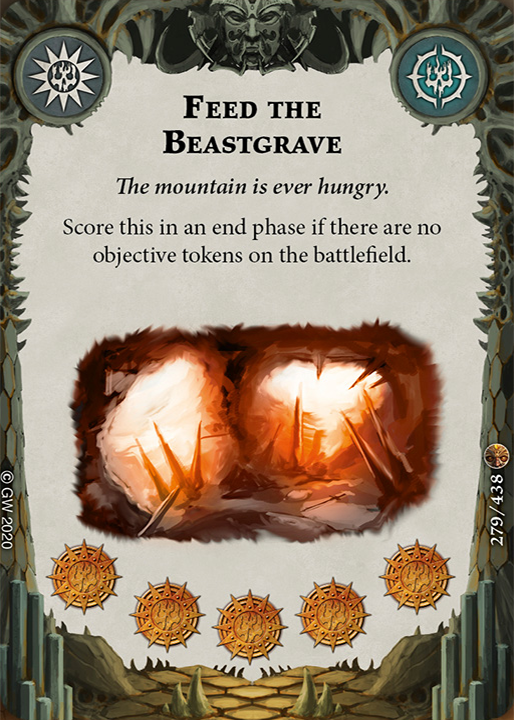 . As that playstyle requires a lot of card support (and thus buying more warbands), we’ve opted to go for a simpler aggressive approach, so we’ll pass on this one.
 - [Replace] [Boxed In]
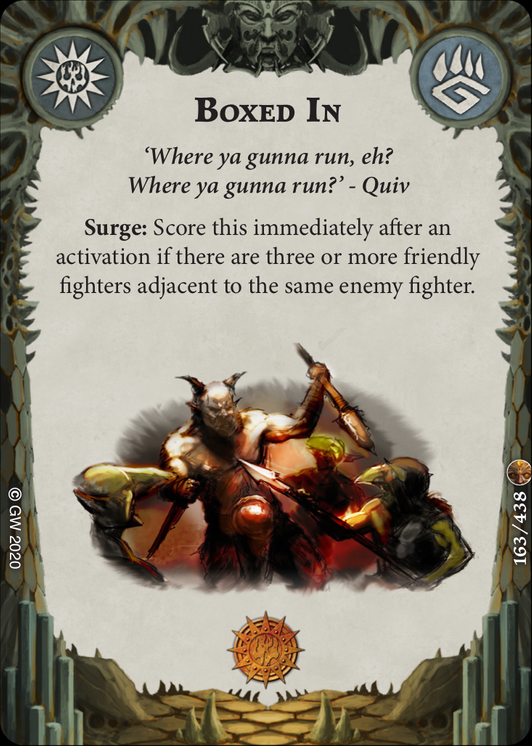 – This is just a worse [Impending Doom]
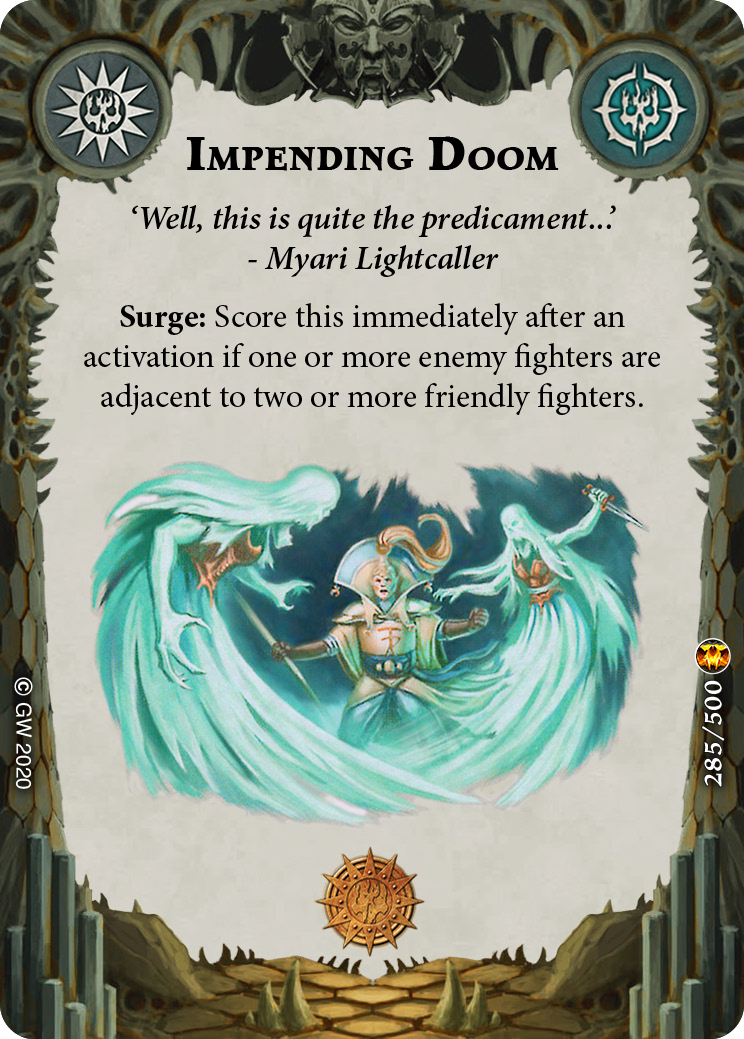 . While this is technically possible to do with [
 Gnoblar Scramble]
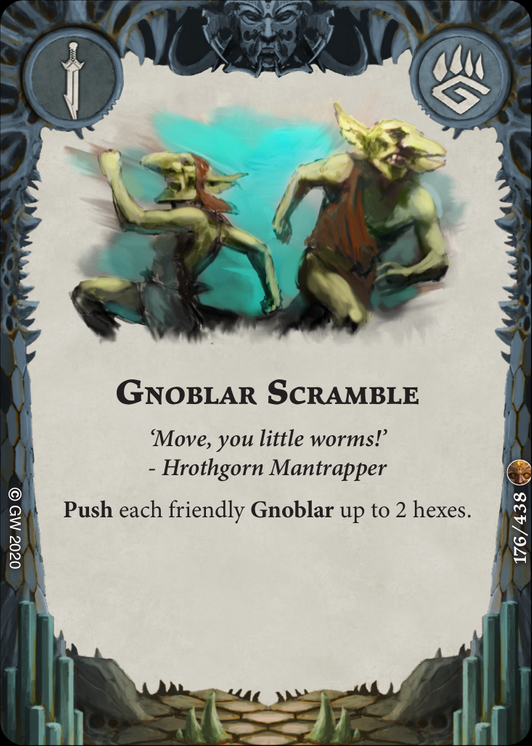 or Hrothgorn’s trap launcher, it’s too situational and requires a lot of setup to achieve. Pass.
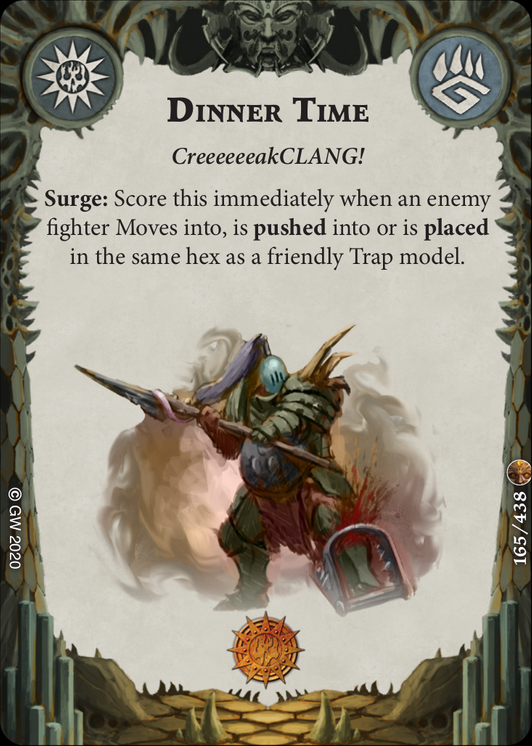
 - [Replace] [Dinner Time]
 – This objective requires you to use [Bushwakka]
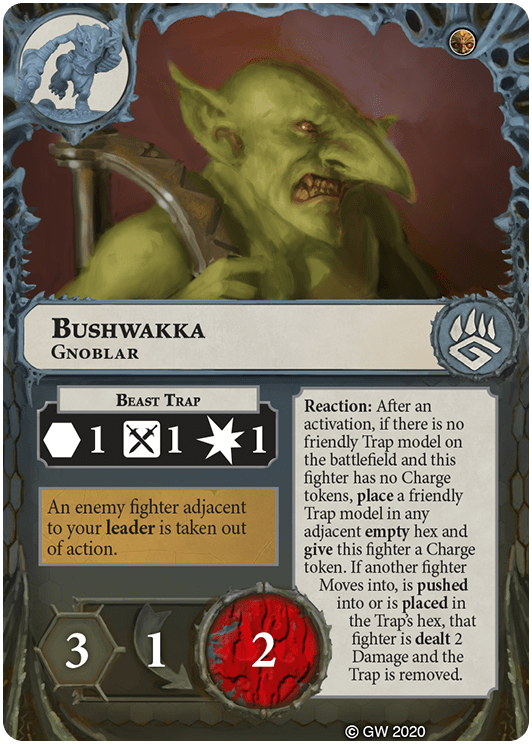 fairly aggressively in order to place the trap close to another fighter, and then either use Hrothgorn or push cards to ensure they land in the trap. Again, while it may go off in some games, more often than not, Bushwakka will die to an enemy fighter before you can get this combo off, and once the trap is down your opponents will generally steer clear of it anyway, so its more of a deterrent than an active participant. Just too difficult to consistently score.
 - [Replace] [Extra Crunchy]
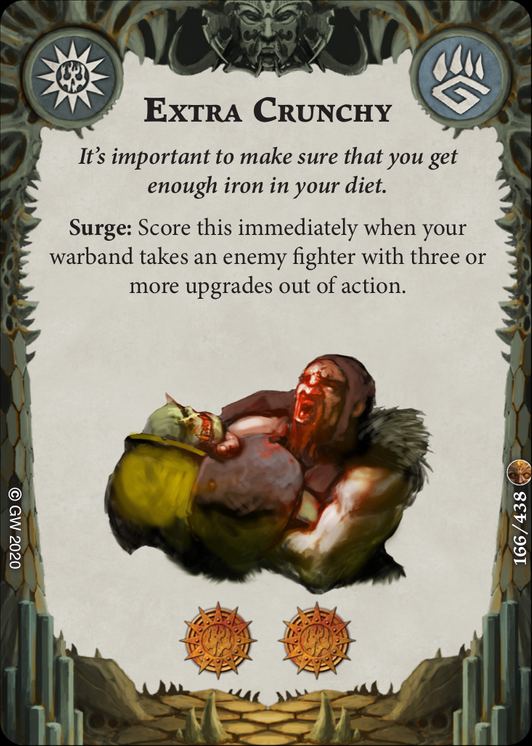 – Whenever a surge is worth 2 glory, it’s generally worth taking the time to investigate whether there is any possibility of consistently scoring it. In this case, while the conditions to score the card aren’t extremely onerous, they are just inconsistent enough that you may not be able to score it when you need to. As we’ll see further down, some of our end phase objectives rely on us consistently scoring our surges, and the extra glory doesn’t make up for the situational nature of the scoring window.
 - [Flush Them Out]
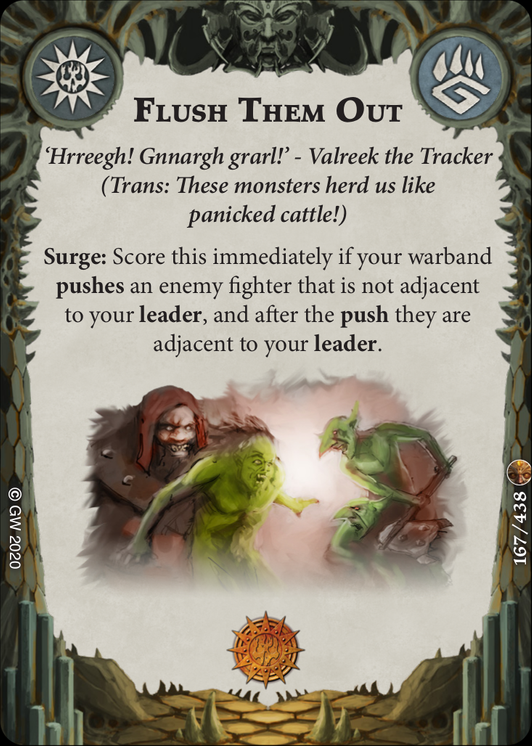 – A nice surge that rewards us for simply positioning well, this can be scored in a number of ways. Firstly, by using Hrothgorn’s trap launcher to pull an enemy fighter in (which gets even easier when he inspires), or by using power cards which push enemy fighters. As a result, you can essentially guarantee this condition as long as you hold up one of your power cards to enable the push, which usually will lead into an adjacent attack by Hrothgorn anyway. If you get lucky with the trap launcher attack early, then that’s just a bonus.
 - [Replace] [Hunter’s Feast]
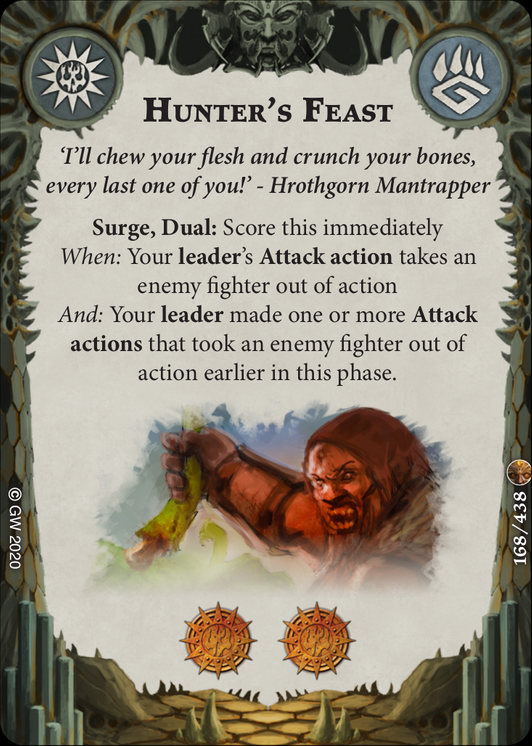 – Another 2 glory surge?!?! Once again, while on paper it is overall quite doable – our entire gameplan revolves around Hrothgorn killing enemy fighters after all – the devil is in the details here. Requiring Hrothgorn specifically to kill two in a single phase means that there are more situations that could brick this card than any other kill surge we might take, and it forces you to go out of your way to attack with Hrothgorn, which may limit your flexibility to use [Thrafnir]
 aggressively. If you are feeling particularly lucky about your dice rolls or just enjoy scoring 2 glory off of a surge, then you could feasibly takes this.
 - [Replace] [Surprising Competence]
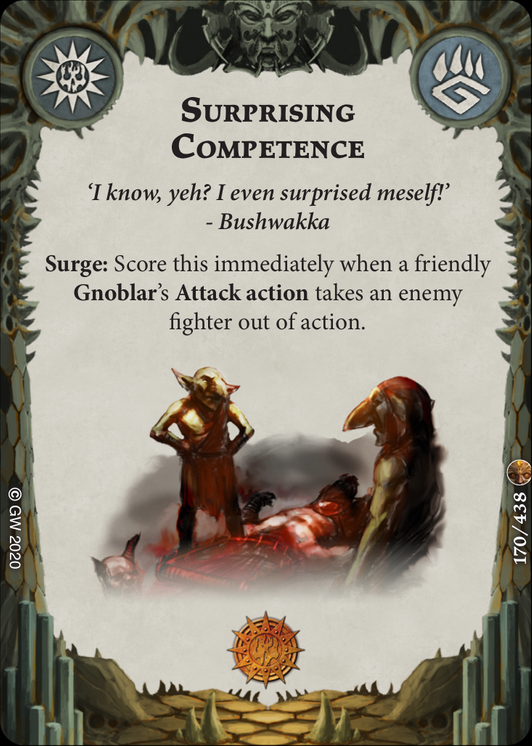 – No, just no. Your Gnoblars have, for the most part, one job – that is to sit on objectives, scoring objective cards for you and denying your opponent cards such as [Dominant Position]
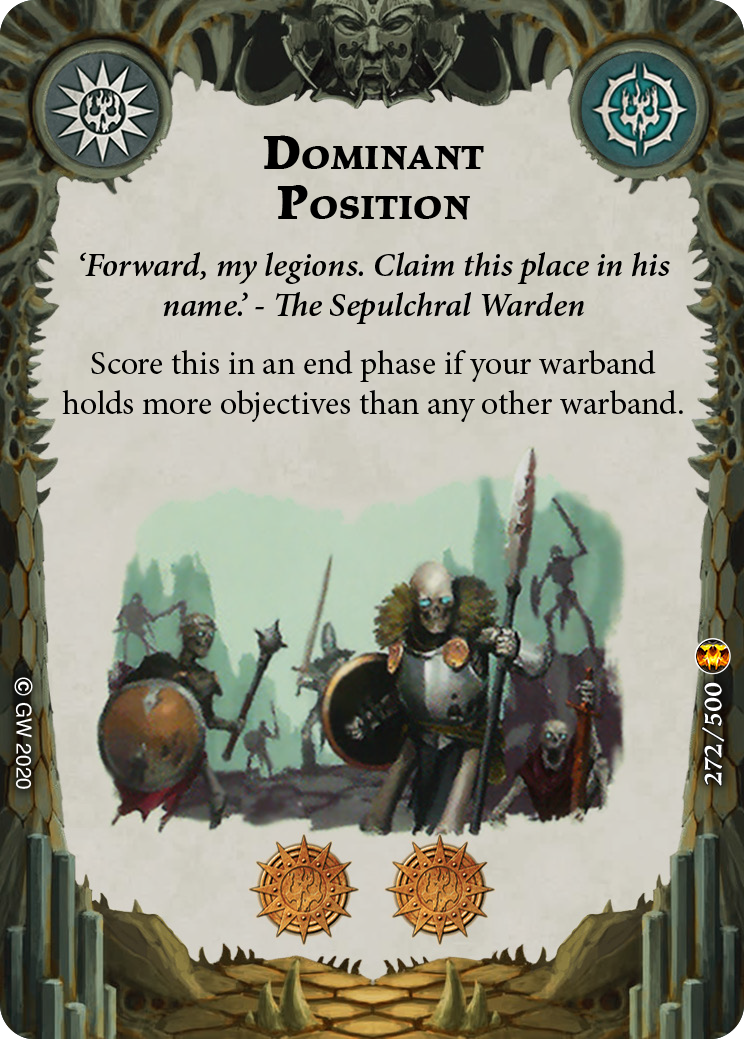 , while giving up as little Primacy as they can. This card relies on you using them aggressively and relying on low damage, low accuracy attacks to score. While there are very, very rare cases where you may get a kill (in a recent game against regular sparring partner Kent, [Luggit and Thwak]
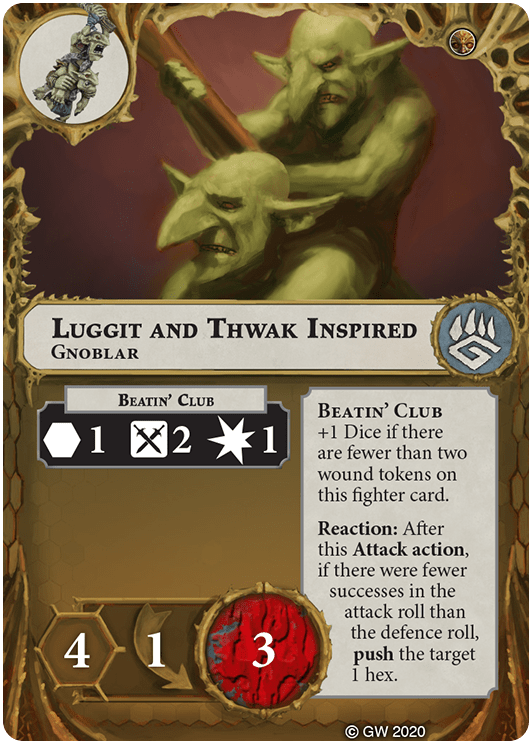 managed to kill an inspired [Grodrig the Lance]
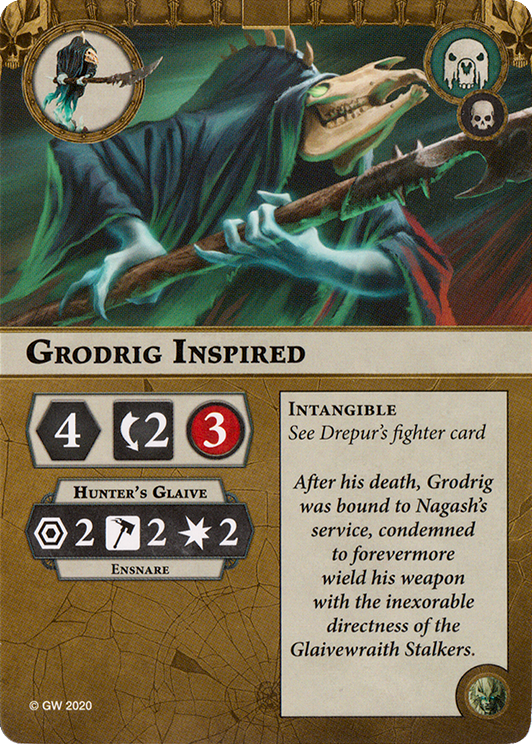 , much to his horror and my delight), it is absolutely not something that should be relied on, especially for a surge.
 - [Unexpected Cunning]
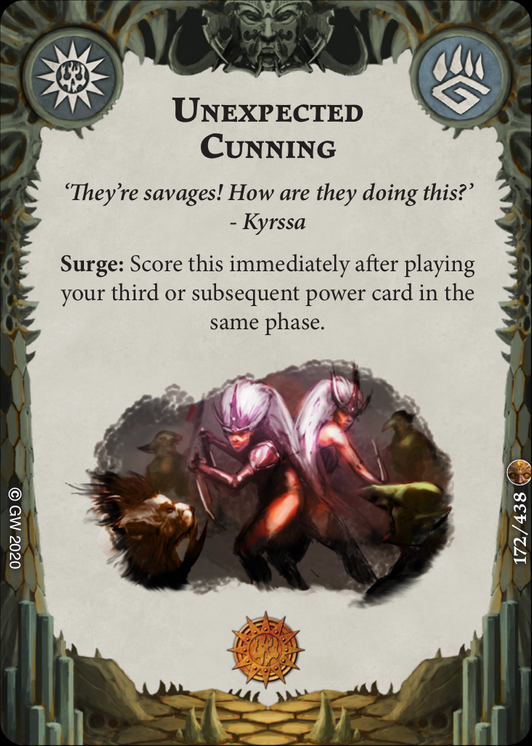 – Wow. This may be one of the best surges in the game, and as such is rightly restricted. This card rewards you for just playing the game, and is nowhere near as onerous as [Frantic Exchange]
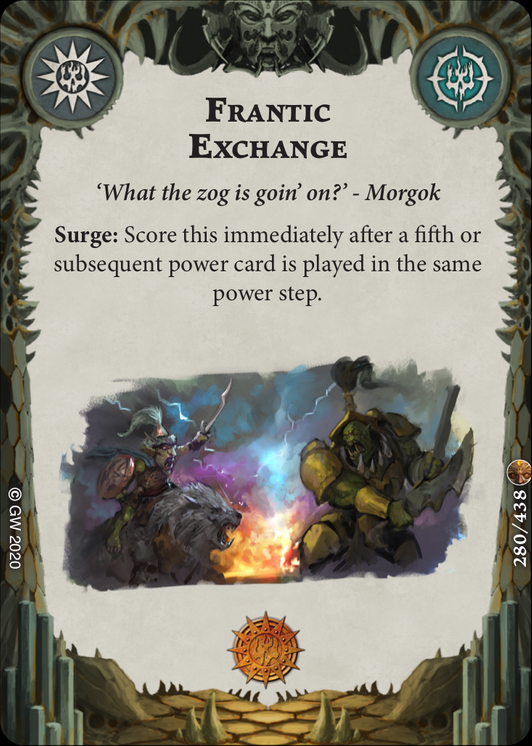 or even [Malevolent Exploits]
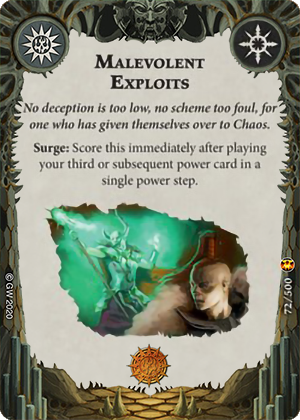 to score, as you can do it throughout an entire phase.
Out of the 8 available surges, we’re only keeping 2. Time to put in some replacements:
- [Gathered Momentum]
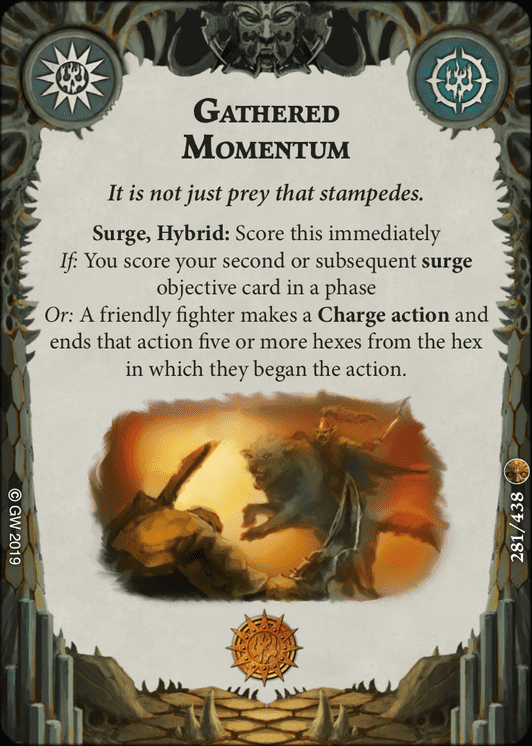 – A fantastic surge in any aggressive warband, this can be scored from activation 1 by Thrafnir. With a small amount of card support, both Hrothgorn and even the Gnoblars can score this if need be. Easy and consistent glory. A Direchasm onwards alternative would be [Winged Death]
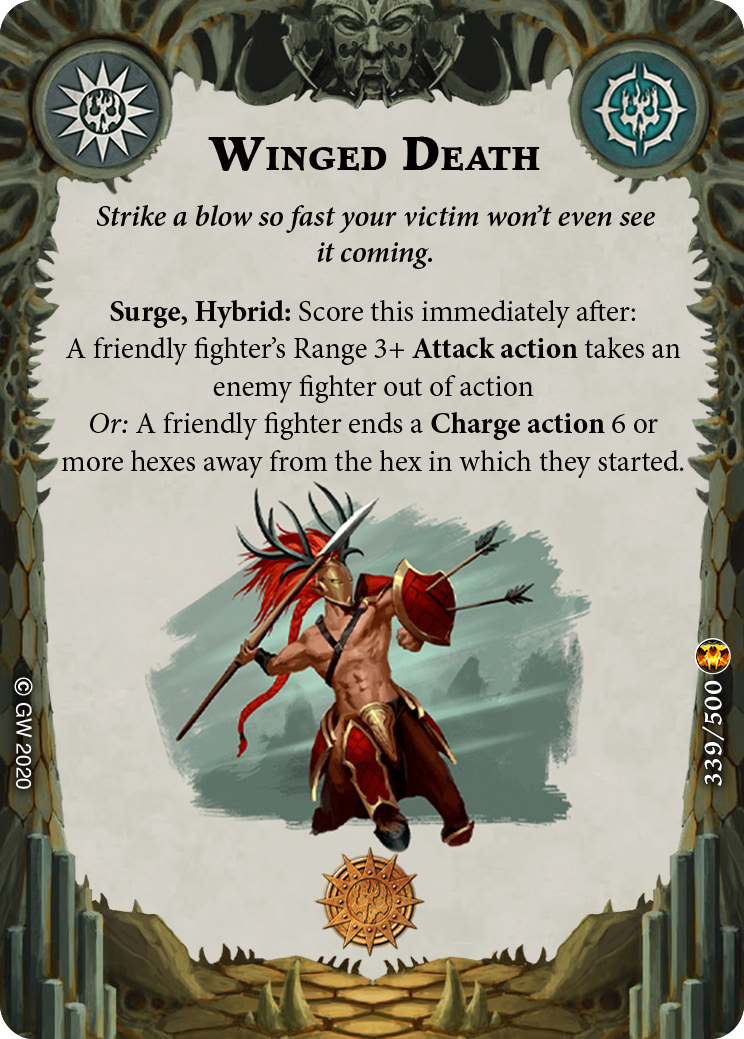 .
. - [Savage Exemplar]
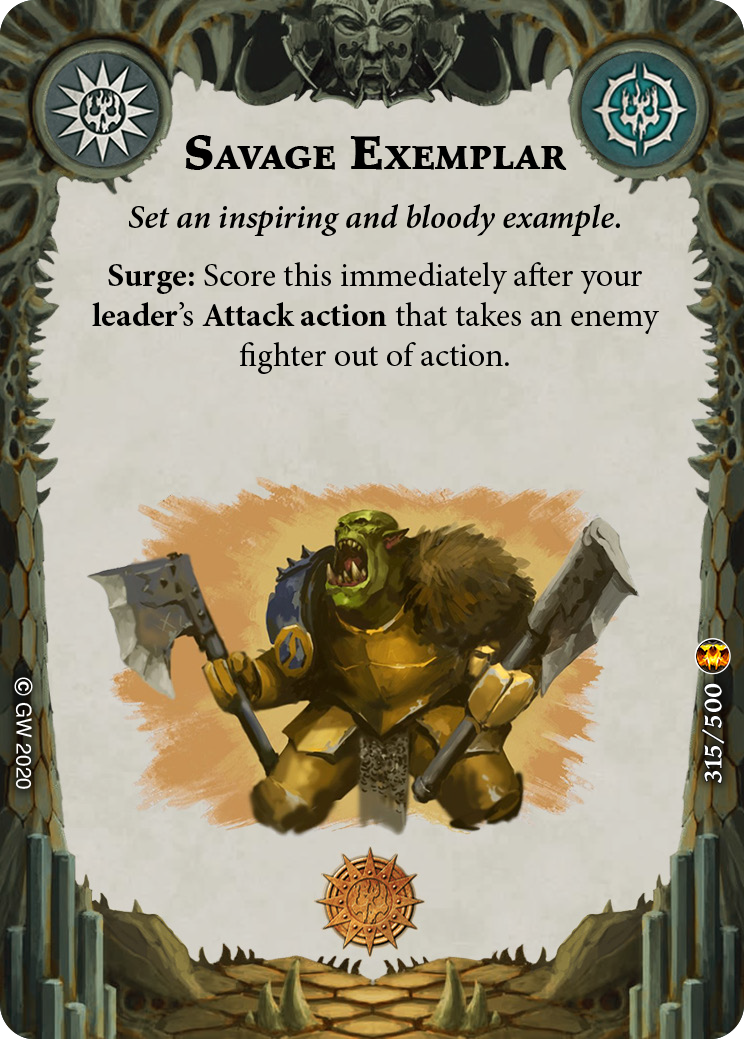 – Does what it says on the tin. We want to kill things with Hrothgorn, and this card rewards us for doing so. Slam it in!
 - [Successful Hunt]
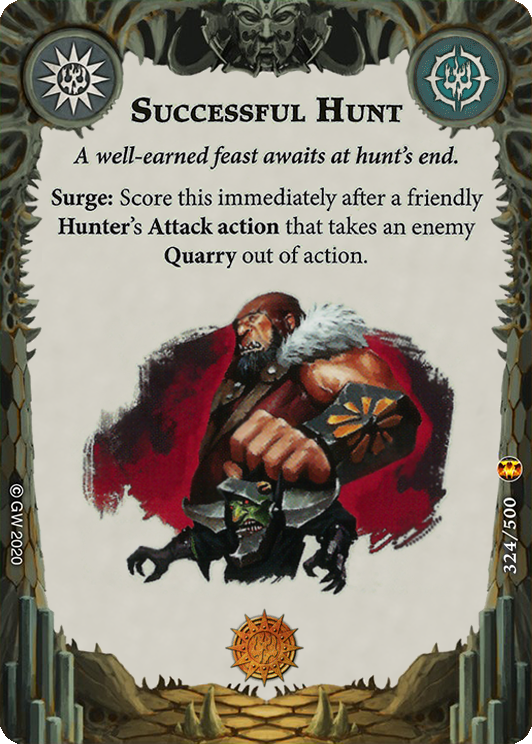 – Another card that is functionally “kill something” thanks to Hrothgorn’s fighter card ability, this has the added flexibility of being scoreable by Thrafnir as well.
 - [Steady Assault]
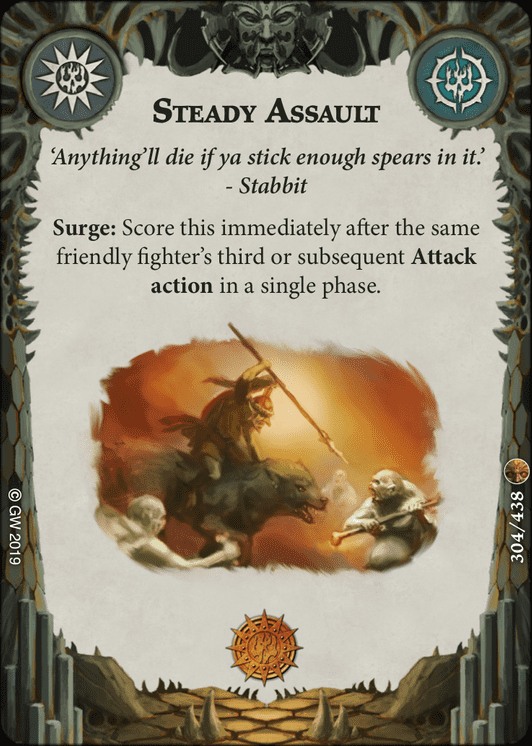 – Taking up our final and most flexible surge slot, Steady Assault rewards you for getting a lot of attacks in with Hrothgorn. It’s important to note that the attacks do not need to be successful to count for this, so failing an attack and then reacting with [Ravenous Fury]
 would count as 2 for this purpose. There are a few other cards you could consider for this slot. These include: [Surge of Aggression]
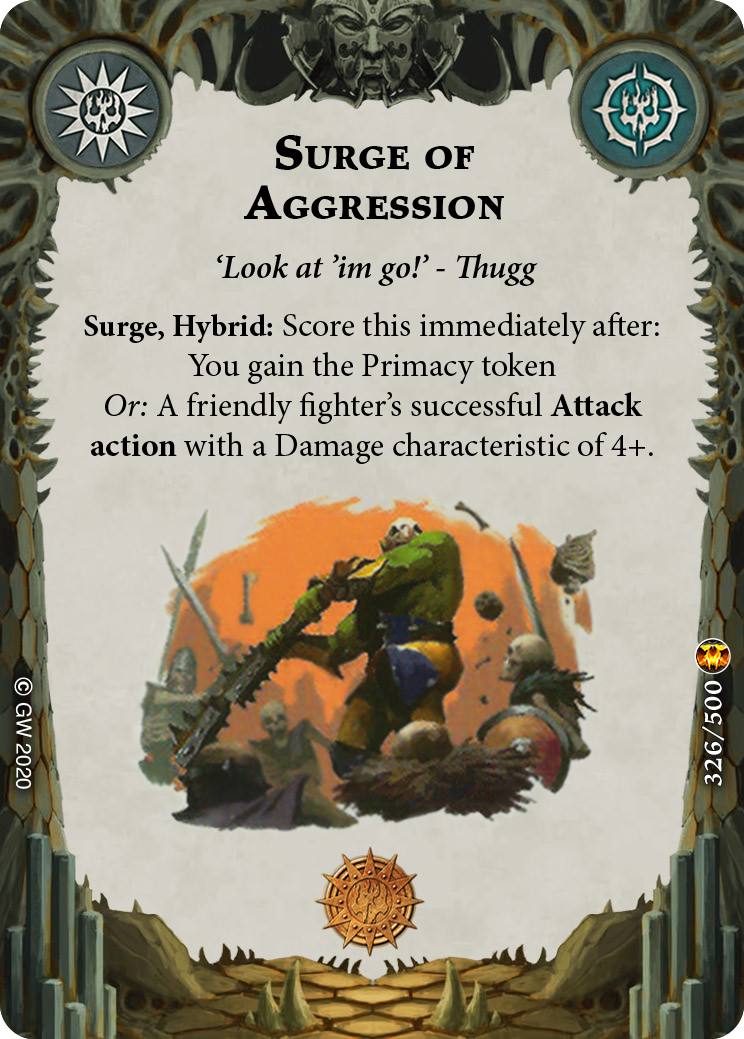 , which is scoreable by either taking Primacy or giving Hrothgorn a damage upgrade and making a successful attack, [Branching Fate]
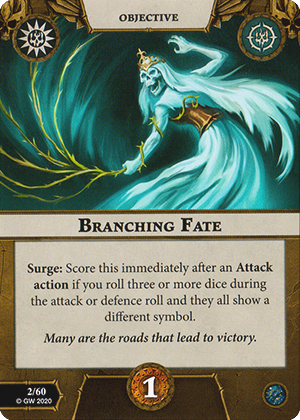 , which is scoreable by Thrafnir before inspiring and then scoreable by all fighters except Bushwakka after, and finally [Brought to Bay]
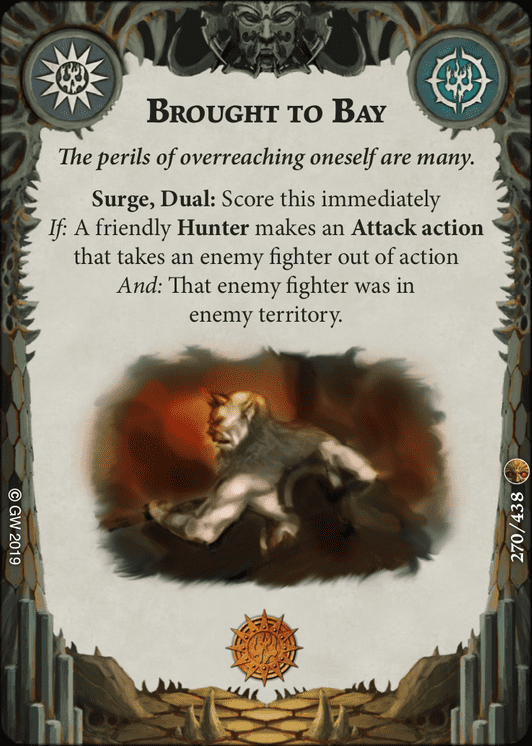 , which is another kill surge, but has the added stipulation of requiring the enemy to be within their territory. Any of these surges would be consistent enough to consider, so choose whichever one fits your playstyle the most (and keep in mind that all of them but Brought to Bay are Direchasm onwards alternatives). I could not fit the restricted slot for Surge of Aggression here, and both Branching Fate and Brought to Bay have some stipulations which may reduce your flexibility when activating (such as pushing Hrothgorn into enemy territory to get a kill). Alternatively, as we are running multiple speed gambits, you could consider [Winged Death] here, which could potentially be scored by Hrothgorn on the other condition as well.
End Phase Objectives
Keeping it short and sweet here, we only have 4 end phase objectives to evaluate:
- [Replace] [Always Moving]
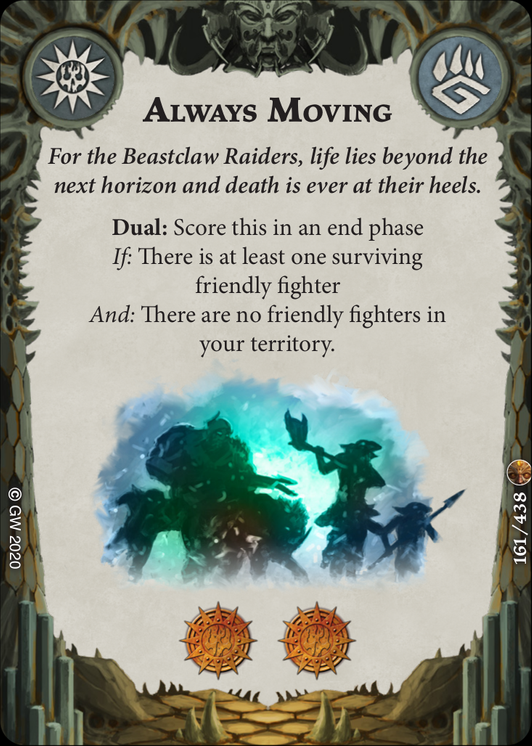 – This is a fairly solid card that is hampered by the existence of the Gnoblars and your activation economy. While there is definitely a build of this warband that leverages this card and other enemy territory cards such as [Conquest]
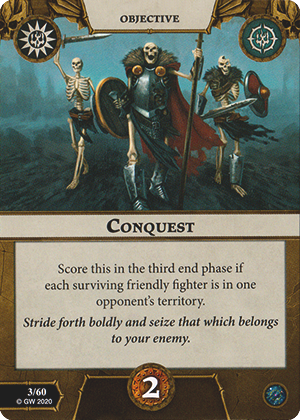 and [Proud Commander]
 , it’s just too difficult to pull off in Round 1 efficiently.
 - [Replace] [Butchering]
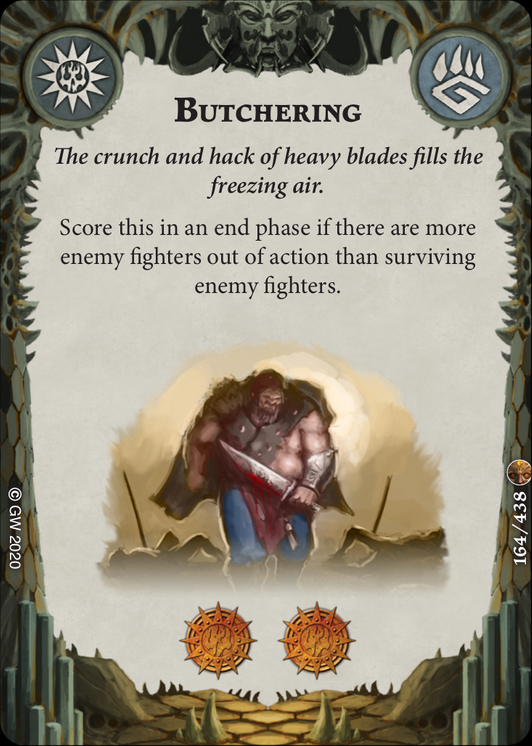 – This is a fairly onerous card for 2 glory. In general, the scoreability of this card differs greatly depending on what size warband you face (with 4 man warbands being the most onerous to score this against), and as such it’s too inconsistent when compared to other 2 glory end phase cards based around killing things.
 - [Replace] [Momentarily Sated]
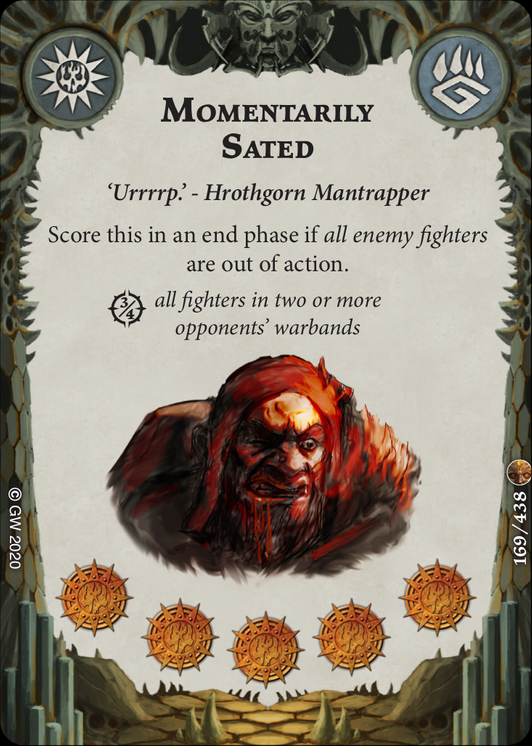 – This ain’t happening. Faction [Annihilation]
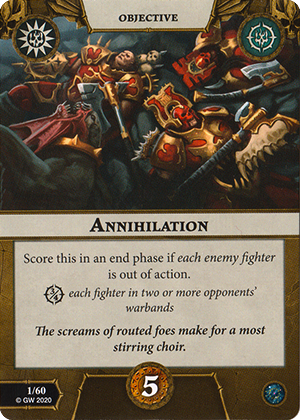 is still Annihilation.
 - [Replace] [Top of the Food Chain]
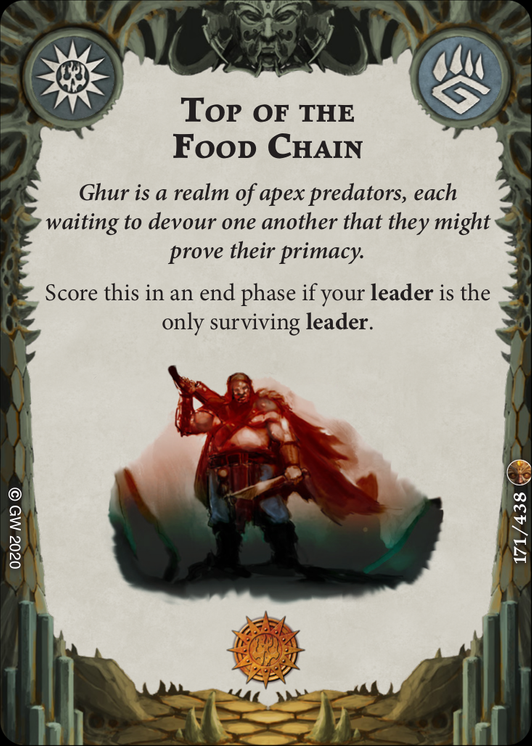 – Unfortunately this is just a worse version of other cards such as [Unassailable]
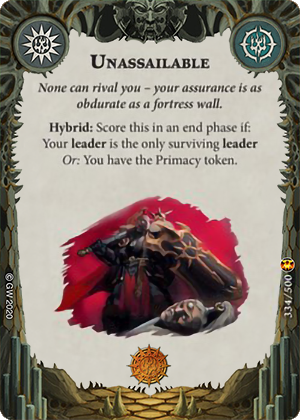 . This condition is too difficult to only be worth 1 glory. We’ll pass.
We’ve struck out on faction end phase cards. Let’s look at what we can use instead:
- [Aggressive Strategy]
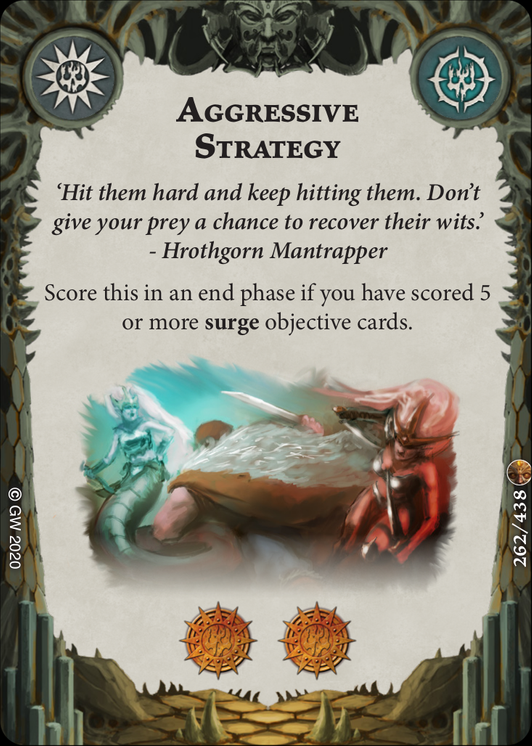 – We’ve deliberately gone for as consistent surges as we can, and this is why. This is a solid 2 glory end phase card that we can score just by cycling through our surges. It can be awkward to draw in turn one, but it’s generally worth keeping (especially if it’s alongside surges anyway). A Direchasm onwards alternative to this card could be a lower glory ceiling card that rewards you for killing, such as [Aggressive Display]
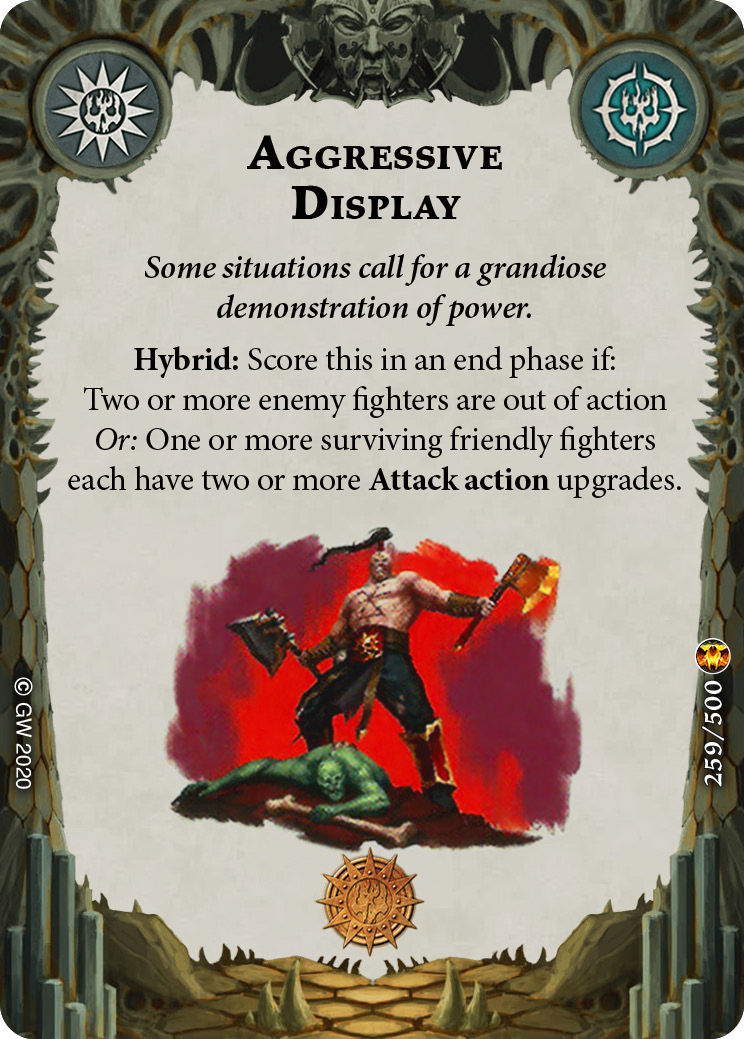 or [Cold-blooded Killers]
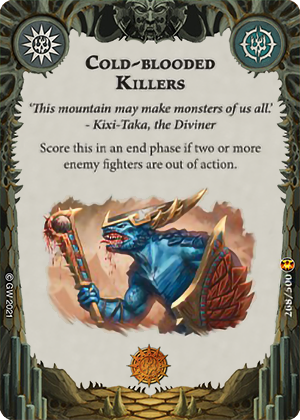 .
. - [Awesome Predator]
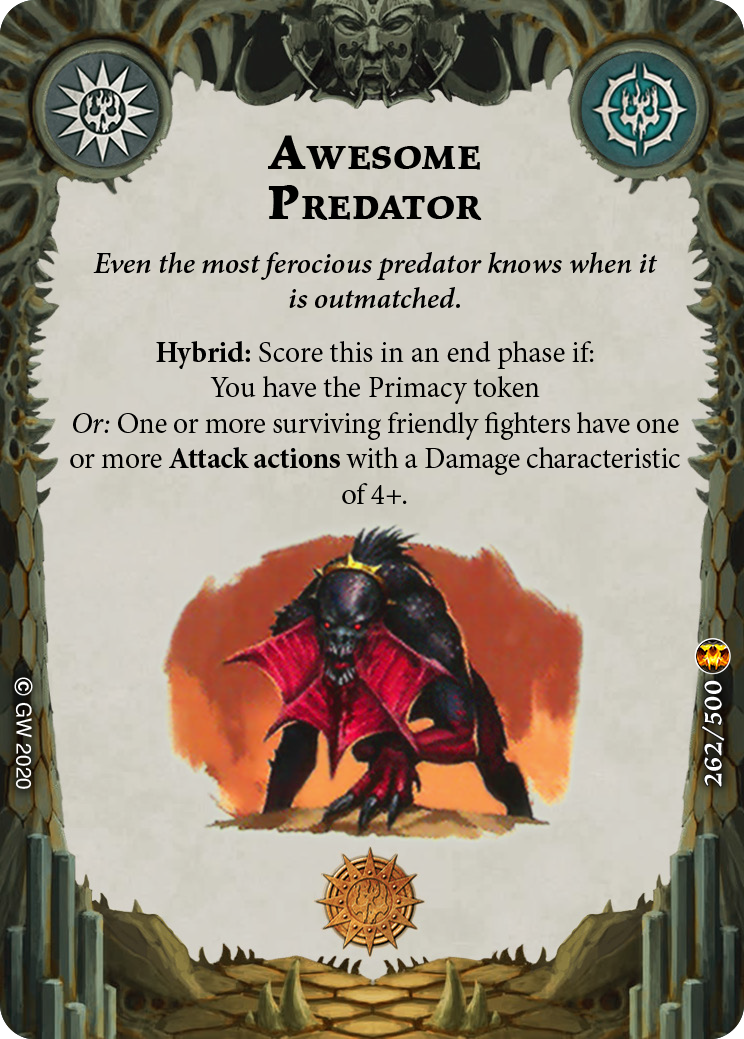 – This is a great card for us. Due to Hrothgorn’s damage output and aggressiveness, we’ll often get Primacy (or get it through other means which we’ll discuss below), and you can also score the other condition by giving Hrothgorn one of our included damage upgrades.
 - [Bristling With Weapons]
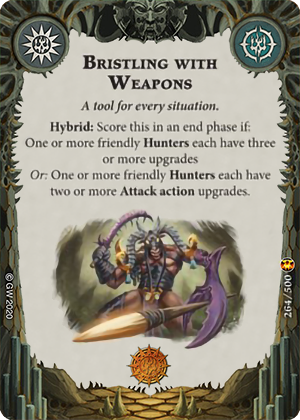 – While this can be a little awkward in your opening hand, this is a fairly consistent end phase card that will naturally happen usually by round 2. In a pinch you can give Thrafnir upgrades to score this as well.
 - [Clean Kills]
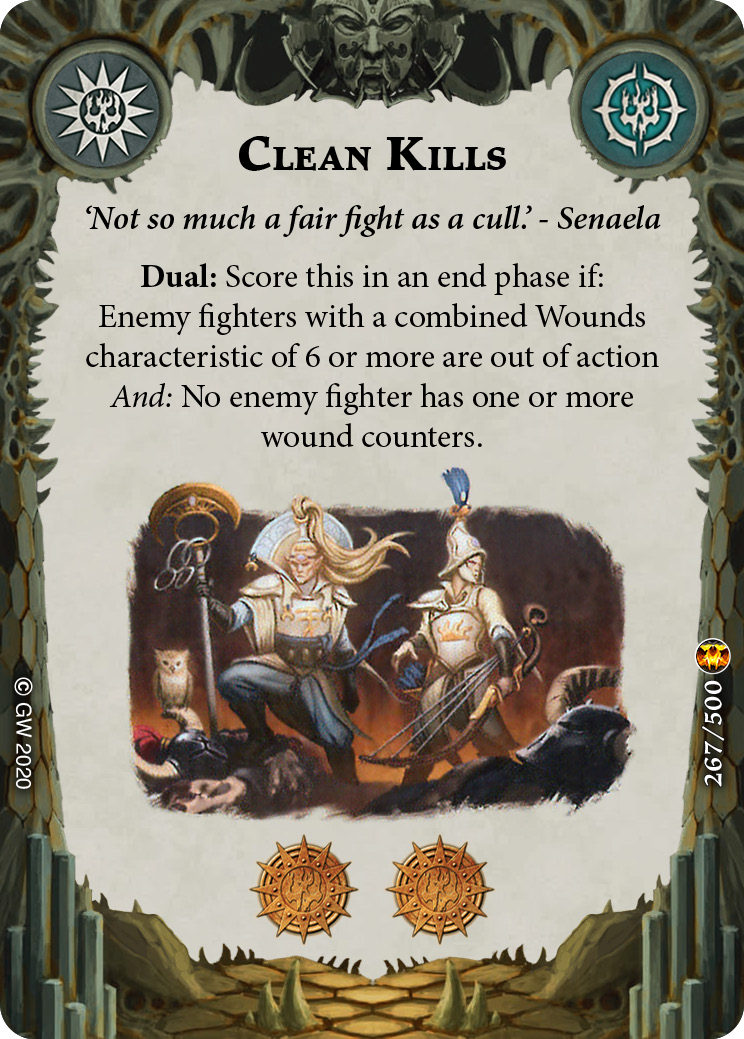 – A Direchasm aggressive warband staple, this does limit your flexibility by requiring you to focus fire enemy fighters down prior to scoring. However, it doesn’t have any territory stipulation and will naturally happen if you kill 2-3 fighters, which makes it worth it.
 - [Intimidating Display]
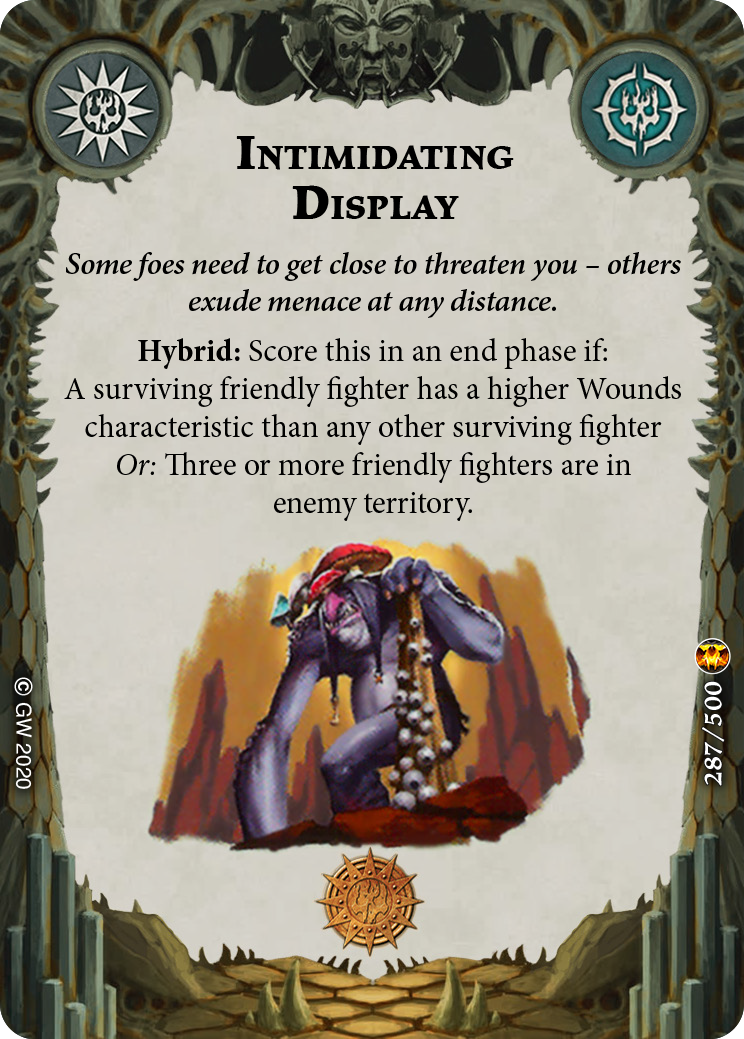 – One of the advantages of being a big boy is that most of the time, you’ll score this without even doing anything. Against some warbands, you might have to throw on [
 Massive Bulk]
 to get it over the line (here’s looking at you, [Mollog]
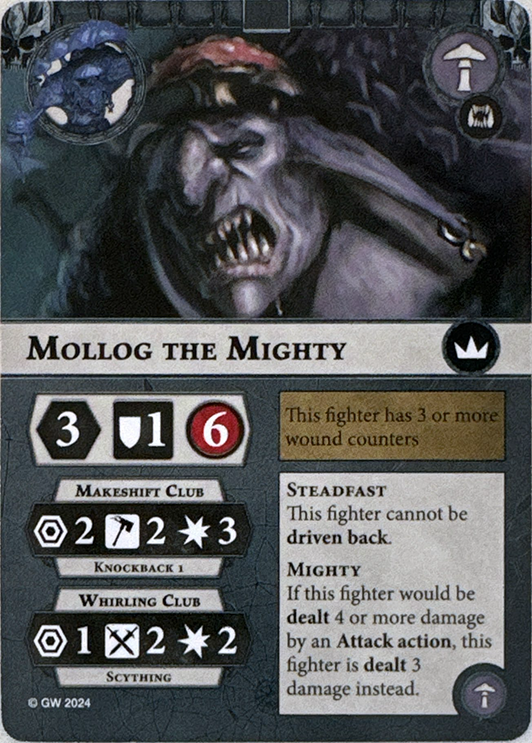 ), but it’s a small price to pay for (mostly) guaranteed glory.
 - [Path to Victory]
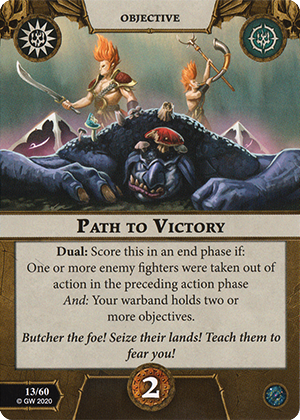 – The main purpose of your Gnoblars is to score this card. While there are other options (a personal favourite of mine is running [Test of Courage]
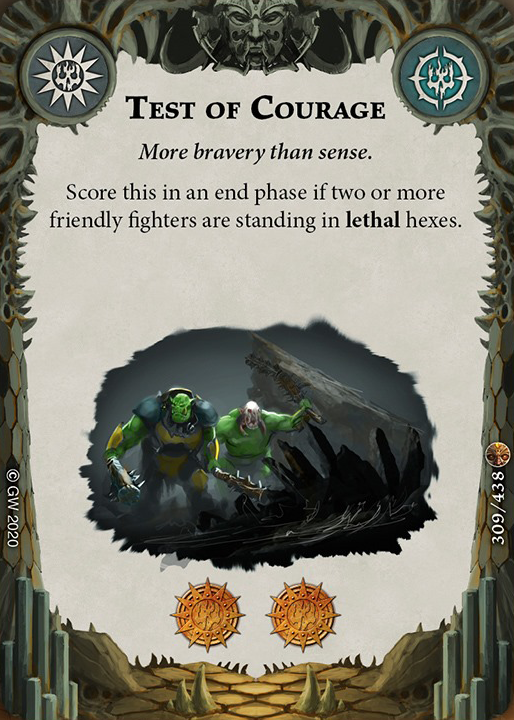 and using [Gnoblar Scramble] on two Gnoblars to score it and deny opponents any future Primacy), this is generally a good way to use them to guarantee some solid glory.
And that rounds out our objective deck. Let’s take a look:

15 glory is an acceptable ceiling for an aggressive warband, and we’ve gone for consistency wherever possible. Let’s look at the gambits we’ll use to support our scoring.
Evaluating Gambits
Now let’s take a look at the available faction gambits and see which fit with our playstyle.
- [Replace] [Carnivore Senses]
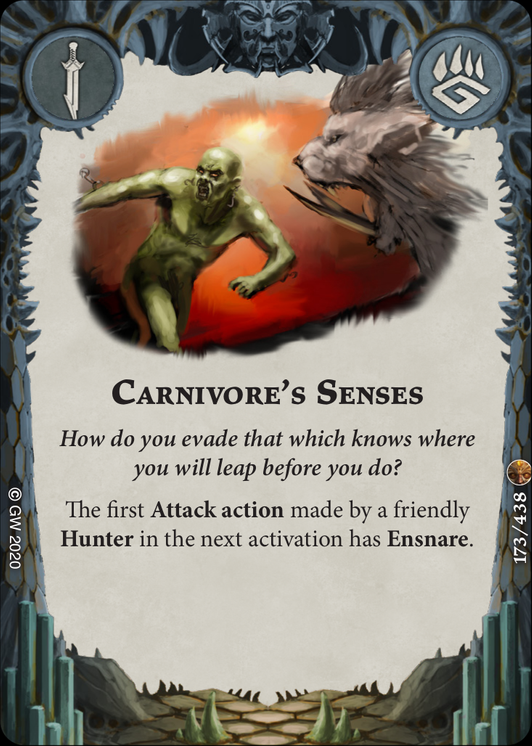 – This is a decent ploy that doesn’t quite get there for us. While Ensnare is nice, it’s better off in an upgrade, usually giving us something else as well. As it stands there just isn’t enough use here to justify the slot.
 - [Replace] [Driven Onwards]
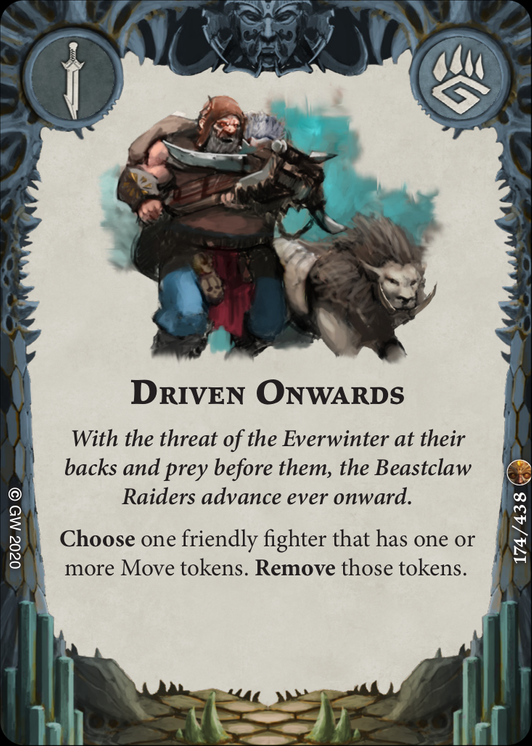 – This is an interesting card, but again isn’t quite placed for what we want to do. Generally with Hrothgorn you’ll either be shooting from range (and thus not requiring a move), or charging, which this card doesn’t help with. There are fringe uses (such as a player hitting you with a Move token via [Leadbone Dust]
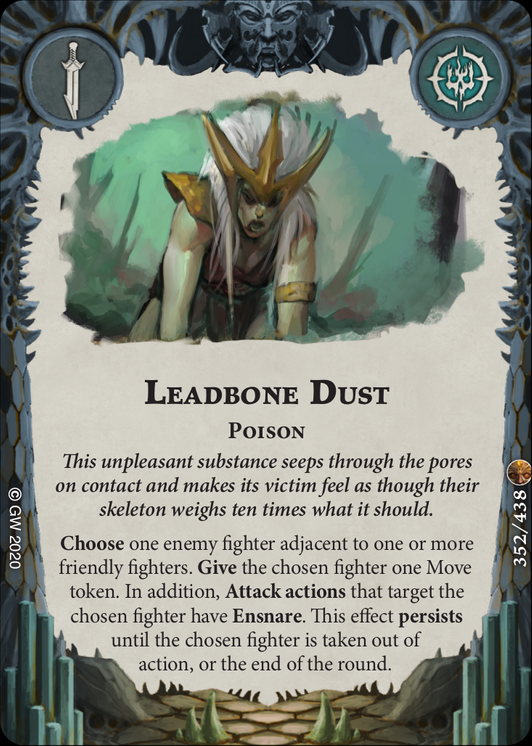 ) but again, it doesn’t quite get there.
 - [Replace] [Frozen Earth]
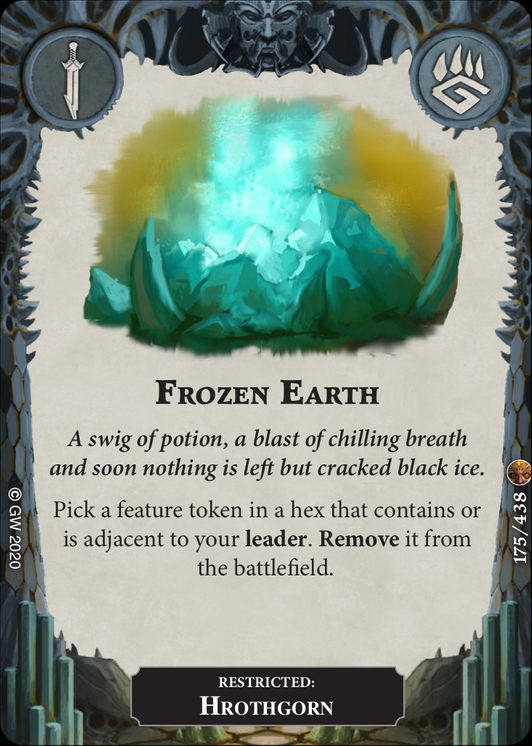 – This a great gambit for the Feed the Beastgrave playstyle which we aren’t doing here, so we’ll swap it out.
 - [Gnoblar Scramble] – This is a really efficient push card for your Gnoblars. Generally you don’t want to “waste” an activation moving them on to an objective when you could be using Hrothgorn or Thrafnir, and this card enables you to hold off until the last power step to push them on to your home objectives, minimising the likelihood of them being pushed off or attacked on an objective.
- [Replace] [Gotcha!]
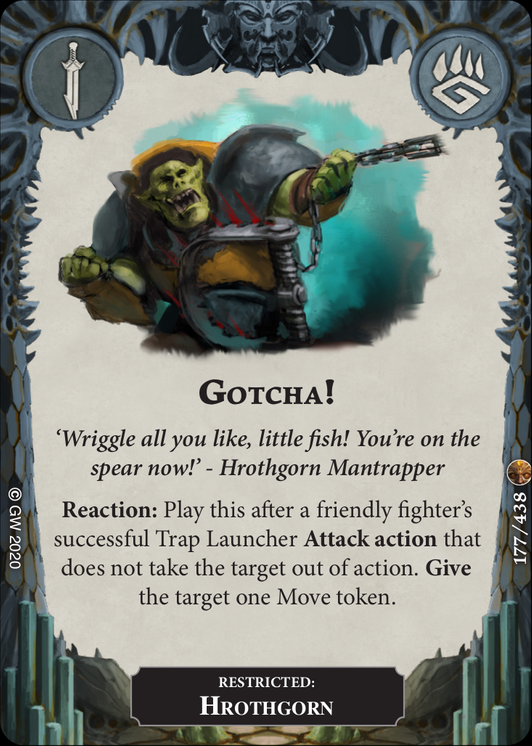 – This is an interesting card that probably doesn’t have enough going for it to justify the slot. While there are some tech usages for this card (such as pinning a high value target in place early in the round), generally you’ll want to use your trap launcher reaction to push them closer rather than leaving them where they are.
 - [Replace] [Icy Breath]
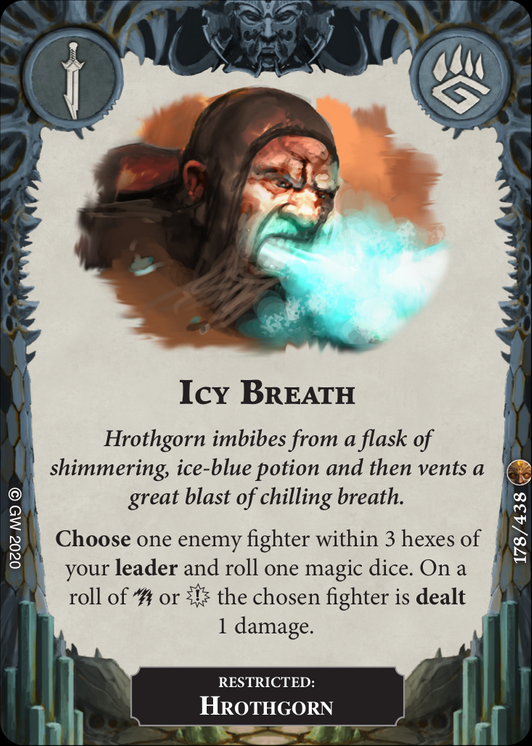 – Ping damage is not something I generally feel you need for this playstyle, especially ping damage that is not guaranteed. Pass.
 - [Replace] [More Traps]
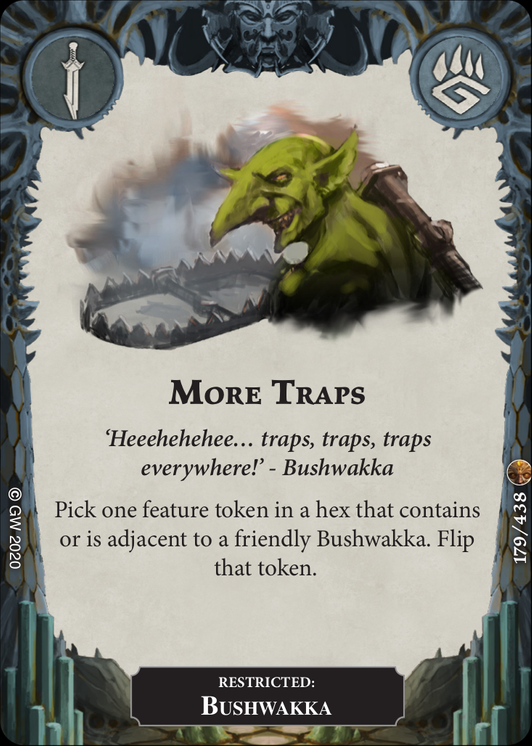 – This is another Beastgrave enabler, and thus isn’t applicable to us. Replace.
 - [Near Miss]
 – This is a great card to enable us to score [Flush Them Out] even when we’re missing attacks. What’s especially great about this is that equalling an opponent when making an attack is still considered a failure, meaning you can drive them back, and then react with this card to drag them back in anyway, scoring Flush Them Out even if they were already adjacent.
 - [Replace] [Quick Snack]
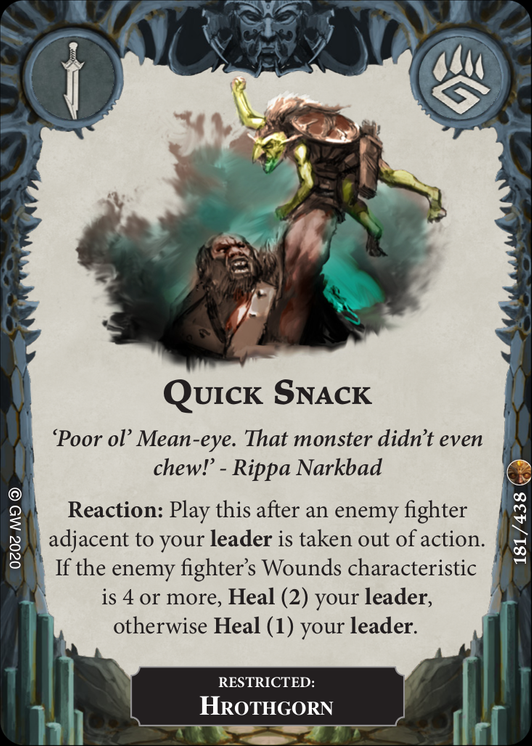 – This is, depending on the warband you’re facing, a slightly worse [Healing Potion]
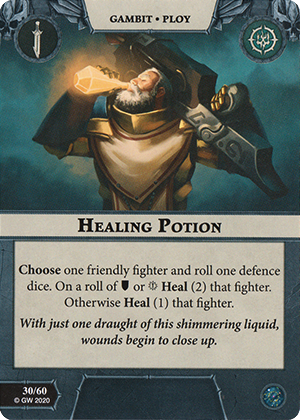 , requiring a kill but guaranteeing the two wound heal if you kill something with 4 or more wounds. As we’re not packing healing gambits generally, relying instead on our damage reduction upgrades (see below), this is not worth the slot. If you were interested in attack based healing in this deck, you’d be better off making space for [Mandibles of the Ur-Grub]
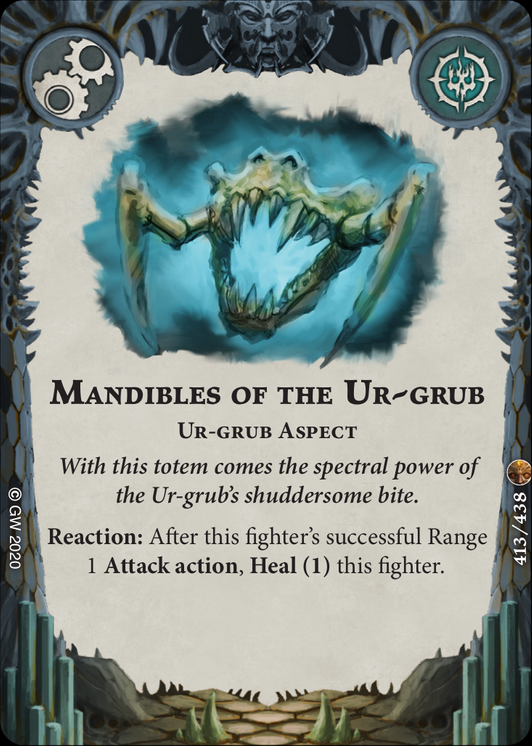 .
. - [Ravenous Fury] – Attack again gambits are always great. Note that the failure condition is a Range 1 attack, but you are then able to make any attack action, meaning the drive-back approach highlighted in Near Miss could be used here, particularly if you are inspired early or taking advantage of ranged rerolls instead of other accuracy upgrades at the time.
3/10 for gambits, but the ones we’ve kept are all solid and help us score various objectives. Let’s fill the remaining slots:
- [Tracking]
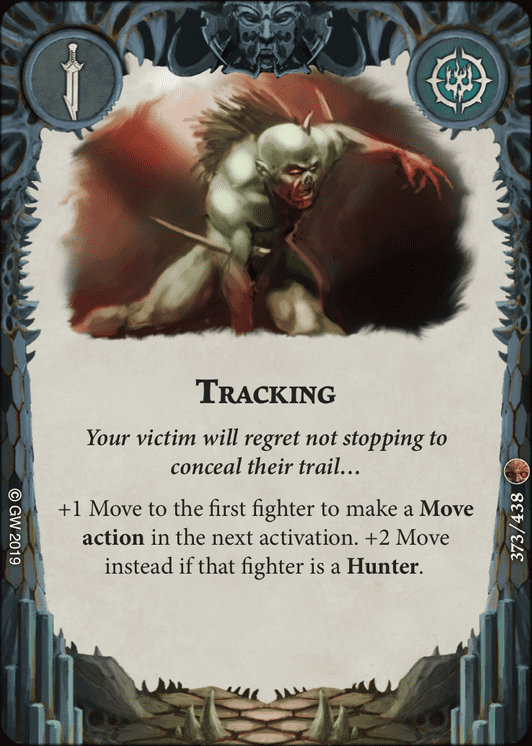 – This is a solid +2 movement card for both Hrothgorn and Thrafnir, but in a pinch can be used to get any of the Gnoblars into [Gathered Momentum] range with just the +1 move. A solid slight-downgrade to [Spectral Wings]
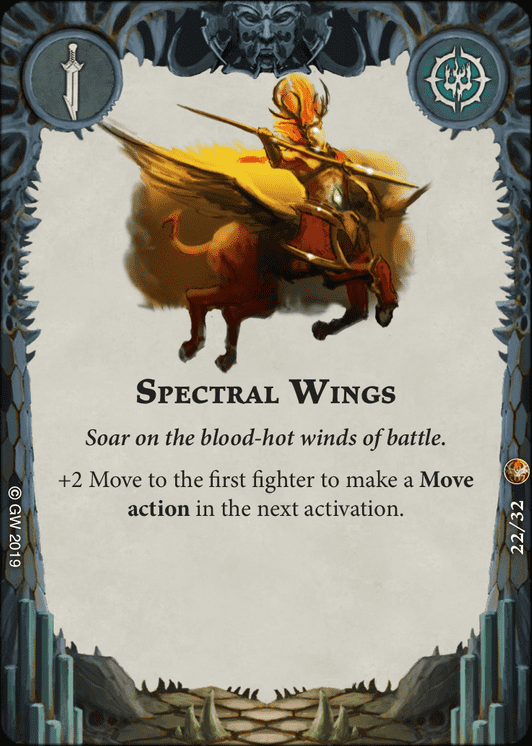 that works just as well for our purposes. A Direchasm onwards alternative to this card would be [Membranous Wings]
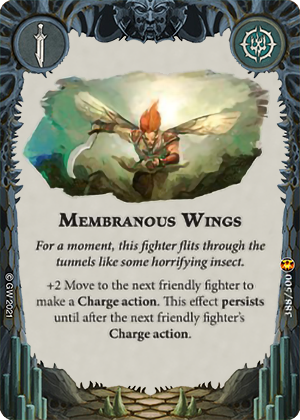 .
. - [Outrun Death]
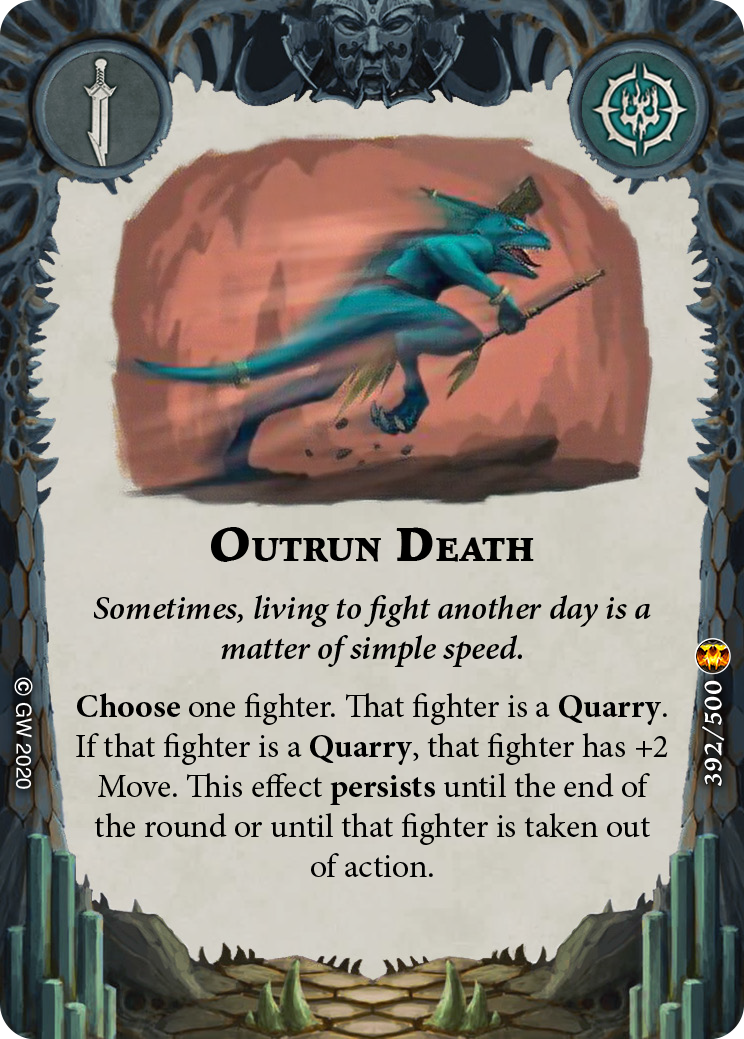 – Much the same as above, giving us the extra movement to make backfield charges where necessary.
 - [Center of Attention]
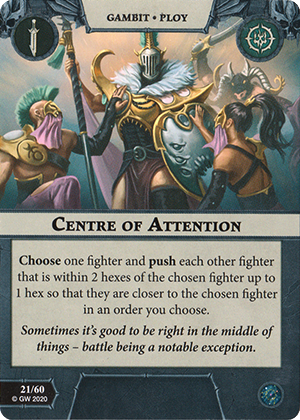 – This is another Flush Them Out enabler, which can also be crucial in efficiently inspiring Hrothgorn. You can also use this in a pinch to combo with Bushwakka and his trap – moving him, reacting with his trap, placing it in between himself and an enemy fighter, and then using Center of Attention to drag them in.
 - [Commanding Stride]
 – One of the better push cards in the game, this can be crucial for getting Hrothgorn in and out of range of enemy fighters. Definitely worth the slot.
 - [Determined Effort]
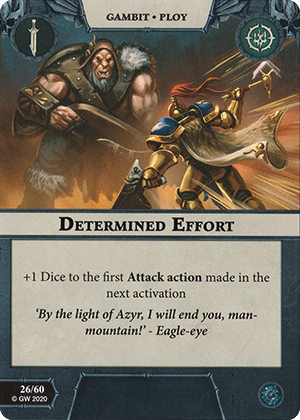 – Accuracy pre-inspiration is a bit of a problem for Hrothgorn, and ensuring he can inspire can be the difference between victory and defeat. As such, we’ll take whatever accuracy we can get our hands on.
 - [Duel of Wits]
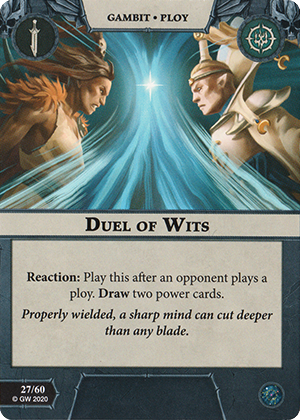 – An exceptional draw card, this could easily be justified in almost every deck. Can keep your tempo going and ensure you don’t drop behind on card advantage.
 - [Mirror Move]
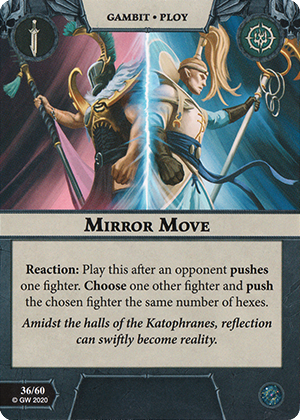 – Yet another push card, this one can be great for easily scoring Flush Them Out, getting Hrothgorn in range, or even reacting to an opponent’s Commanding Stride to get a free one of your own. One of the best push cards in the game currently. Note that you can react to any push, which includes the drive back step of an attack action, and if the opponent has Knockback, means you can push another fighter 1+ hexes to match that amount.
Our gambits are all well placed to advance our gameplan and score our objectives. Let’s look at the available upgrades we’re going to spend that glory on.
Evaluating Upgrades
- [Replace] [Savage Instinct]
 – The only non fighter restricted upgrade in the faction deck, this upgrade is one of the few upgrades in the Championship format that provide the Ensnare keyword. Unfortunately, the relative value of upgrade slots combined with the lower impact of Ensnare when compared to Cleave means that it just doesn’t quite get there for us.
 - [Replace] [Desperate Parry]
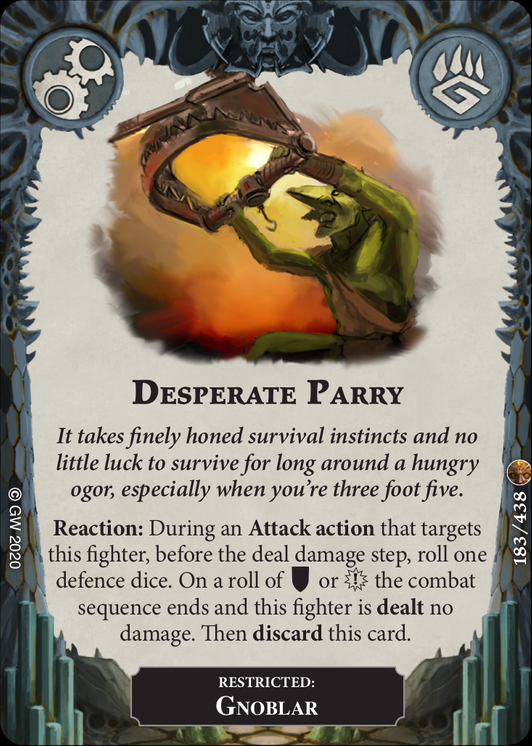 – A single-use, Gnoblar restricted upgrade that only goes off 50% of the time. Big yikes. Save your sanity, ditch this card.
 - [Famed Hunter]
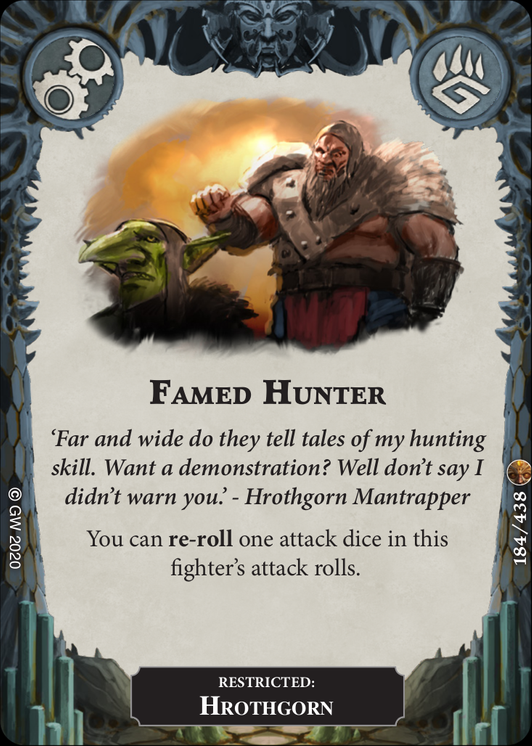 – A range agnostic accuracy upgrade for Hrothgorn. A must have.
 - [Replace] [Hunting Beast]
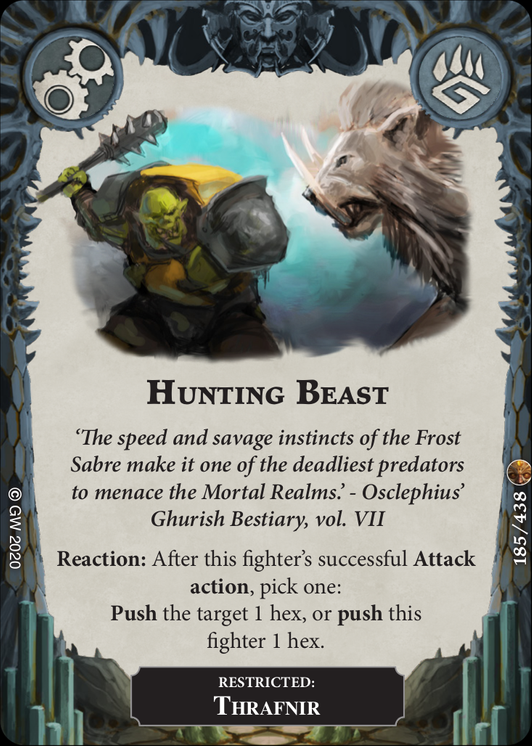 – This is a cool little card that is unfortunately restricted to Thrafnir. While your cat has a lot of uses, generally he doesn’t stick around long enough to make good use of upgrades, meaning that you’re better off going for upgrades that Hrothgorn can also use. Pass.
 - [Living Avalanche]
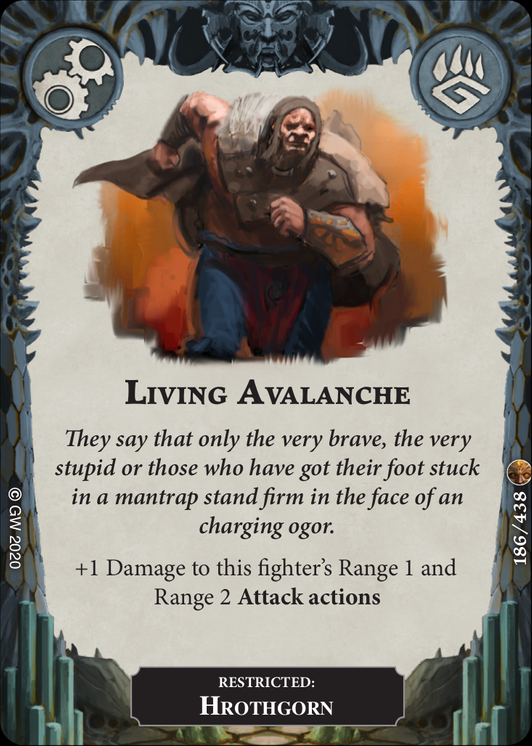 – A faction [Great Strength]
 just for Hrothgorn. Unconditional damage is always good, and is used to help us score the second condition of [Awesome Predator].
 - [Massive Bulk] – A great +Wounds card, this one takes Hrothgorn to absurd levels of survivability once inspired. You do have to be mindful about the penalty to movement that this incurs, but depending on when and where you apply it, it may not matter too much.
- [Replace] [Plucky Pair]
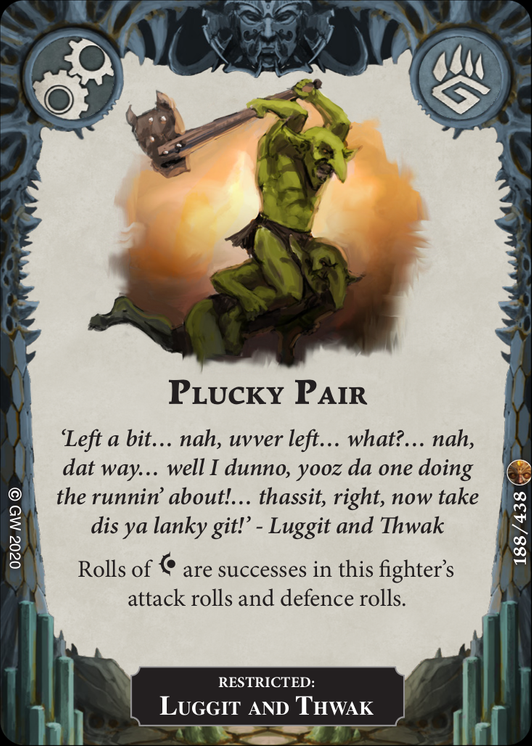 – Another Gnoblar restricted card, this time restricted to only one! It’s not even a particularly impactful effect. You’re just never going to get enough value from Gnoblars to justify investing in them, save for some janky combos with [Punching Up]
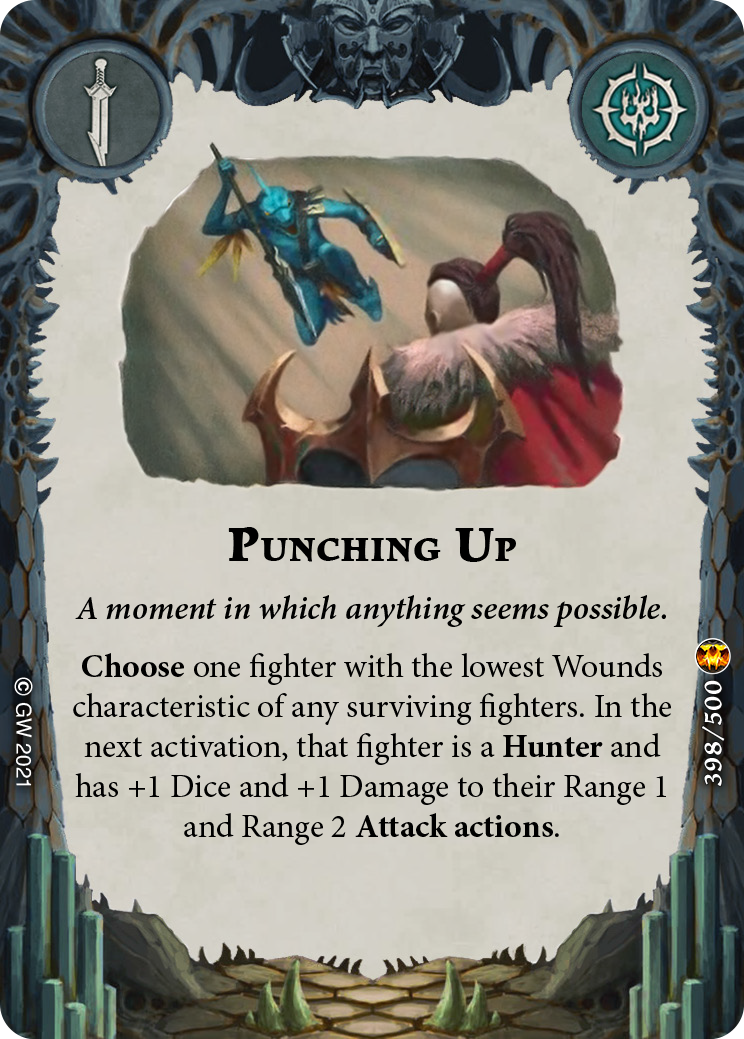 . Get rid of it.
 - [Replace] [Scion of the Everwinter]
 – This is another interesting upgrade that could see play in a different deck archetype, particularly one that focuses on holding two and using Hrothgorn to chokepoint enemy fighters while you hold more with Gnoblars. As it stands though, it just doesn’t mesh with our gameplan – generally we’re not going to spend an activation giving enemy fighter/s a move token, as we’d rather just punch them instead.
 - [Toughened Hide]
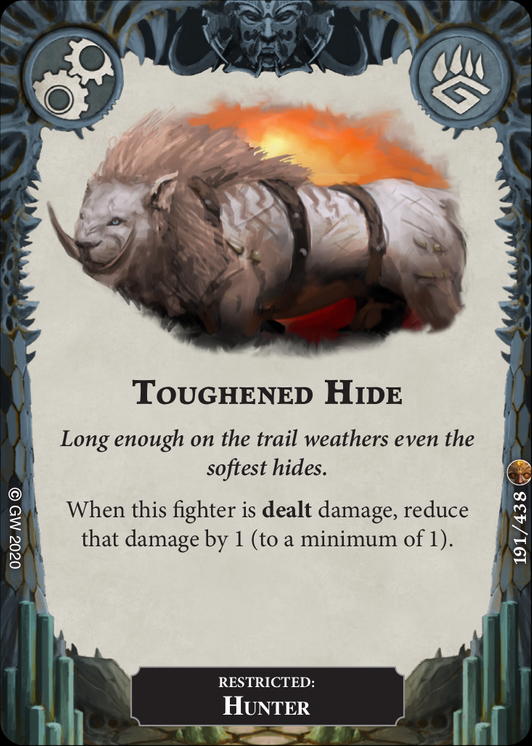 – Now we’re talking. -1 Damage upgrades are always amazing, and this is no exception. Windmill slam it in.
 - [Replace] [Veteran Hunter]
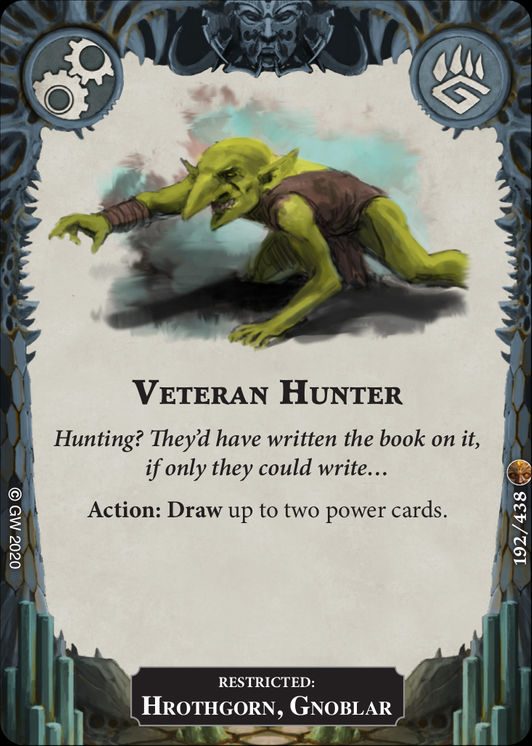 – This is actually a really good card in certain shells, as it gives you an absurd amount of card draw, as well as giving your Gnoblars something to do. Unfortunately again it just doesn’t quite gel with our gameplan here, so we’ll replace it.
4/10 on the upgrades, but again the ones we’re keeping are very strong. Here’s the replacements:
- [Hunter’s Caution]
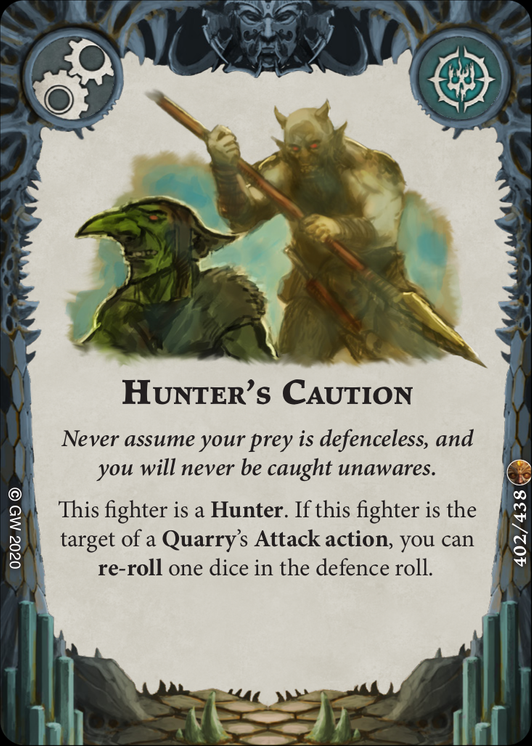 – Another survivability upgrade, this can be brutal once Hrothgorn is inspired. Definitely worth the slot. A Direchasm onwards alternative would be [Champion’s Fortitude]
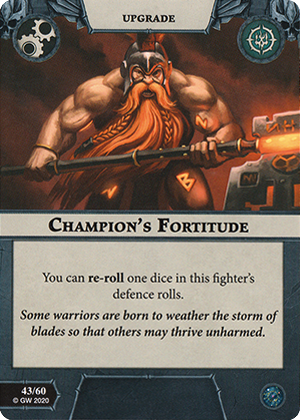 .
. - [Eagle-Eye]
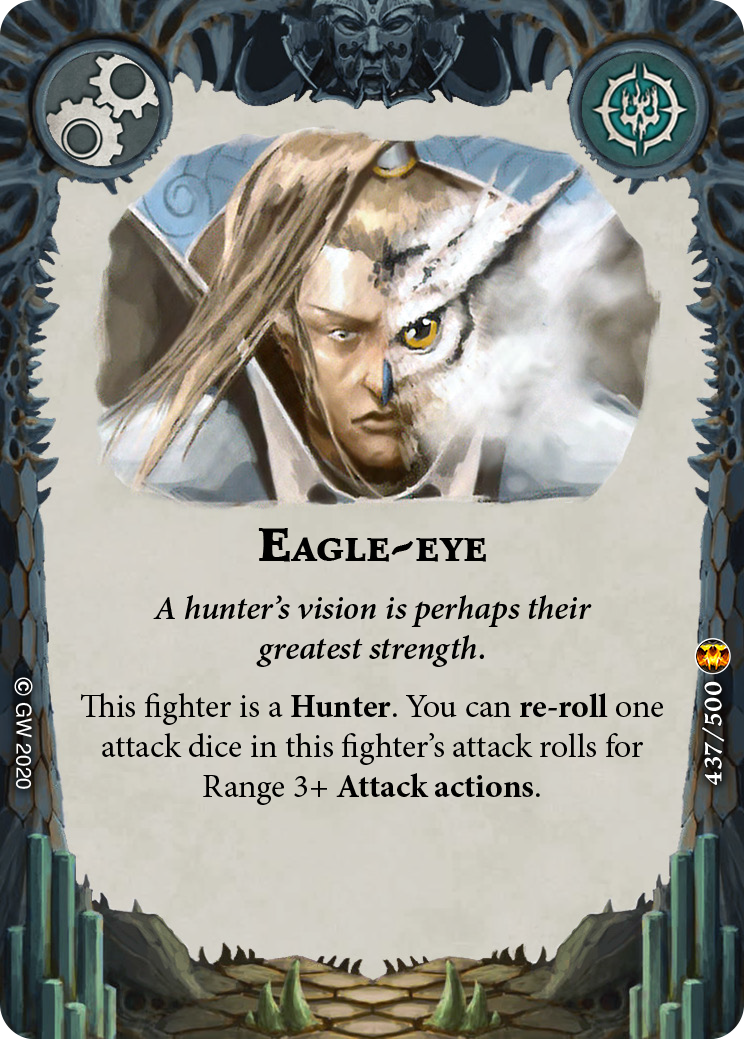 – While this is limited to just Hrothgorn’s ranged attack, it’s crucial that we get enough accuracy into the deck to make his attacks more reliable. Combining this with Famed Hunter greatly increases the viability of the Trap Launcher attack action, making it worth taking.
 - [Proud Runner]
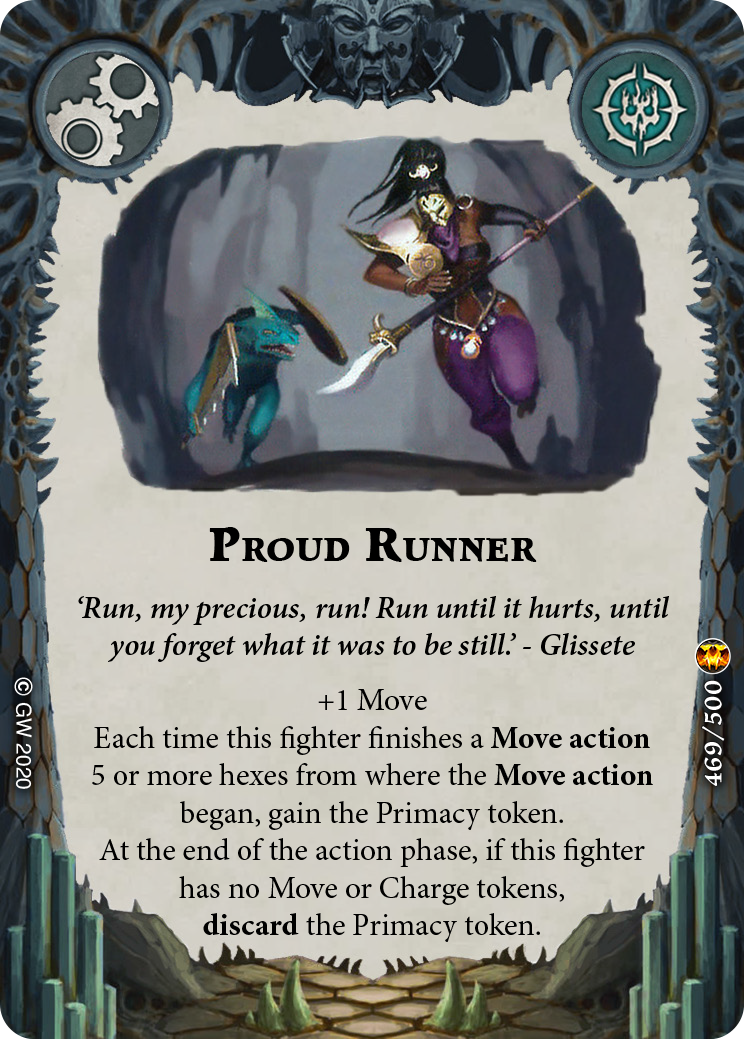 – While this does eat a restricted slot, it gives us both another solid way to take Primacy as well as a way to score Gathered Momentum without relying on our gambits. You can even give this to backline Gnoblars and have them run backwards and forwards each round to secure you Primacy (if they live that long…).
 - [Gloryseeker]
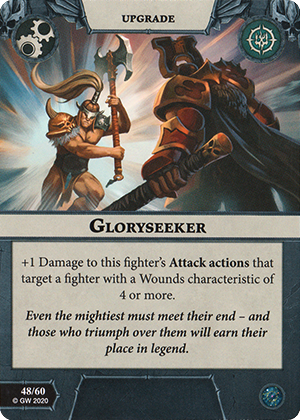 – As always, we are contractually obligated to include this card. All jokes aside, this ramps up the damage for both of Hrothgorn’s attacks (when turned on), and is one of the few Damage cards we can fit in here (as we can’t afford the drawback of cards such as [Savage Strength]
 ).
). - [Great Fortitude]
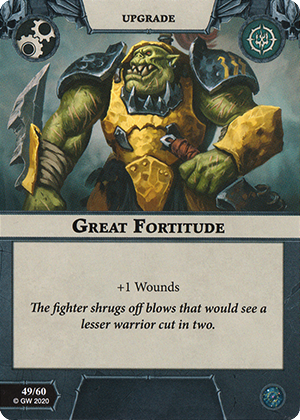 – +Wounds cards have an even greater effect when you’re already starting at 6 wounds, as you’ve already accepted that you’re giving up 2 glory. This just adds to the survivability of your main gameplan.
 - [Great Strength]
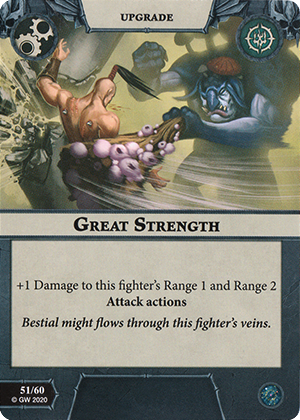 – Our final damage upgrade, this again helps us score [Awesome Predator].
Putting it all together
With our selections above, the deck looks like this:
Example Hand
This example hand, despite being a little slow, is a good showcase of some potential lines of play for this deck. We’ve got one close to guaranteed surge speed glory in Unexpected Cunning, one guaranteed glory in Intimidating Display, and another almost guaranteed glory in Awesome Predator because we have Great Strength in hand (which we can fuel with the glory we score from Unexpected Cunning). In our power card hand, we’ve got a good mix of defensive and offensive upgrades, and gambits which enable us to get stuck in and (hopefully) kill something adjacent to inspire. As we’ve got Duel of Wits, there’s a good chance that we’ll be able to activate it during the round. Let’s see what we draw:
While neither of these have an immediate use in scoring our objectives, having both in hand gives us some options. Assuming we do score Unexpected Cunning, either by getting another glory from a kill and giving an upgrade, or simply playing Gnoblar Scramble in the end power step, we’re going to get another objective before end phase. Let’s draw and see what it is:
While this objective hand has been pretty slow, it has been very scoreable. Thanks to Gnoblar Scramble, we’re likely scoring this as well. So we’re looking at 3-5 glory in the end phase, not counting glory from kills or Primacy. Not a bad start considering the speed of the hand. This means that our objective hands in rounds 2 and 3 will likely be very gas, as we’ll be more likely to draw into surges, meaning that scoring [Aggressive Strategy] is less awkward. As always, this section is written based on a sample hand draw, and highlights some theoretical lines of play to go with it, which doesn’t necessarily reflect the reality of playing the game.
What to do when…
Expanding on the example hand above, this new section for Building on a Budget is intended as some very low-level advice on tactics, primarily with a focus on what to do when certain situations happen within the game, and some potential lines of play for this deck taking into account the deckbuilding decisions.
…Hrothgorn can’t make an attack
This is a tough situation and is the bane of all aggressive warbands. While we do have some passive glory in our surges and end phase cards, by and large we do need to be getting kills for our gameplan to succeed. If possible, focus on lower value targets with lower defensive capabilities to get some easy glory, or use Thrafnir as a torpedo into a squishy fighter if you can.
…someone offsets me
Offsetting when playing Hrothgorn or being offset by an opponent is actually a good strategy, as we’re generally only needing to get one or two fighters (including Hrothgorn himself) into or on the edge of enemy territory, so we’re not as concerned with chokepointing. Additionally, due to the sheer number of wounds we possess, the calculus of moving through a lethal is different versus a three or four wound fighter, meaning that cutting off chokepoints on certain boards with lethals (such as the Shyishian Stardial) has less of an impact on us.
…my opponent keeps diving my Gnoblars!
You should be deploying your two objectives (which, as an aside, means you should always choose to deploy second if you win the roll off) as far back as possible within your territory, and positioning your Gnoblars in starting hexes as far back as possible (while being mindful of warbands or cards that enable backline diving such as [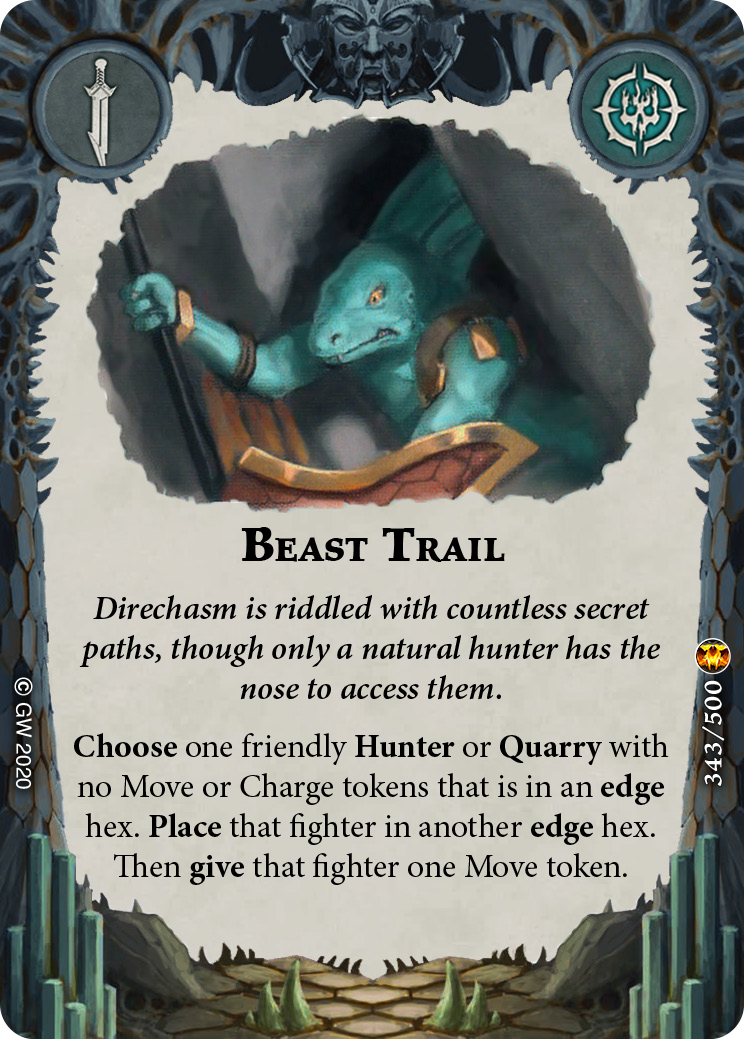 Beast Trail] or [
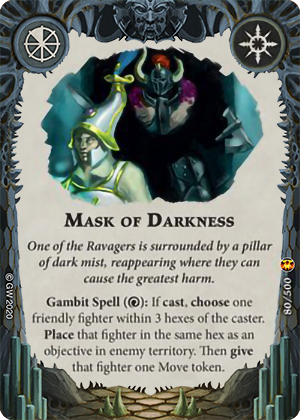 Mask of Darkness]). Boards with 2 or more blocked hexes can be good, as you can usually orient the board to provide cover for your Gnoblars while placing Hrothgorn and Thrafnir close to enemy territory. But generally, once the Gnoblars have scored [Path to Victory], you can consider their job done. If you take a board that has built in lethals, you can also run your Gnoblars into those lethals to prevent them giving up Primacy.
…Hrothgorn dies!
Say good game and pack up. In all seriousness, depending on how early in the game this is, it most likely means you will lose. If it happens towards the end of the game and you’ve managed to take an early lead in glory, all you can do is use your remaining fighters and hope to deny your opponent scoring enough to overtake you. If they’re an objective based warband, you can use whatever remaining push gambits you have to either push them off of objectives, or try to hold equal or more with your remaining fighters. [Luggit and Thwak] are useful here, because they always get to either drive back or push the person they attack, even if they fail, meaning you can use them as a last ditch effort to push a fighter off an objective if you can reach them. But generally, losing Hrothgorn leaves you with very little chance to win – although Thrafnir can hold most of our upgrades and score a few objectives for you as well, so it’s not an auto-lose (although it is an uphill battle, make no mistake).
Potential purchases and next upgrades
As with my previous article, below are some suggestions on additional warbands to add to your collection to enhance your playstyle with this warband. These are but a few ideas of how to improve the gameplan of this deck, while largely keeping with the same aggressive approach. As we’ve mentioned previously, this is more of a showcase of warbands and cards that you could upgrade the deck with – almost every Championship legal warband has one or more universal cards that can power up your deck. Many warbands mentioned previously in the series will already have cards that you can drop in as a powered up replacement (such as [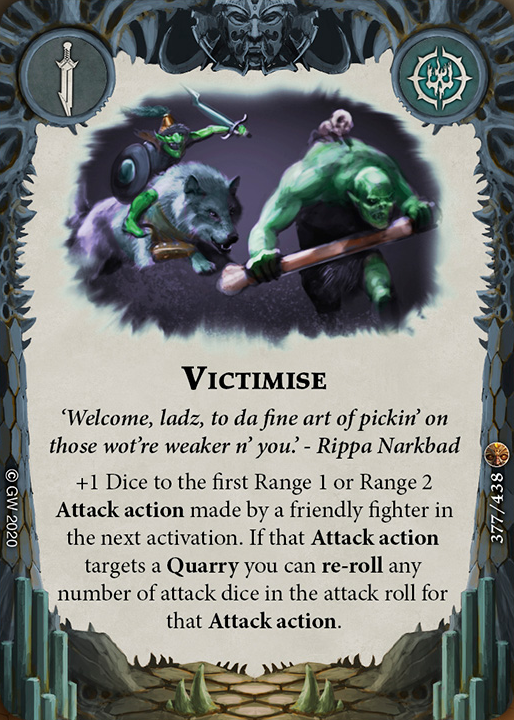 Victimise] from Morgwaeth’s Blade-coven), so I’ve tried to highlight other warbands to show off their powerful universal cards.
First up – [Khagra's Ravagers] . If you’ve been following this series and picking up the mentioned warbands, you may already have access to these cards. Nonetheless, here are some options:
- [Beast Trail] – This is an excellent movement gambit that further enhances your ability to get in your opponent’s face. Comboing this with Hrothgorn’s ranged attack as well as your existing push ploys means that the movement token is not necessarily going to stop you from getting multiple attacks (and potentially kills) after teleporting. This also helps to get Hrothgorn closer to objective warbands which may have heavily offset or deployed back in their lines, speeding up your clock and allowing you to inspire earlier. A great card.
- [Charike Claws]
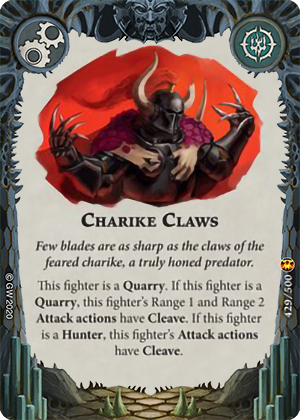 – A straight upgrade from [Predator’s Trinket]
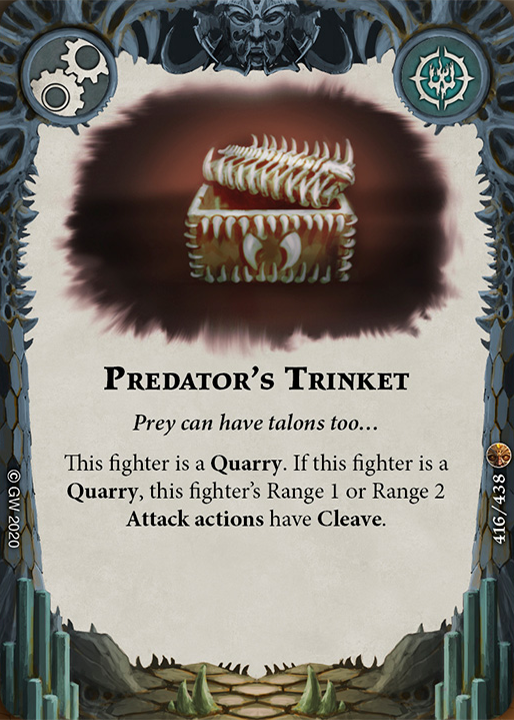 , Charike Claws is notable in that, thanks to the second condition of the card, it gives Hrothgorn Cleave on both his ranged and melee attacks. Be mindful that due to two mentions of the Quarry keyword, this turns on additional two rerolls for opponents when they use [Experienced Eye]
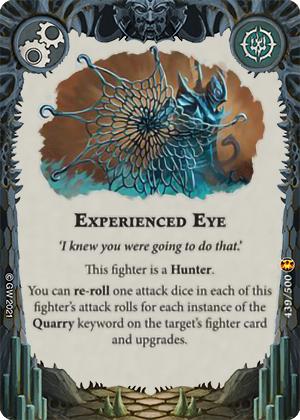 , meaning that opponents will have 3 rerolls against Hrothgorn due to his [innate keyword reference]
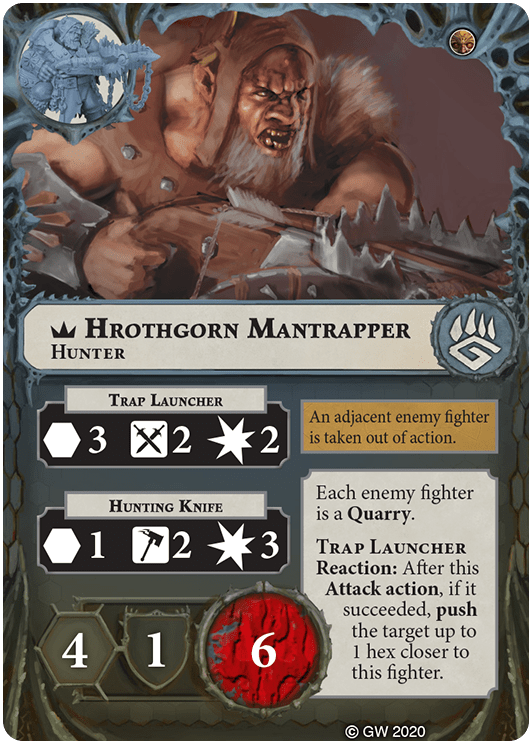 .
. - [Feral Symbiote]
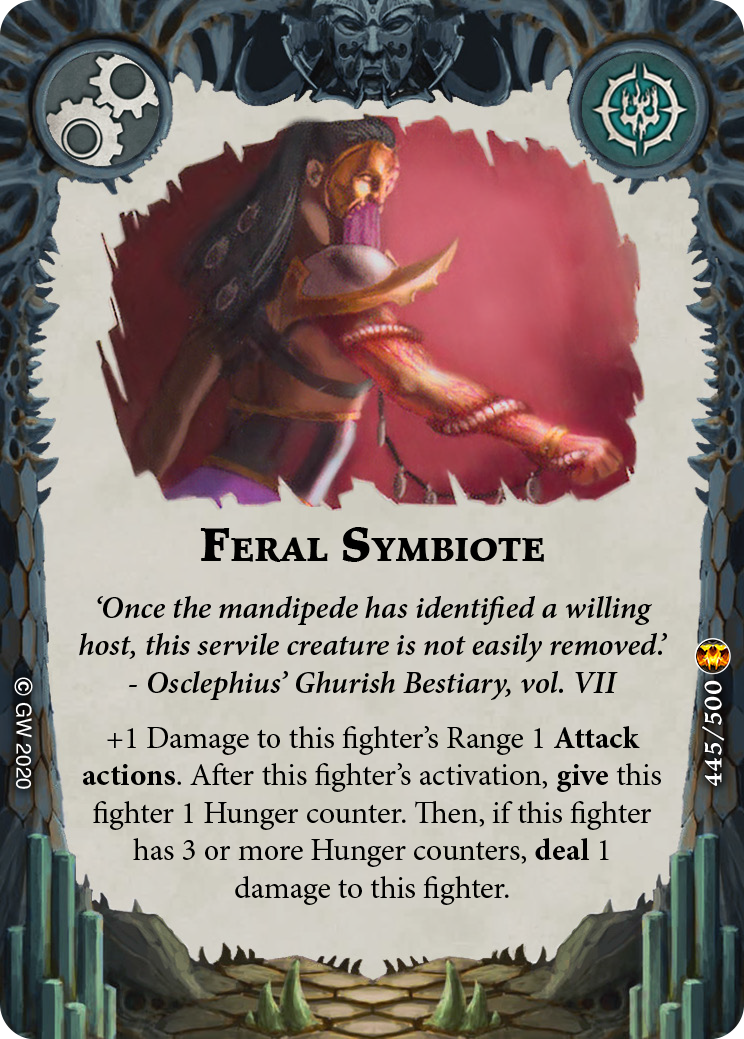 – This is a [Sting of the Ur-Grub]
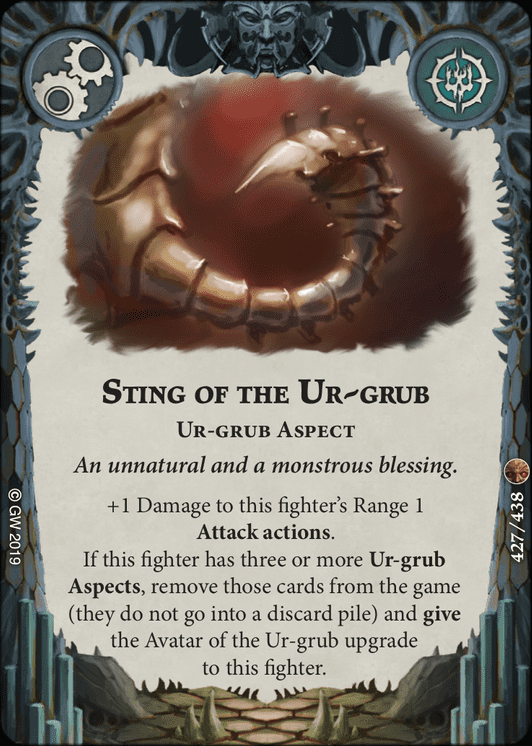 with a downside, however the important factor here is that it’s unrestricted. If you’re looking for an additional Range 1 damage and can’t afford the restricted slot, this is worth considering. In addition, you may be able to combine the “downside” of the hunger counters to turn on some other cards, such as [Hungry Armour]
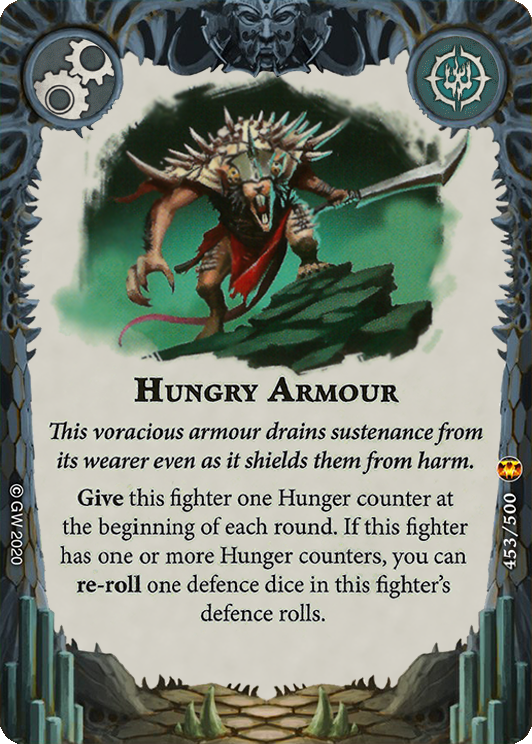 or [Compelling Hunger]
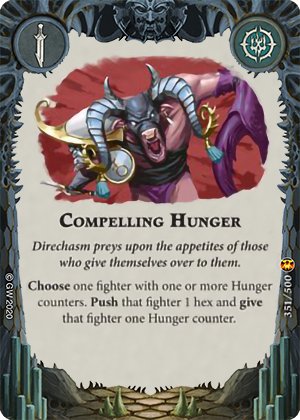 .
. - [Scavenged Armour]
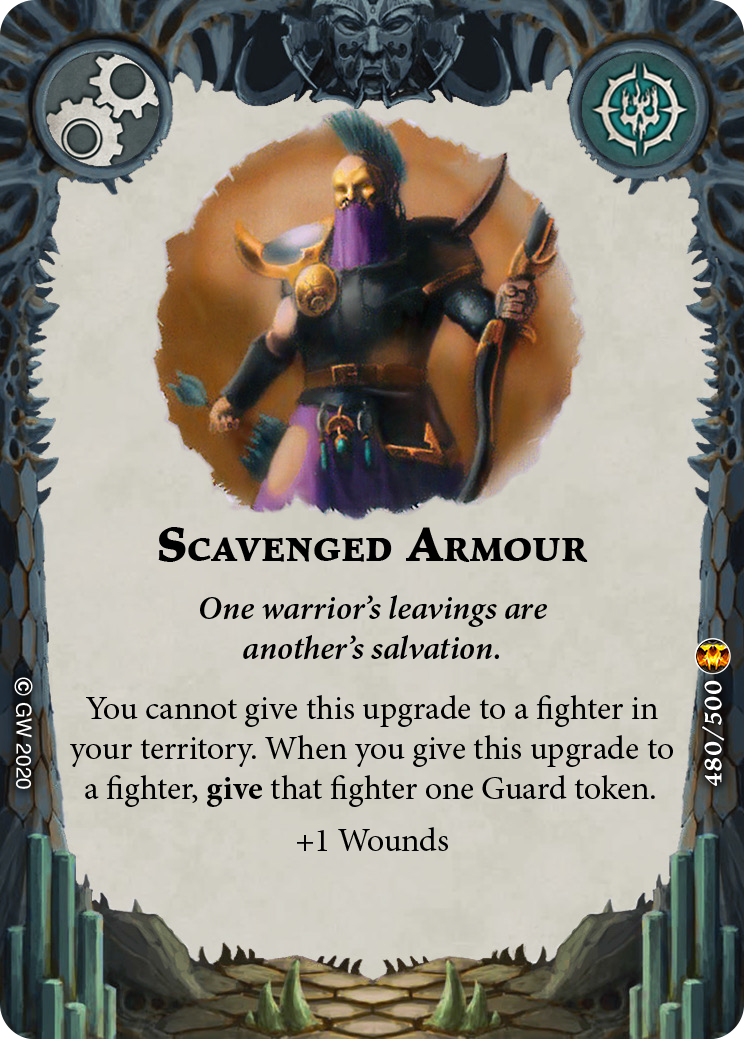 – This is a great card for aggressive warbands, especially ones that can take advantage of Beast Trail. Giving Hrothgorn an extra wound is always great, but the guard token, especially when inspired, can give him even more staying power in enemy lines.
Next, we’ll look at [The Crimson Court] :
:
- [Not So Fast]
 – This is essentially “get a kill” while Hrothgorn is on the battlefield. An extremely synergistic surge which is giving us glory for what we already want to do.
 - [Narrowing Passage]
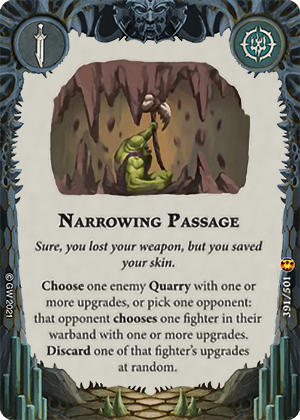 – This is another card that is situational, but thanks to Hrothgorn’s effect becomes a lot more useful. Being able to target an early upgrade on a fighter is great for tempo, even if there isn’t direct card advantage. This also allows you to brick some gameplans (such as Lost Pages or Avatar), if you can time it correctly or get lucky with the random selection.
 - [Silent Helm]
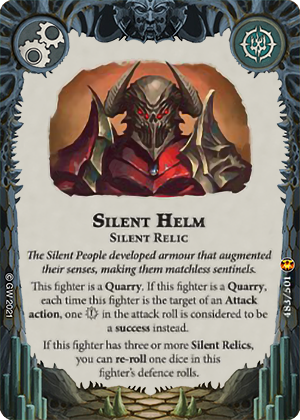 – This is a fantastic defensive upgrade for both objective and aggressive playstyles. Being able to downgrade a critical roll can be crucial in keeping Hrothgorn alive longer without giving him extra wounds.
And finally, we’ll look at a Beastgrave warband, [the Grymwatch] :
:
- [The Beast is Slain]
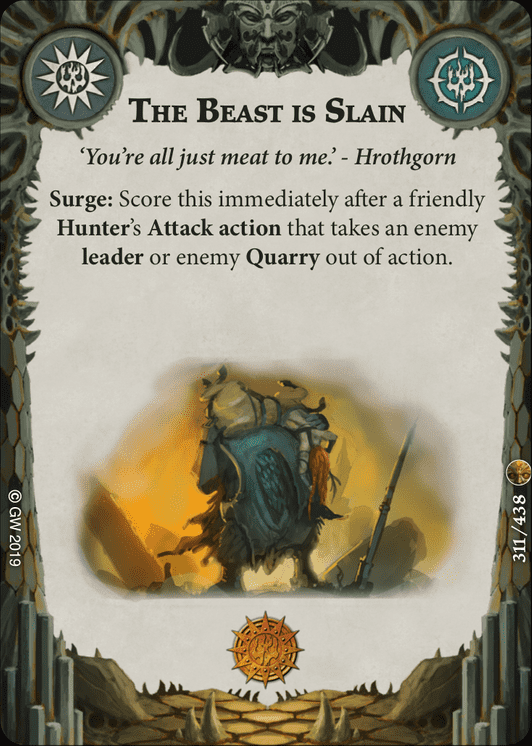 – Similar to [Successful Hunt] and [Not so Fast]
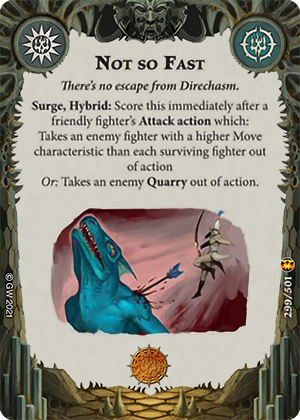 , this is functionally “kill something”. A good easy to score surge.
 - [To The End]
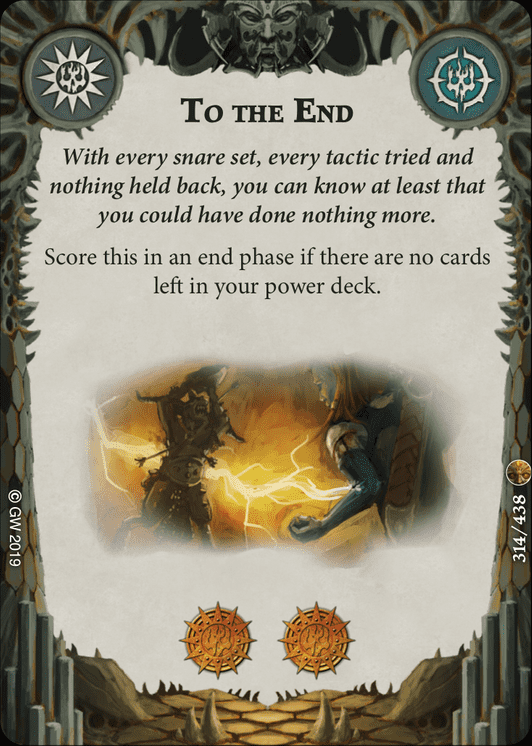 – this is a very consistent end phase card that is improved by the sheer amount of card draw available at this point in the format. Outside of the included Duel of Wits, this set itself comes with [Frenzied Search]
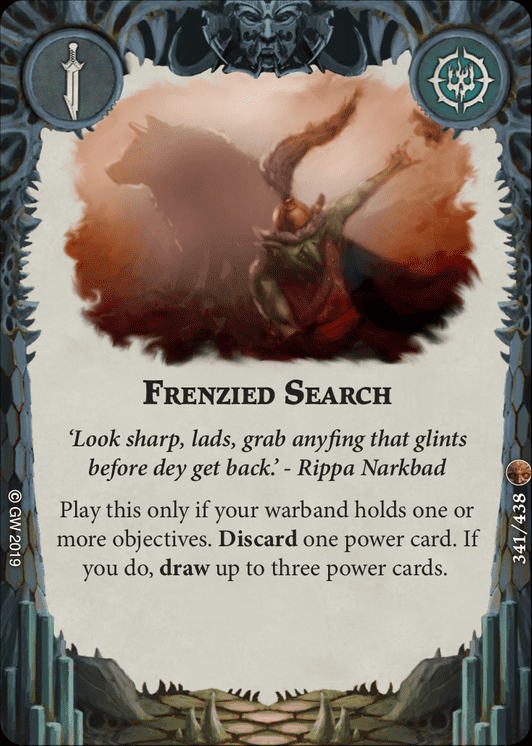 , which while restricted makes scoring this even easier as you’ll likely have at least one Gnoblar parked on objectives. Due to the reliance on kill objectives, it can be nice to have an end-of-game glory boost that doesn’t rely on you hitting and killing your enemies to achieve. You could even consider [Veteran Hunter] to make this almost guaranteed.
 - [The Great Hunt]
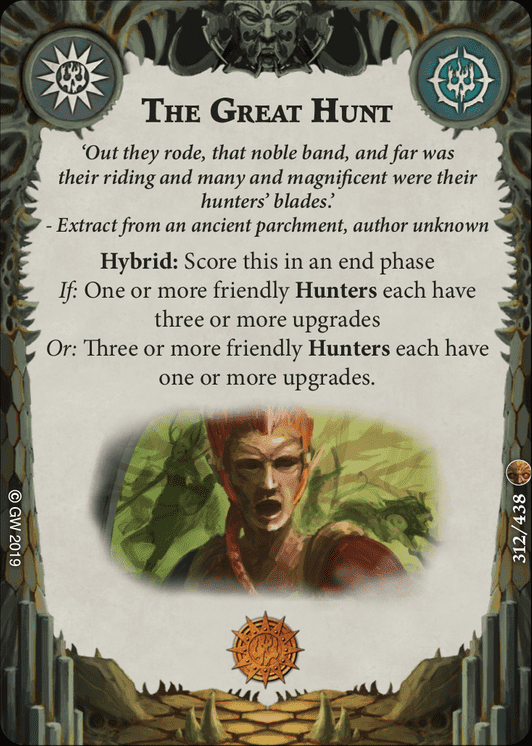 – Functionally identical to [Bristling with Weapons]
 . You probably can’t afford both of these in your deck, but it is useful to have as an option.
 - [Survival Instincts]
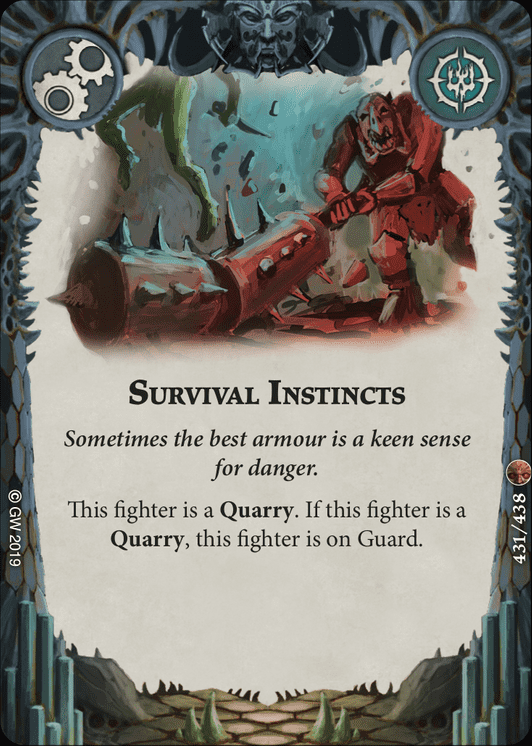 – A very good defensive buff in most warbands, this one is rightfully restricted. Giving permanent Guard to fighters is amazing, and it not being a token ensures things like [Silent Armour]
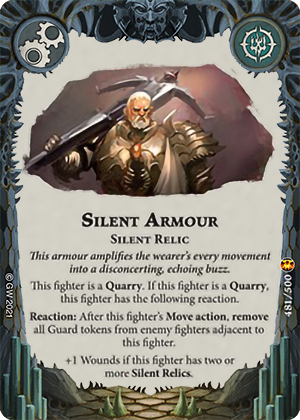 ‘s reaction blanks on this. If you can afford the slot, this can help keep Hrothgorn alive and kicking even longer.
 - [Trophy Belt]
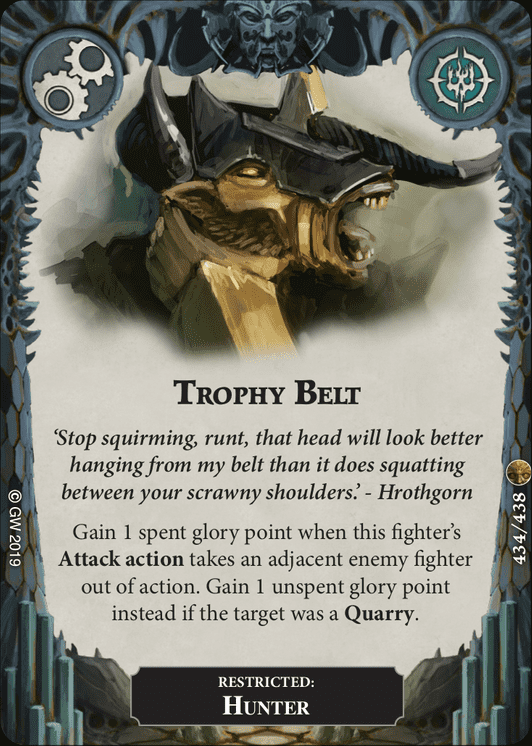 – Another fairly restricted upgrade, this leverages Hrothgorn’s fighter card ability to greatly increase your glory ceiling. While needing to be adjacent does reduce its flexibility, the fact that it will always be unspent glory keeps your upgrade momentum going.
While we’ve built our deck to be a traditional Hunter aggro deck, as we’ve alluded to in the article, you can also play the Mantrappers with a flip/remove objective playstyle, leveraging cards like [Feed the Beastgrave] and [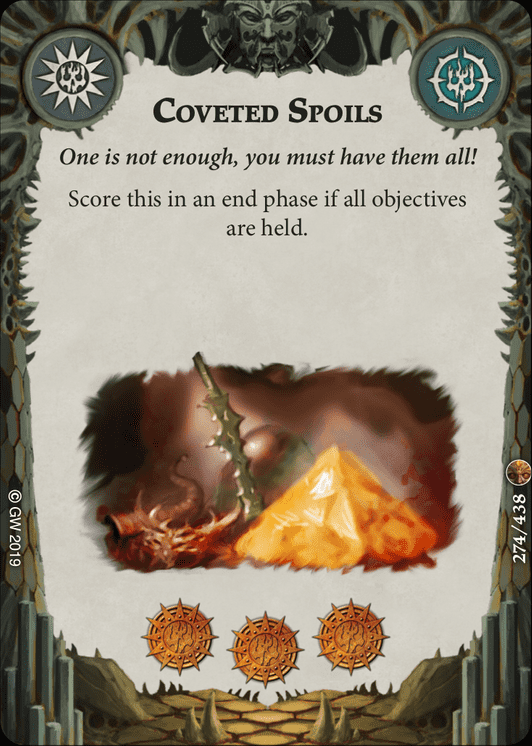 Coveted Spoils]. In addition, I think there might be some potential for a defensive Hold 2 deck that leverages the Gnoblars to hold objectives and uses Hrothgorn and Thrafnir to chokepoint and defend them – but that’s for another article. In any case, I hope this article has been useful to you – now go out there and hunt some manflesh!