

Building on a Budget (with Starblood Stalkers)
Hello again, and welcome to yet another Building on a Budget! This time around, we’re focussing on the scaly saviours of the Direchasm – the [Starblood Stalkers]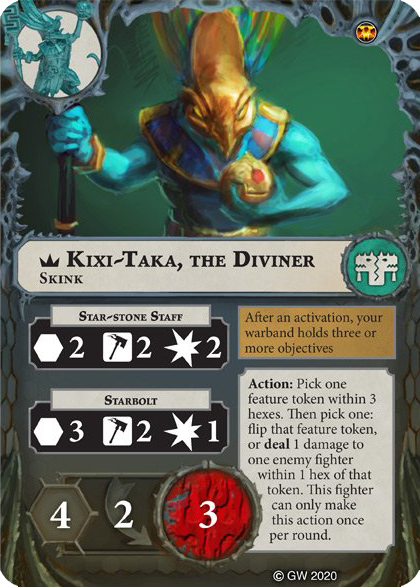 . If this is your first time checking out the series, this article is one of several where we build Championship Format decks that have a chance to compete against other meta decks, without requiring every released universal card so far. As always, we don’t intend for these decks to be T1, but rather have a solid gameplan that can be built upon as you get more experience in the game and deckbuilding.
With the Starblood Stalkers, we’re approaching it a little differently to other articles in the series thusfar. Firstly, this deck will contain no cards prior to the release of Direchasm – this means that it is “rotation” proof as of the writing of this article (for more on rotation, check out our section on rotation in the previous article). Secondly, we’re not going to use the standard Hold Objective / “Flex” shell that many of the successful Starblood Stalker decks in the format use. This is for a number of reasons. Firstly, the majority of the good hold objective surges (such as [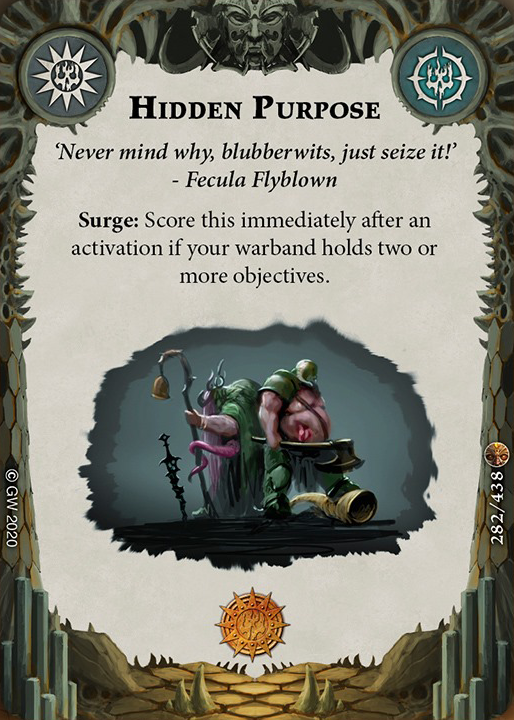 Hidden Purpose] and [
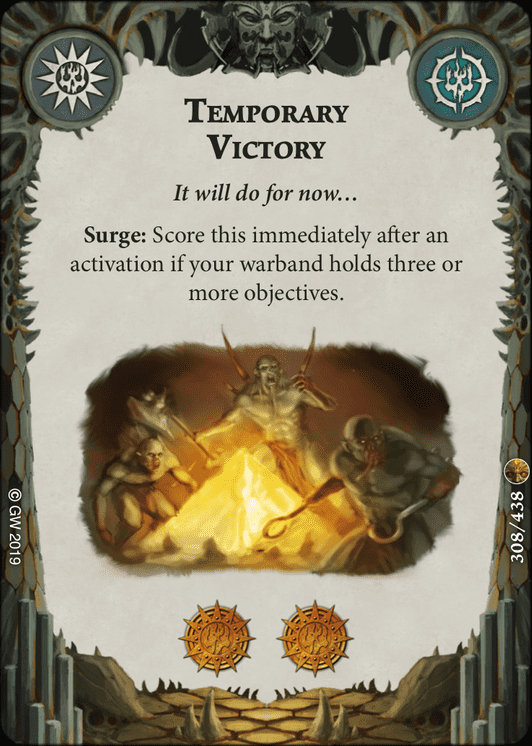 Temporary Victory]) as well as several of the high power speed package cards (such as [
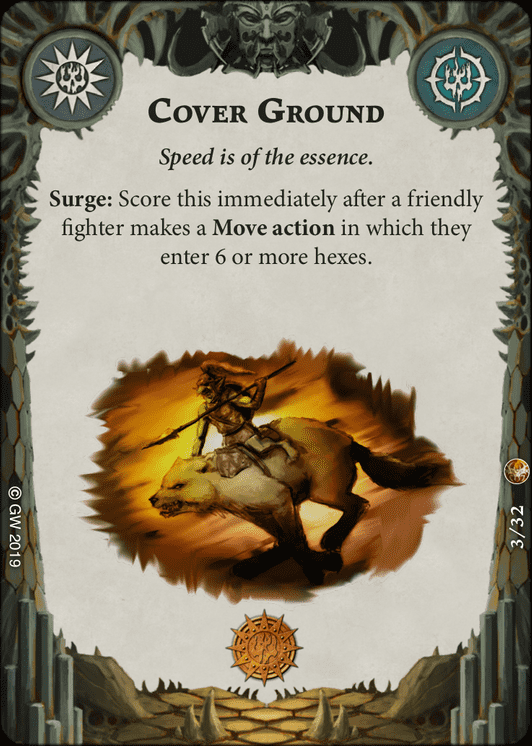 Cover Ground] and [
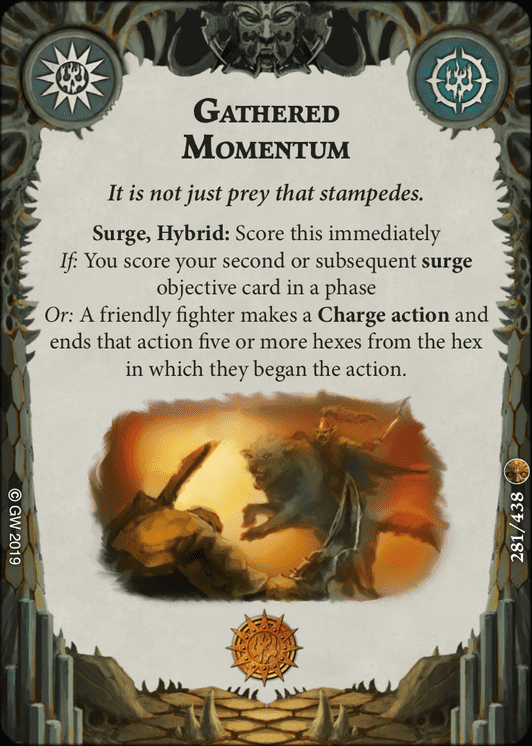 Gathered Momentum]) are in older sets. This means that the traditional surges that you may take in a hold objective deck are out of reach with our limitations.
Secondly, one of the main glory engines for the Starblood Stalkers is [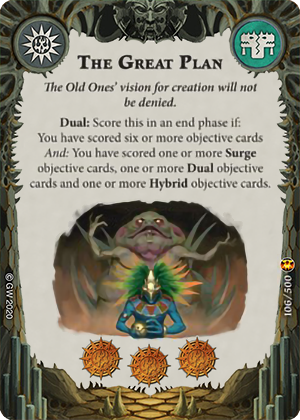 The Great Plan]. The conditions on The Great Plan are generally fine, with the exception of the requirement to score at least one Dual objective. Within the cards we have access to, there are very few consistent dual objectives which also gel with the Hold Objective playstyle. If we were building a deck that includes cards such [
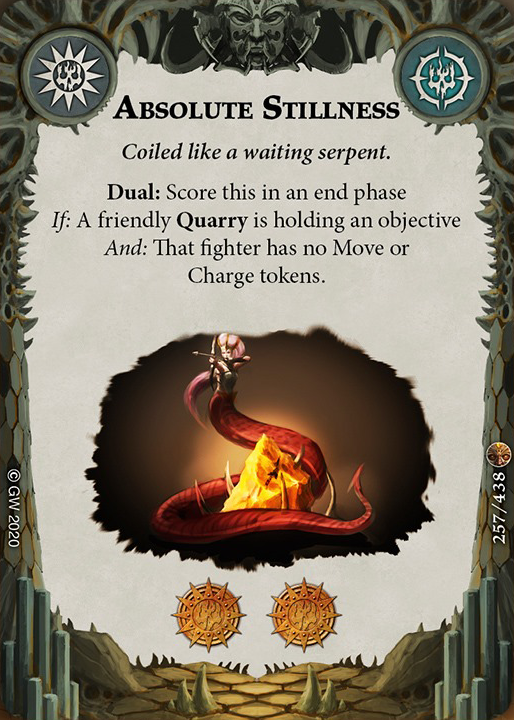 Absolute Stillness] and [
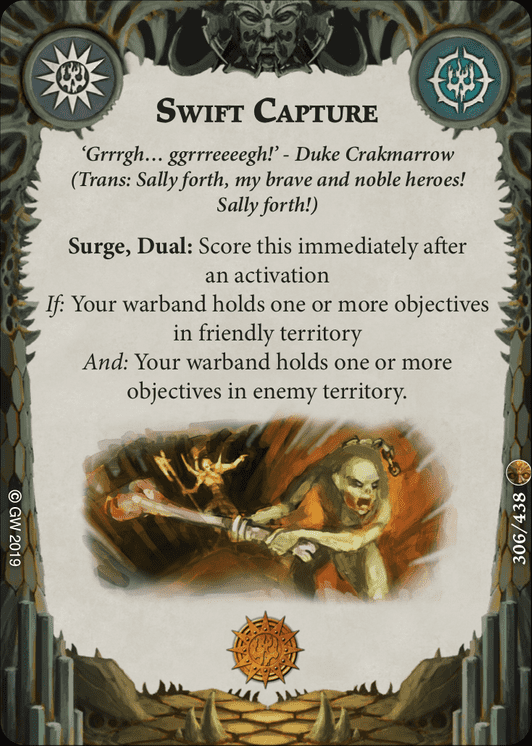 Swift Capture], then we would have a good selection of cards within the gameplan that also fuel The Great Plan. As it stands, within the Direchasm core set and associated expansions (as well as the Essential Cards Pack), we only have access to one good Dual objective that synergises with the Hold playstyle – and that’s [
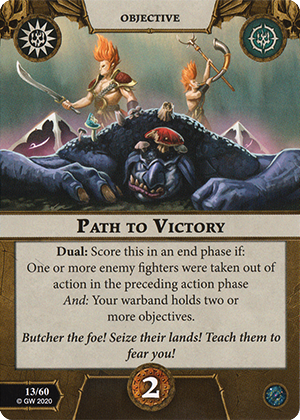 Path to Victory]. As a result, we need an alternative playstyle which allows us to both have consistent surges, as well as fuel for The Great Plan. To that end, we’re building an “aggressive” deck that focuses solely on putting our fighters in enemy territory.
Out of the Box
Adding all 32 faction cards from the warband to our deck gives us the following:

Shopping Time
As with all of our Building on a Budget series, we’re going to assume that you have access to the following items:
- Direchasm core set
- Essentials card pack (skip this if you are a returning Shadespire / Nightvault player as you will own most of the cards already)
In addition, we’re going to be adding two Direchasm sets. These are Khagra’s Ravagers and the Silent Menace card pack. Both of these sets have cards that assist us in getting into enemy territory and staying there.
Evaluating Objectives
Surge Objectives
Let’s take a look at the faction objectives, starting with the surges:
- [
 Astromatrix Alignment]
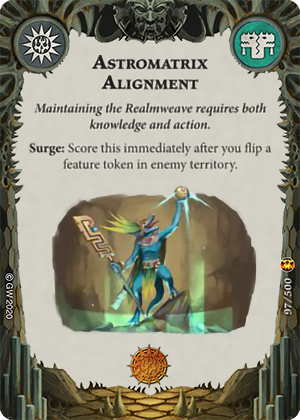 – This a fairly consistent surge objective that you can almost always guarantee with your objective placement. Firstly, if you can place an objective directly inside enemy territory, then you can almost always set up [Kixi-Taka]
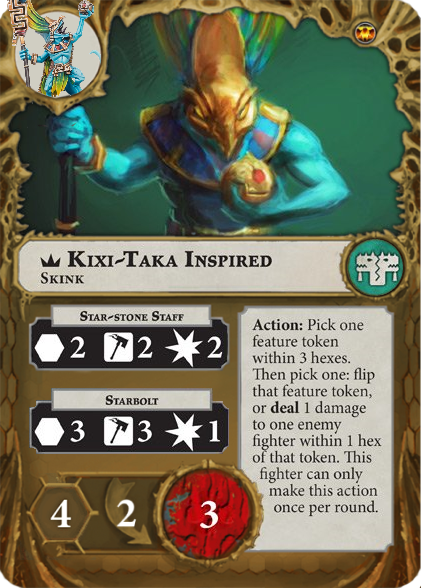 in a way that they can immediately activate to score this using their action. Alternatively, we’re going to run an additional card to ensure we can score this if a) you don’t want to place your leader aggressively, or b) you lose him early. Either way, this is a solid surge that doesn’t require us to kill anything or stand on any objectives, so it’s a yes from us.
 - [Formidable Focus]
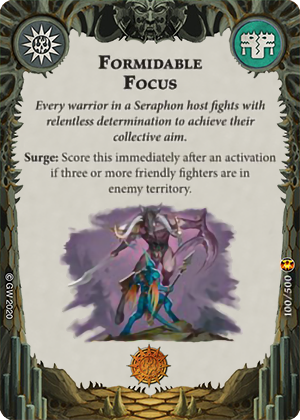 – A slightly worse [Show of Force]
 , but the important thing is that it gives us glory for getting in enemy territory. This is exactly what we’re after.
 - [Replace] [Heralds of Annihilation]
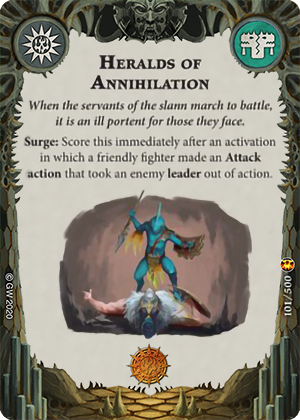 – This is a surge that can be wildly inconsistent depending on the warband you face. Sure, in the mirror match, or against a warband like [Myari's Purifiers]
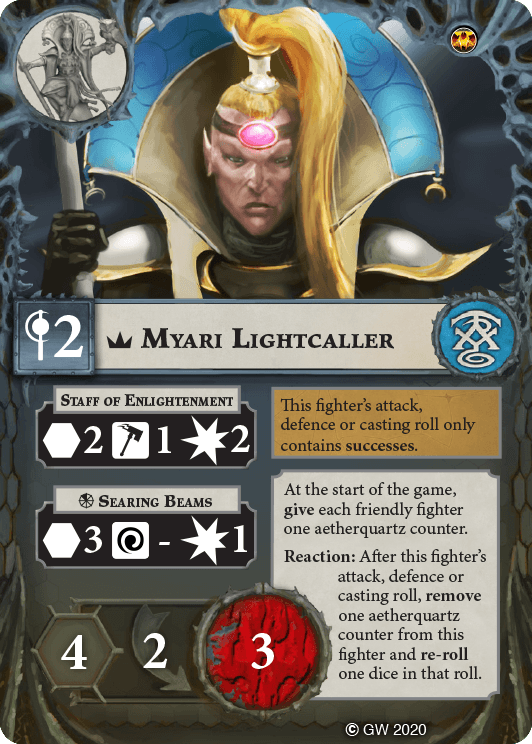 , Klaq-troq may simply blow up their leader, making this simple enough. However, against warbands like [Mollog's Mob]
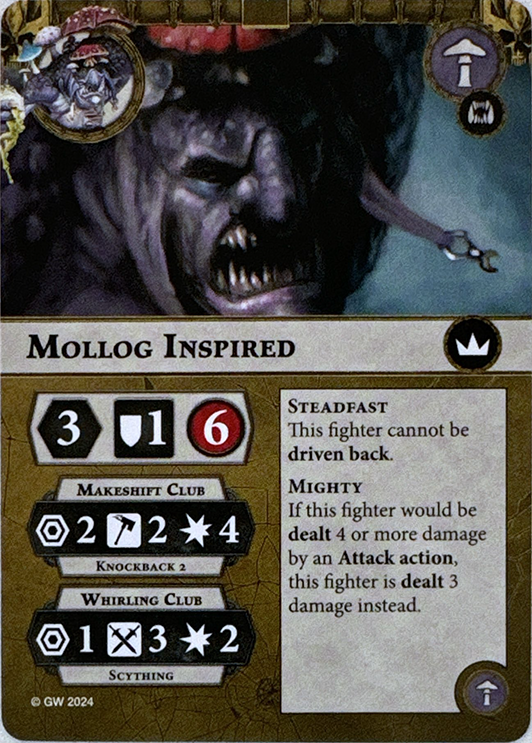 or [Kainan's Reapers]
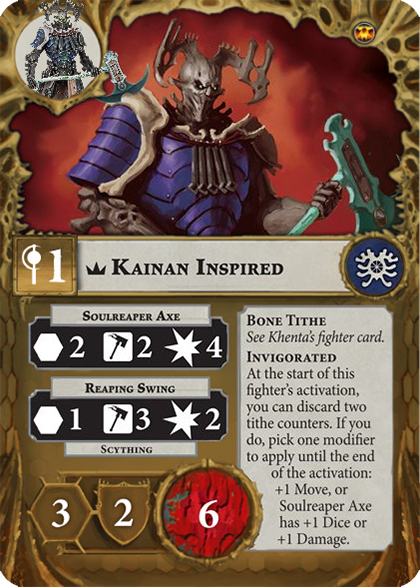 , this is practically unscoreable. We need our surges to be consistent fuel for The Great Plan, and this doesn’t make the cut.
 - [Instinctive Tactics]
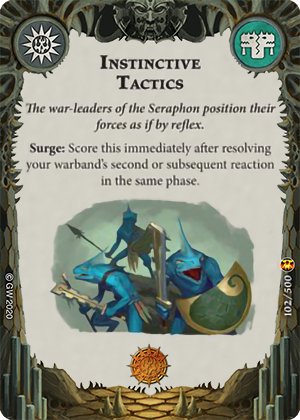 – This is a fantastic surge that can be triggered from so many different things. Firstly, both [Klaq-troq]
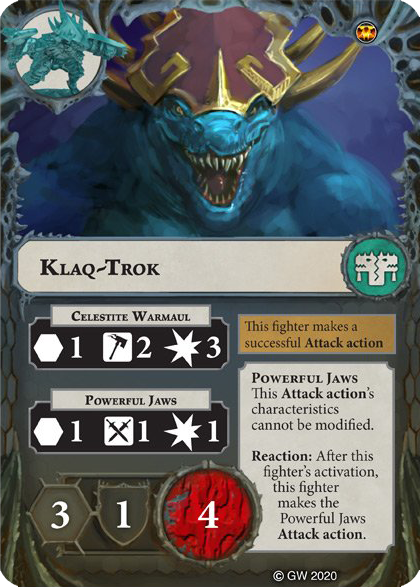 and [the Skinks]
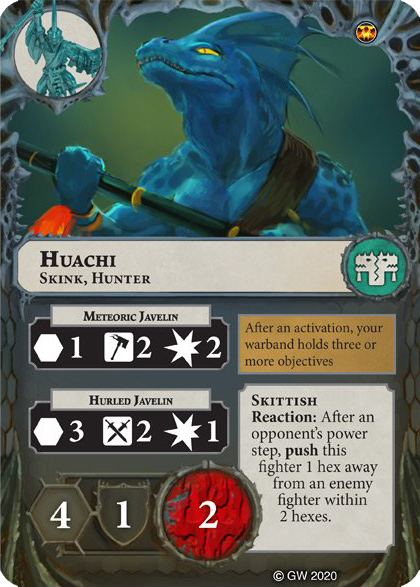 have reactions which trigger this. So activating Klaq-troq once in melee range and triggering Skittish once is enough. But once you add in gambits and upgrades that provide reactions, it becomes almost guaranteed. We’re keeping this.
 - [Replace] [Sotek’s Hunters]
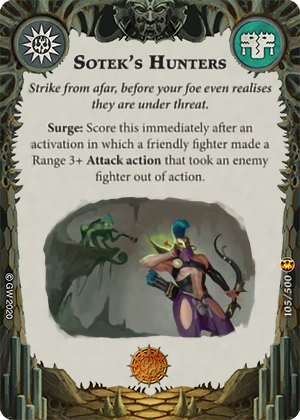 – Unfortunately we’re not buffing any of our ranged fighters, and as such as we’re pretty unlikely to score this. Pass.
We’ve done pretty well with the surges, as we’re keeping the majority. Let’s look at our other three surges:
- [Winged Death]
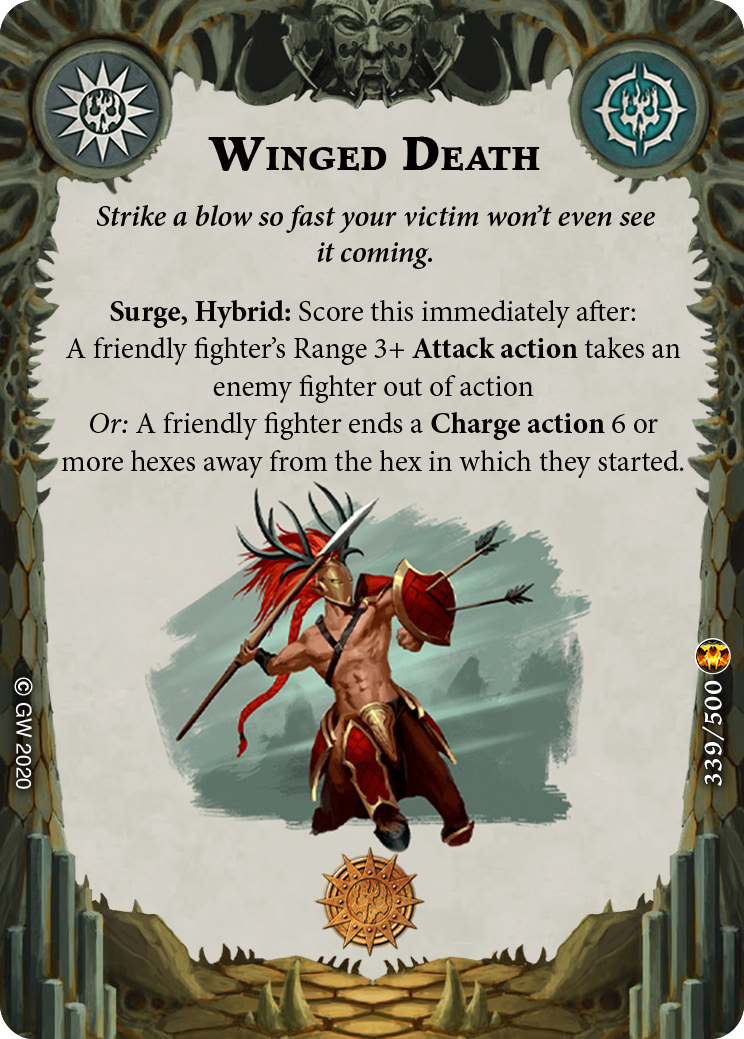 – A hybrid Surge that we can score just by buffing our movement up and charging, this is easy enough to do. While theoretically we can score the second condition with some of our fighters, as we said for Sotek’s Hunters above, it’s not consistent enough to guarantee, so we’re really aiming for the first condition.
 - [Surge of Aggression]
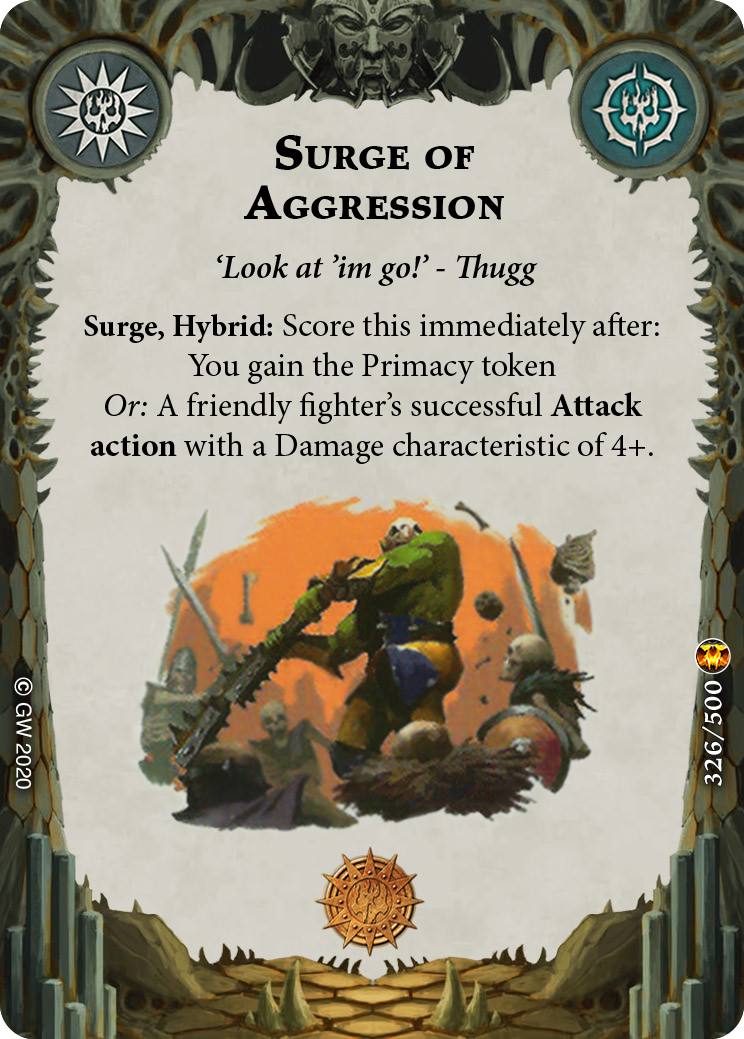 – Our first restricted card, we’re including this primarily for the second condition, which we can score with Klaq-troq once we give him one of our many damage upgrades. However, Klaq-troq will often score you the first condition as well by simply chomping a fighter in a single hit.
 - [Impending Doom]
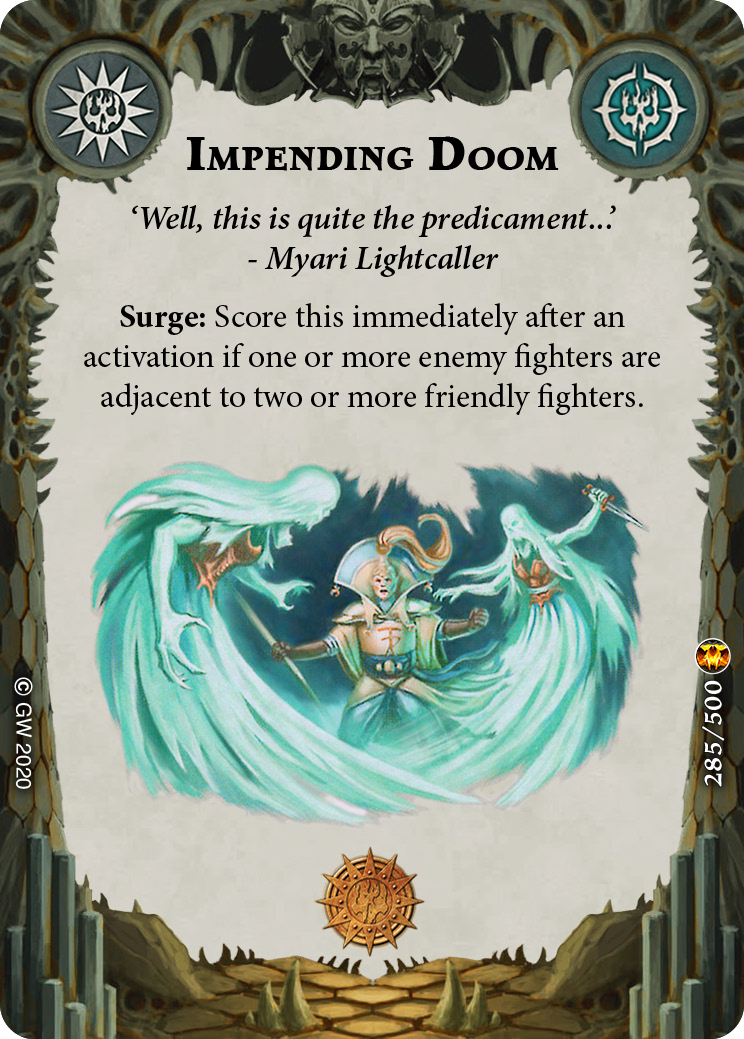 – This is a little bit of a weird surge for our gameplan, but we can generally score it thanks to both card support and smart usage of the Skittish reaction.
End Phase Objectives
We’ve got the standard seven end phase objectives to evaluate:
- [Replace] [Balance the Cosmic Equation]
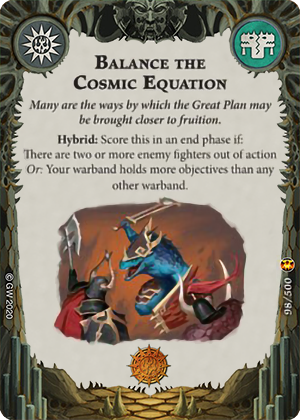 – a one glory [Dominant Position]
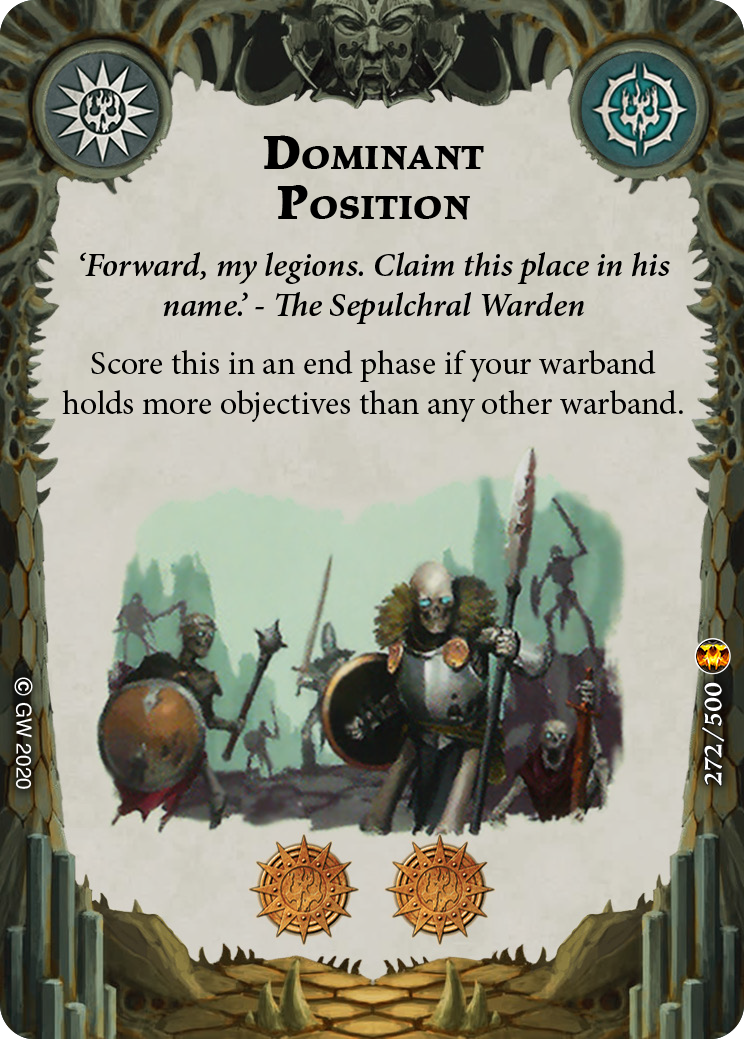 , or a kill-two end phase card such as [Aggressive Display]
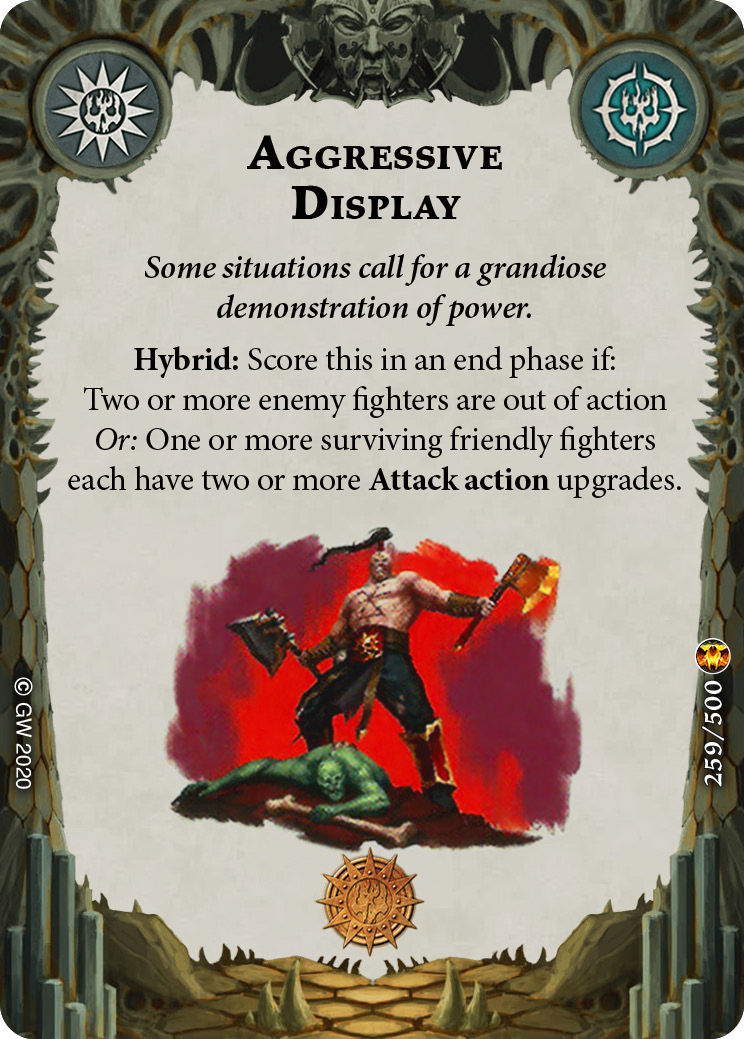 or [Cold-blooded Killers]
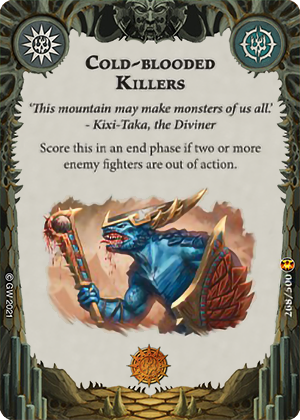 . Unfortunately it’s not quite consistent enough, or high scoring enough for us to keep it in.
 - [Replace] [Children of Azyr]
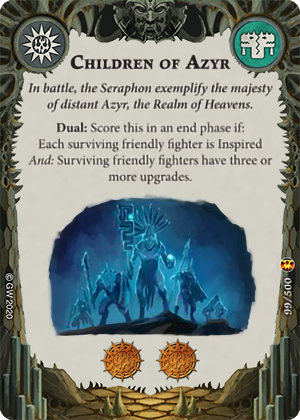 – Depending on when (if) this gets FAQ’ed to be clearer, this is either an impossible, or almost-impossible card to score. Firstly, the asynchronicity of the inspiration conditions between the Skinks and Klaq-troq means that you can quite often have one inspire but not the other. Secondly, the second condition is ambiguous – either it requires each surviving fighter to have three upgrades (which is functionally impossible with more than three fighters), or it requires a total of three upgrades across all fighters – which is slightly less onerous. Either way, it’s too onerous to score and doesn’t synergise with our gameplan, as we’re never going to be going out of our way to inspire the Skinks, so it’s a no from us.
 - [Replace] [Perfect Warrior]
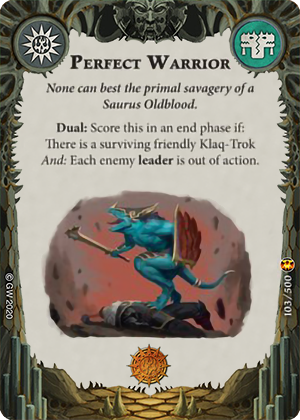 – This is an interesting end phase card that doesn’t give enough reward to offset its inconsistency. The same issues we had with Heralds of Annihilation above applies here – while Klaq-troq is a missile, he often isn’t big enough to take down some of the bigger fighters on his own, and still be left standing to tell the tale. As a result, despite this being a Dual, we have to pass on this.
 - [Seeking the Heart]
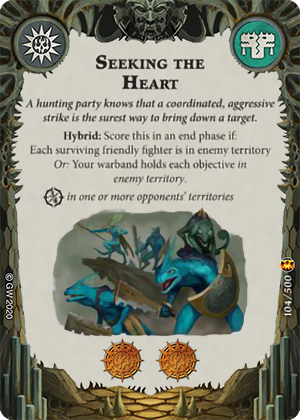 – Now we’re talking. This is a lynchpin objective, which, while it can be awkward Round 1, is still possible thanks to our other card support. You may also score the second condition of this in some niche matchups (such as Skaeth positioning only a single objective in their territory to make scoring [Purifying Rites]
 easier or Khagra doing the same thing to easily score [Desolate Domain]
 by desecrating). It’s also a Hybrid, which helps us with The Great Plan.
 - [The Great Plan] – The card we’ve discussed so consistently, and it’s a big one. A huge chunk of glory for successfully scoring a bunch of different objectives is exactly what we need to get us over the edge, as we’re not going to be aiming to kill too much on our way into enemy territory. Great card.
- [Replace] [Vengeance of the Heavens]
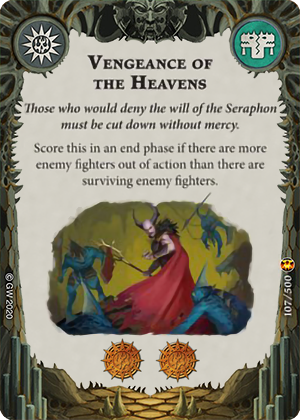 – This is an interesting card which will usually translate to “Kill one and get tabled”, although you can’t usually guarantee that an opponent is going to blow up your fighters (such as in passive or other Hold Objective playstyles). This may pair well in an alternative deck that focusses on killing your own fighters to score cards such as [Pure Carnage]
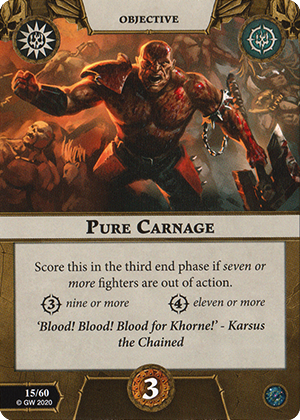 , unfortunately it’s not quite there for us.
 - [Replace] [Will of the Slann]
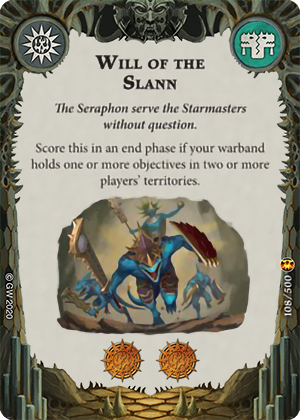 – This is a dynamite end phase card that is a double glory [Swift Capture]. Unfortunately, it relies on us holding an objective in our territory to score it, which bricks our gameplan for getting in enemy territory, so we have to replace it.
We’re only keeping two end phase objectives. Let’s see what our other four are:
- [Bold Deeds]
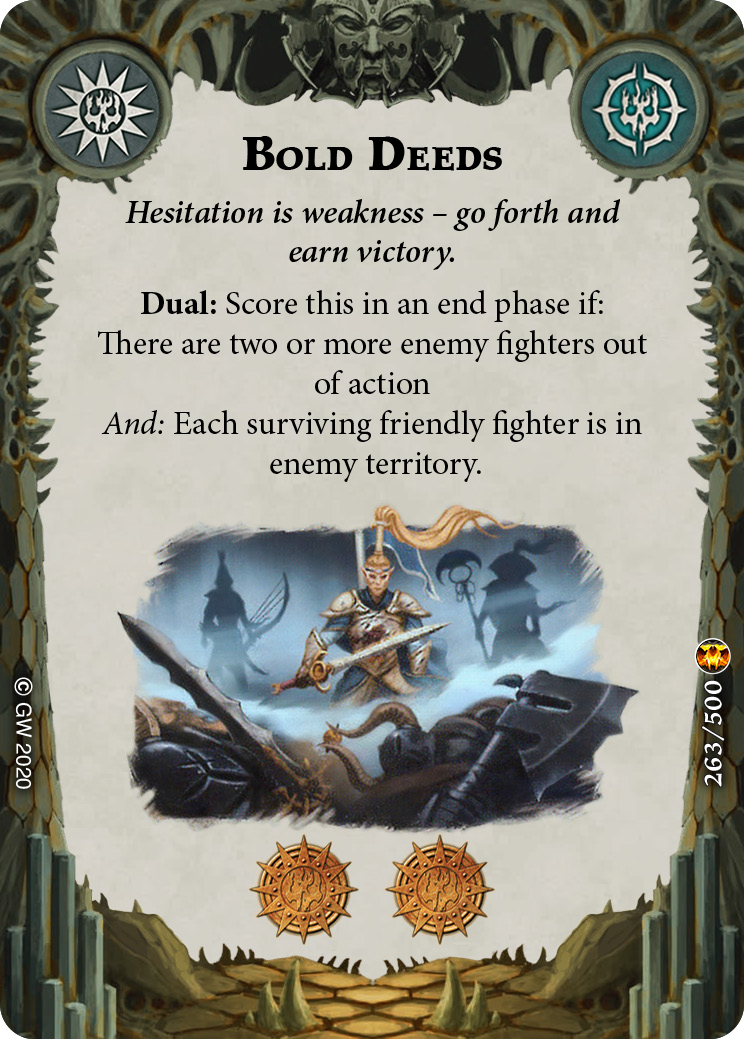 – Pretty simple, this is a harder to score Seeking the Heart, requiring two kills to score. Crucially though, it’s a Dual, which is going to help us score The Great Plan. Otherwise, it’s the exact thing we want to do – get in enemy territory, and kill things along the way (if we can).
 - [Promise of Destruction]
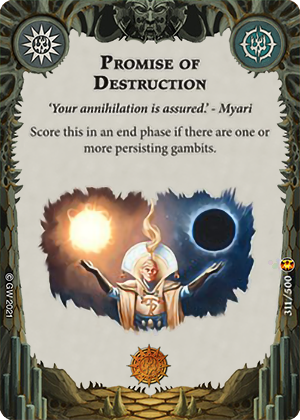 – This is an easy to score end phase card that both you and your opponent can contribute to. The near ubiquitous usage of [
 Outrun Death]
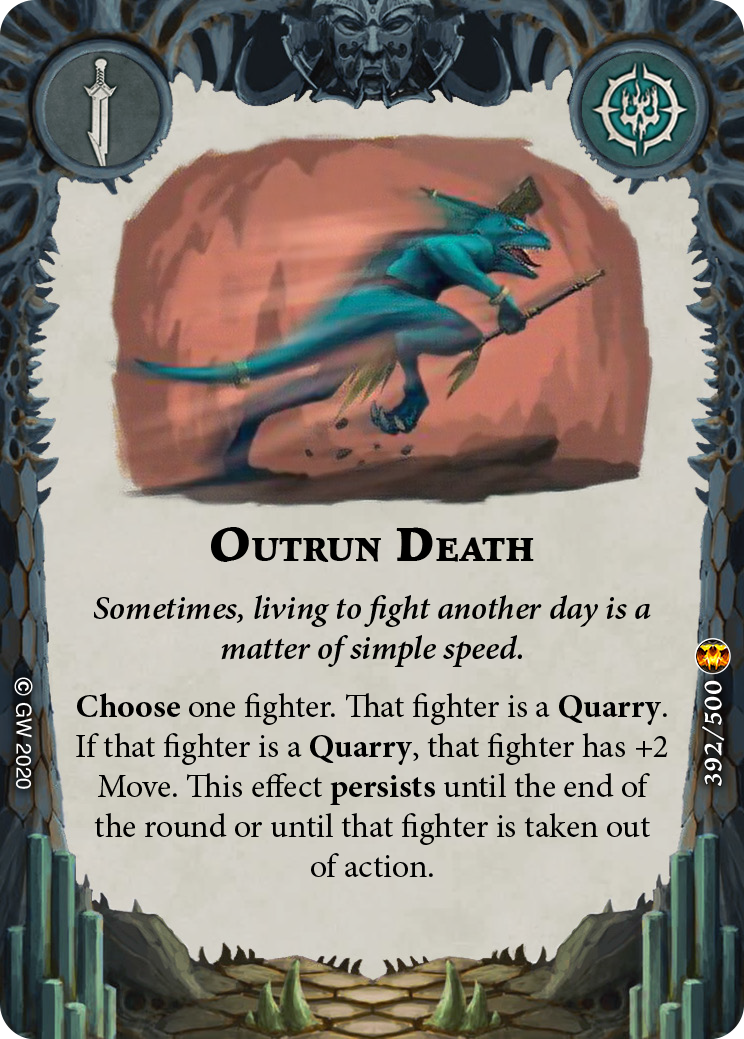 means that you’ll often score off your opponent buffing their fighter’s movement, but we have three cards that can help us score this in our gambit deck, which should be enough to make this consistent.
 - [The Hunt Advances]
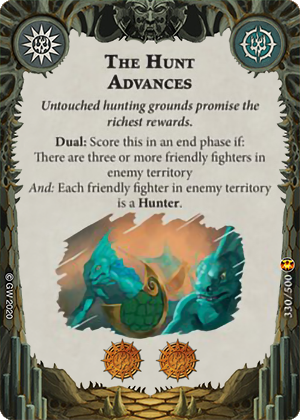 – A two-condition version of Intimidating Display, requiring all fighters in enemy territory to be a Hunter. Out of the box, we’ve got four fighters who are Hunters, enabling us to score this straight away. Additionally, we’ve added some other cards to our power deck to ensure that our other two fighters can become Hunters if need be. Importantly, this gives us a second Dual that we can score to fuel The Great Plan.
 - [Underdog]
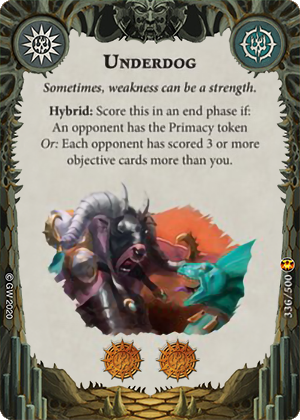 – You’re almost always going to score this thanks to your Skinks blowing up. In addition, if you have a slow opening hand (featuring cards such as The Great Plan), then you’ll often get outscored, and you’ll be able to score it on the other condition. In addition, this is another Hybrid for The Great Plan, taking our total to 4, which is more than enough.
And that’s our objective deck completed. Let’s take a look:

18 glory is a good ceiling for our approach, and has a good balance of easy to score objectives and fuel for The Great Plan. Let’s take a look at the gambits that are going to support this gameplan.
Evaluating Gambits
Now that we’ve got our objectives locked in, we need to see which gambits are conducive to our gameplan:
- [Burst from the Shadows]
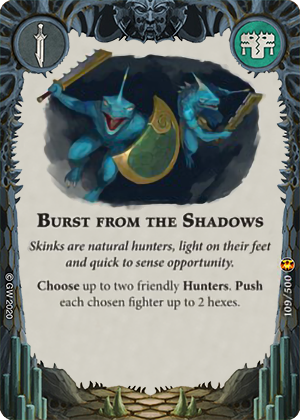 – This is a fantastic push card that enables us to get our frontline Skinks into enemy territory often without even moving them. In the late game, both Kixi-taka and Klaq-troq will often be Hunters (if they’re alive), and thus you can use this to reposition them as well.
 - [Huanchi’s Device]
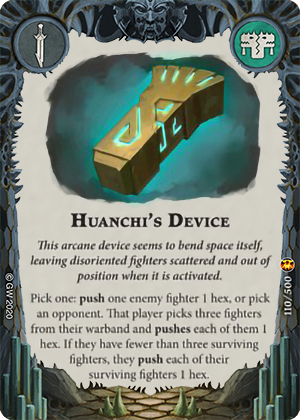 – A faction [Distraction]
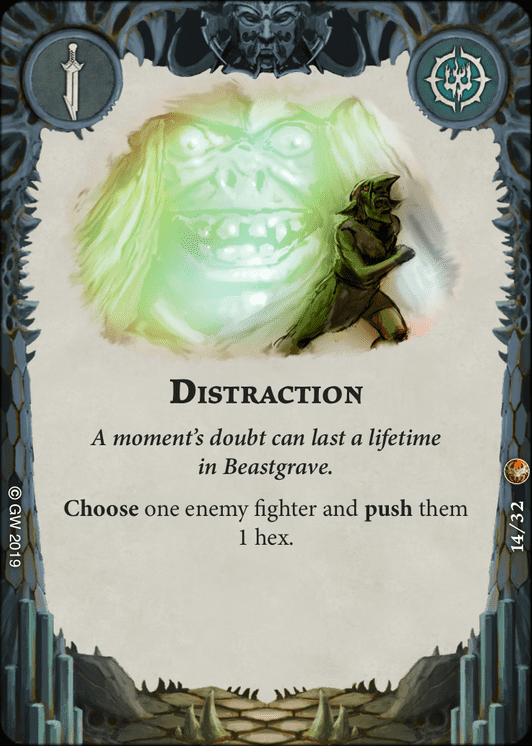 combined with a more situational [Mischievous Spirits]
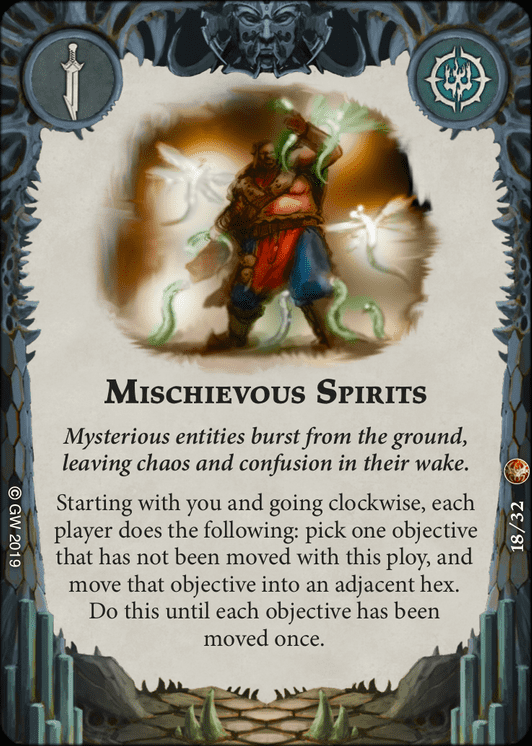 , this is an amazing push card and is essentially an auto-include. When facing Hold Objective warbands with a low model count, the alternate condition can be brutal for disrupting Hold Two and Hold More scoring.
 - [Replace] [Invisible Hunter]
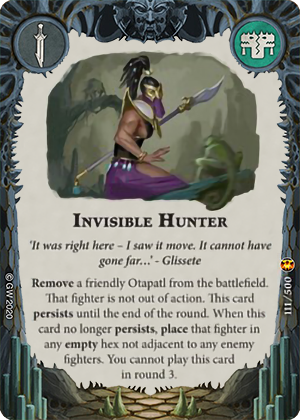 – This is a super interesting card that unfortunately is a nonbo with our end phase scoring. As you don’t return the fighter till the end of the round, this misses the window for scoring and thus prevents us from using Otapatl to count for our fighters in enemy territory. While it can be helpful in removing a “mouth to feed” in terms of getting him into the enemy territory, our gambit deck is extremely stacked and thus we need to be ruthless with removing cards that aren’t 100% on point.
 - [Replace] [Light of the Stars]
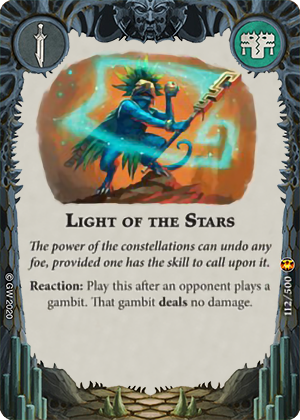 – Another super interesting card that unfortunately doesn’t mesh with our gameplan, this can inadvertently have some hilarious interactions with other cards. For instance, playing this card in response to any of the persisting Poison cards (such as [Rocksnake Toxin]
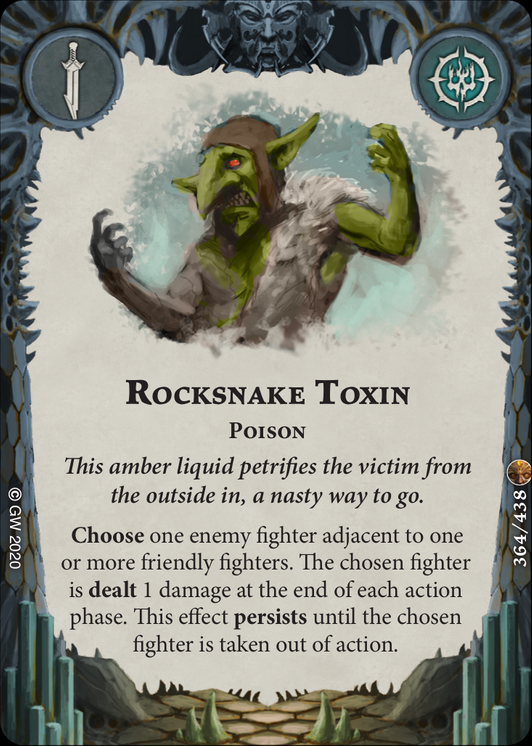 or [Spinetoad Toxin]
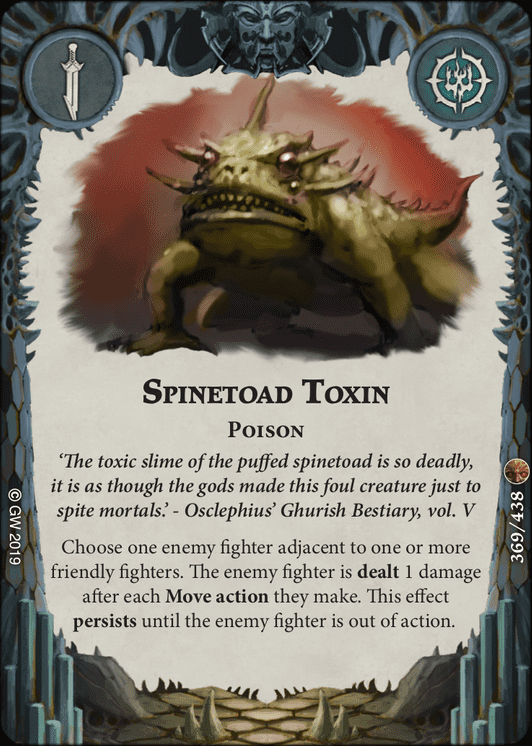 ), would, by RAW, prevent them from ever doing any damage to the fighter (despite persisting on them).
 - [Lords of Space and Time]
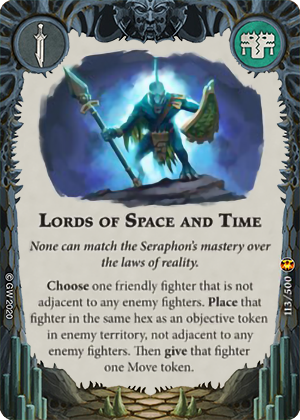 – A key teleport ploy for our gameplan, this is another way for us to get our fighters into enemy territory without spending an activation moving them into it. This does have some positional stipulations which can be counterplayed by your opponent, but generally you will be able to land on at least one objective in enemy territory (especially if you’re using your objective placement to stack their territory with tokens).
 - [Replace] [Sotek’s Venom]
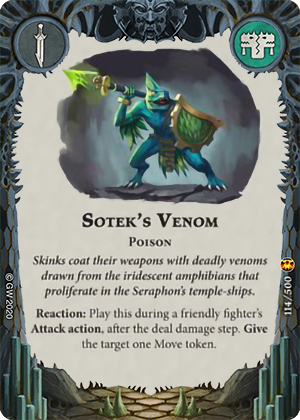 – This is a post-attack reaction which allows us to lock down a fighter. Unfortunately it’s just not strong enough to justify a slot in the deck, so we’ll replace it.
 - [Replace] [Tepok’s Mystery]
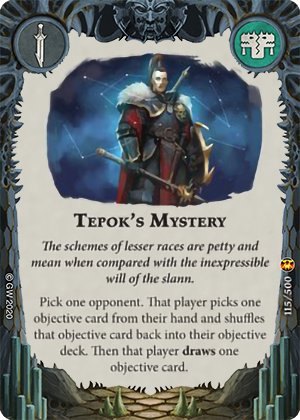 – This is just a bad card generally, notwithstanding its lack of synergy with our particular gameplan. Firstly, it results in net card disadvantage for us, as we lose a card and the opponent doesn’t. In addition, as the opponent is able to select the objective that is shuffled back into the deck, we’re essentially giving the opponent a free activation, but even better as they may have a shot at scoring that objective later on (if for example, it’s too slow right now).
 - [Replace] [The Bulwark Celestial]
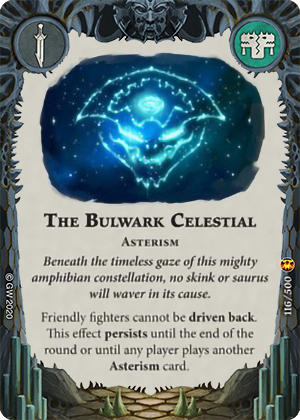 – The first of three Asterisms, this one is probably the weakest of the three. Even in a Hold Objective deck, the likelihood of objective holders being driven back is pretty low – generally whatever attack goes through is going to kill the fighter anyway.
 - [The Great Drake]
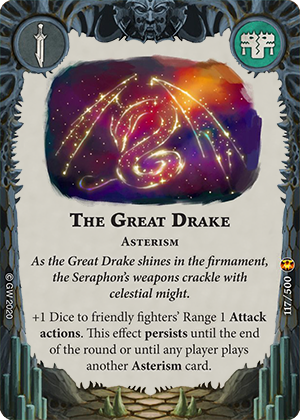 – A persisting [Determined Effort]
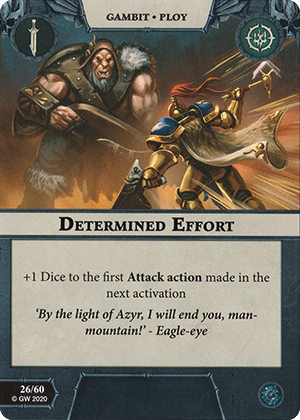 with a range limitation. This is a fantastic card for increasing the accuracy of both Klaq-troq and some of the Skinks, as well as being fuel for Promise of Destruction.
 - [Replace] [The Hunter’s Steed]
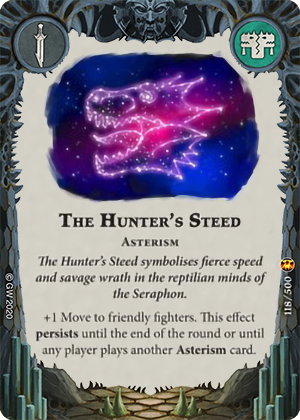 – This is a decent movement card that persists, but unfortunately doesn’t sync up with our gameplan. If we were running [Gathered Momentum], this may be worth it as it pushes our Skinks into range of that objective without requiring inspiration, but as we’re not running that and we’re not inspiring (and thus not allowing this card to get us to Winged Death distance), it’s unfortunately not worth the slot.
We’re keeping 4 out of the 10 gambits. Here’s our replacements:
- [Beast Trail]
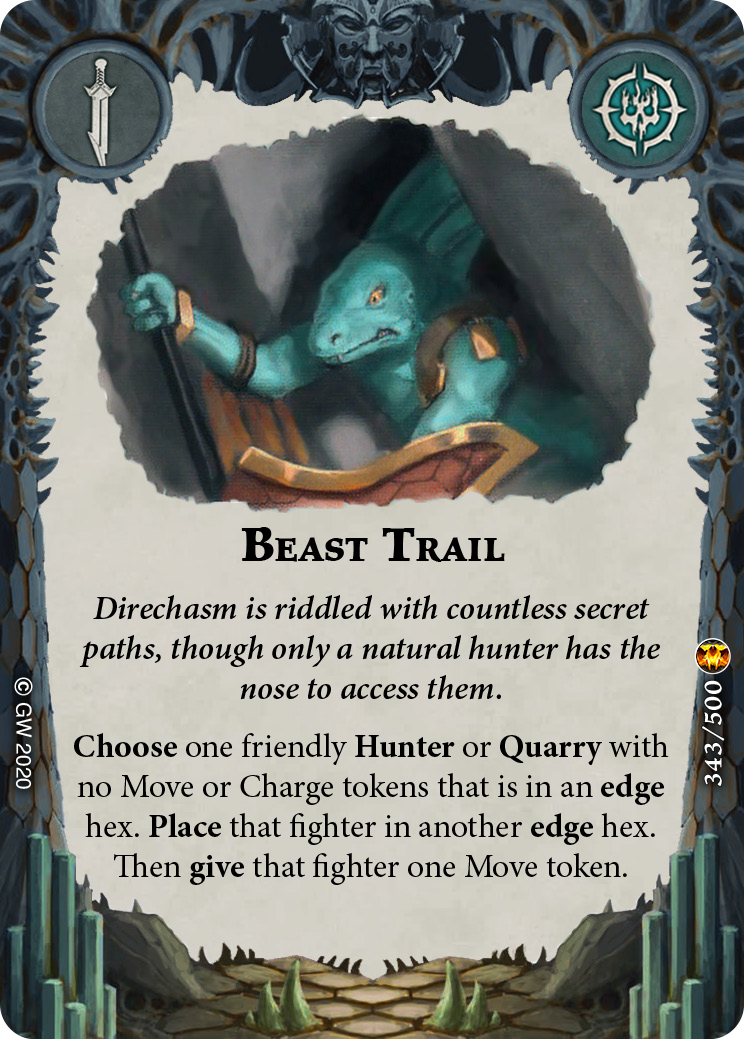 – Our second important teleport ploy, this card is another crucial part for getting our fighters into enemy territory out of sequence. Note that as this requires either Hunter or Quarry, we can turn this on for both Kixi-Taka and Klaq-troq by playing upgrades and/or gambits that give either keyword, but otherwise we can use it on our other fighters out of the box.
 - [Membranous Wings]
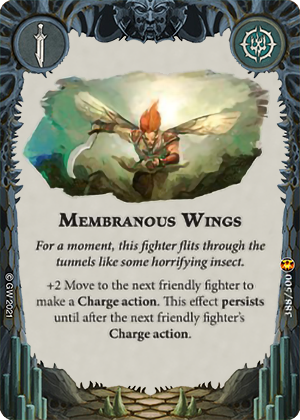 – One of two movement ploys, this one is limited to Charge actions only. This is also a backdoor persisting ploy for Promise of Destruction – this card persists until after your next Charge action, meaning you can play it in the final power step and have it persist till the next round, where it will kick in for your first Charge of the round.
 - [Outrun Death] – Our other movement ploy, this one also persists, which helps us with Promise of Destruction as well. In addition, this makes our fighter a Quarry, meaning we can apply it to Klaq-troq or Kixi-Taka to turn on Beast Trail.
- [Swarming Advance]
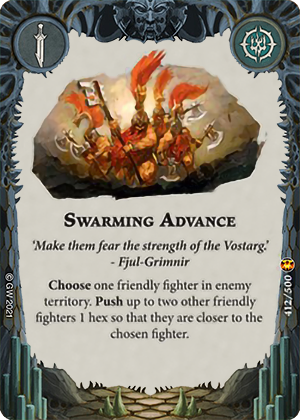 – This is another efficient push card for getting our fighters into enemy territory – while it does require someone to already be there for it to turn on, generally you can play this after moving at least one forward-deployed fighter up.
 - [Symbiote’s Call]
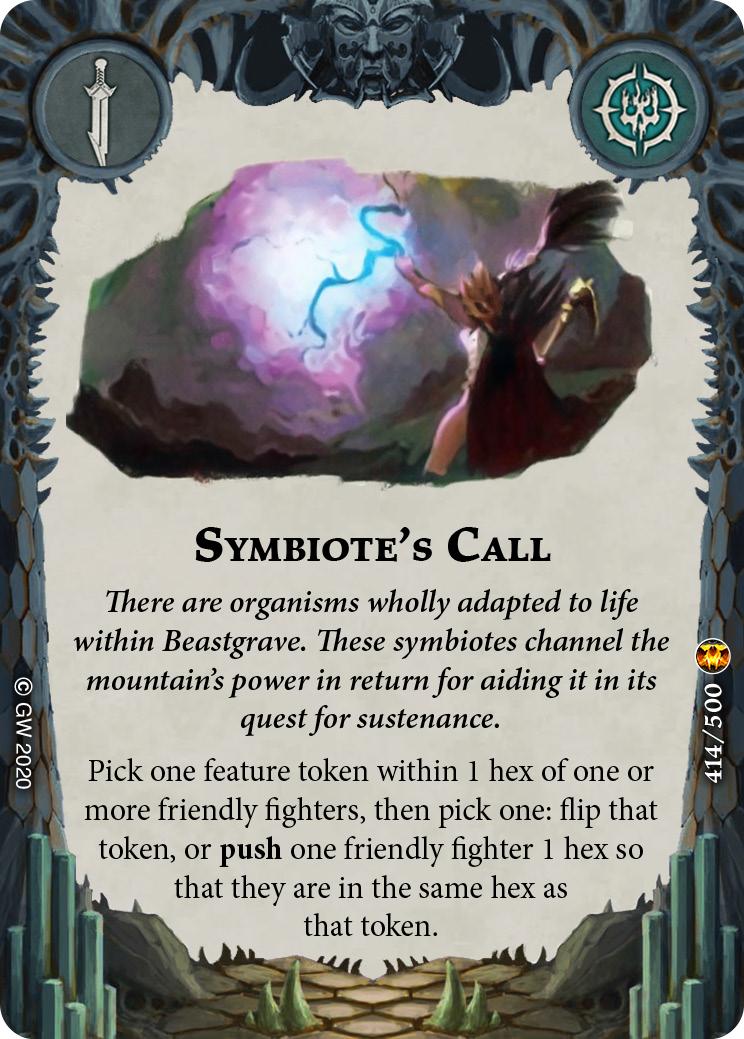 – This is our alternate solution for scoring Astromatrix Alignment, which also doubles as an additional push card. As we’ll be trying to deploy our objectives in the general direction of enemy territory (even in no man’s land), this enables us to get fighters up further if we’re already scored our surge. This is also a huge tech card against [Feed the Beastgrave]
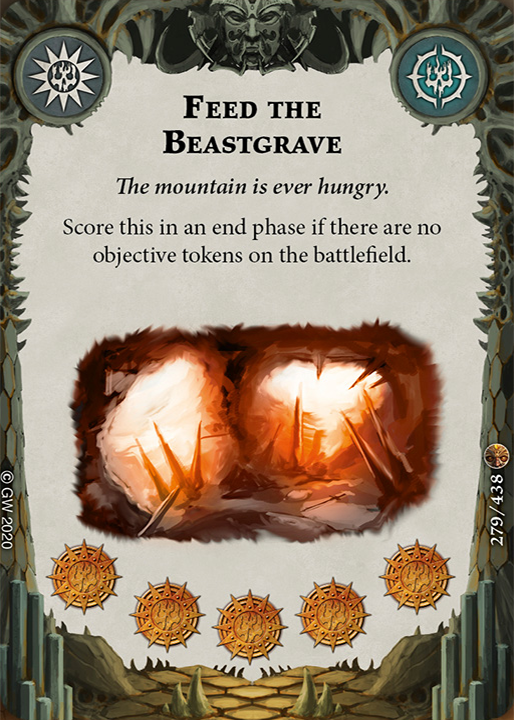 decks, which, when combined with [Kixi-Taka]‘s ability to flip feature tokens (crucially, not objective tokens), makes the matchup downright miserable. If you’re feeling that you would like another reaction to fuel [Instinctive Tactics], you could replace this with [Mirror Move]
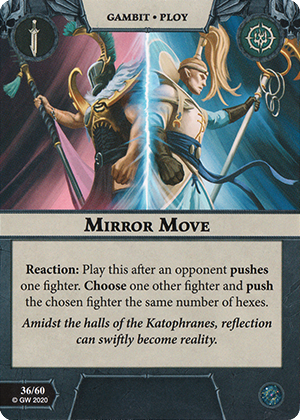 .
. - [Duel of Wits]
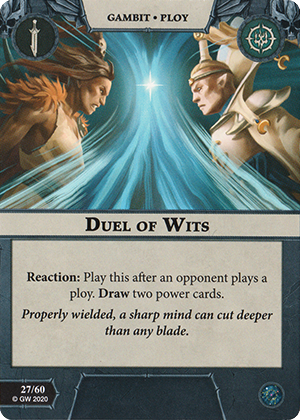 – Unrestricted card draw that is also a reaction, making [Instinctive Tactics] even easier. It’s a slam dunk in most decks, but it’s even better here.
Evaluating Upgrades
Finally, we’ve got our upgrades. We’re looking to use our glory to enhance [Klaq-troq]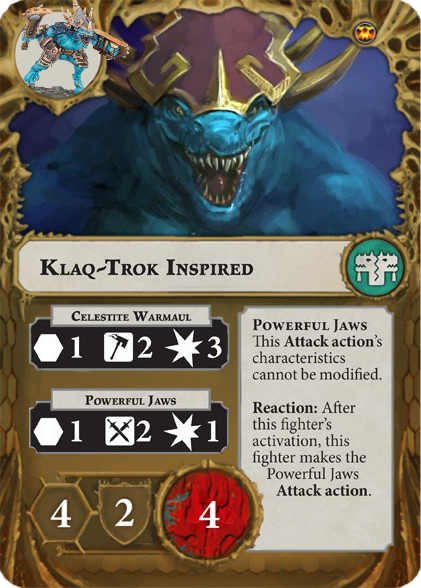 and ensure some of our objective conditions can be met:
- [
 Heaven-blessed Weapon]
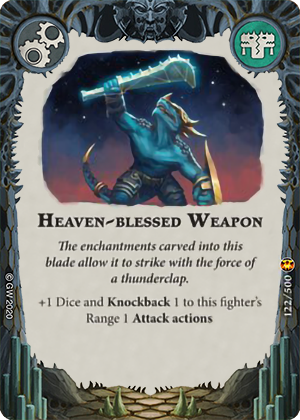 – A fantastic accuracy card that also gives you Knockback (which can be relevant in some matchups). We’re keeping this.
 - [Unfeeling Resilience]
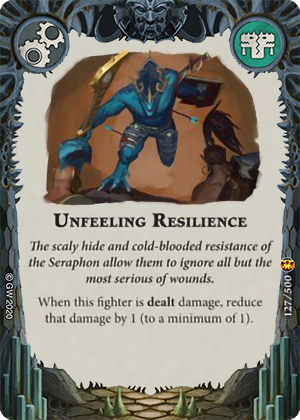 – As always, any -1 damage upgrade is always good, and this is of course no exception. Klaq-troq is the obvious carrier of this, but it can also be nice on your leader to get them out of one shot range from a lot of fighters.
 - [Replace] [Unhesitating]
 – This is a decently statted movement upgrade that would likely see play if you were running more speed package objectives. As it stands, our movement ploys are good enough to score our one speed card reliably, especially thanks to the persistence factor on both, so we’ll replace this.
 - [Replace] [Adaptive Camouflage]
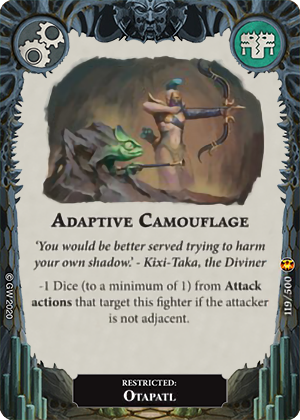 – A fighter restricted card that is also situational. Generally Otapatl is pretty hard to kill (although in our deck, as we’re not inspiring very often, this is probably less true), and usually when people do attack him, they’re charging him to hit him with strong and accurate melee attacks. As a result, it’s a pass from us on this one.
 - [Replace] [Astrolith Igniter]
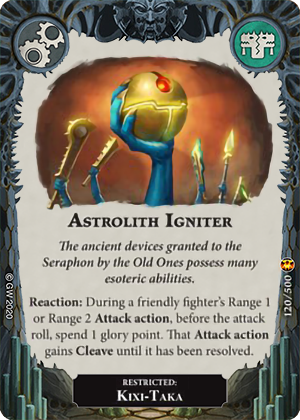 – While this upgrade is a reaction, it’s effect is just so underpowered and overcosted. You can get unconditional Cleave from a number of Direchasm upgrades (such as [Charike Claws]
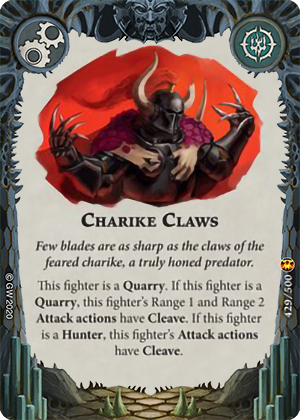 ), and while you can apply the effect to any fighter, it is still restricted to Kixi-Taka, meaning that losing him leaves you with a dead card (and no Cleave anyway).
 - [Replace] [Cloak of Feathers]
 – Another Kixi-Taka restricted upgrade, this is a speed boost with the ability to ignore hexes. As above, it’s not worth investing in upgrades restricted to your leader, as he’s just too fragile to guarantee he can take advantage of them.
 - [Replace] [Herald of the Old Ones]
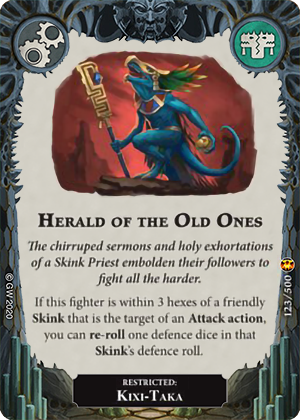 – Okay this is getting silly. Our third Kixi-Taka upgrade, this one is probably the worst due to its situational and positional requirements. You’re better off just taking a +Defence or re-roll card straight up (such as [Formidable Defence]
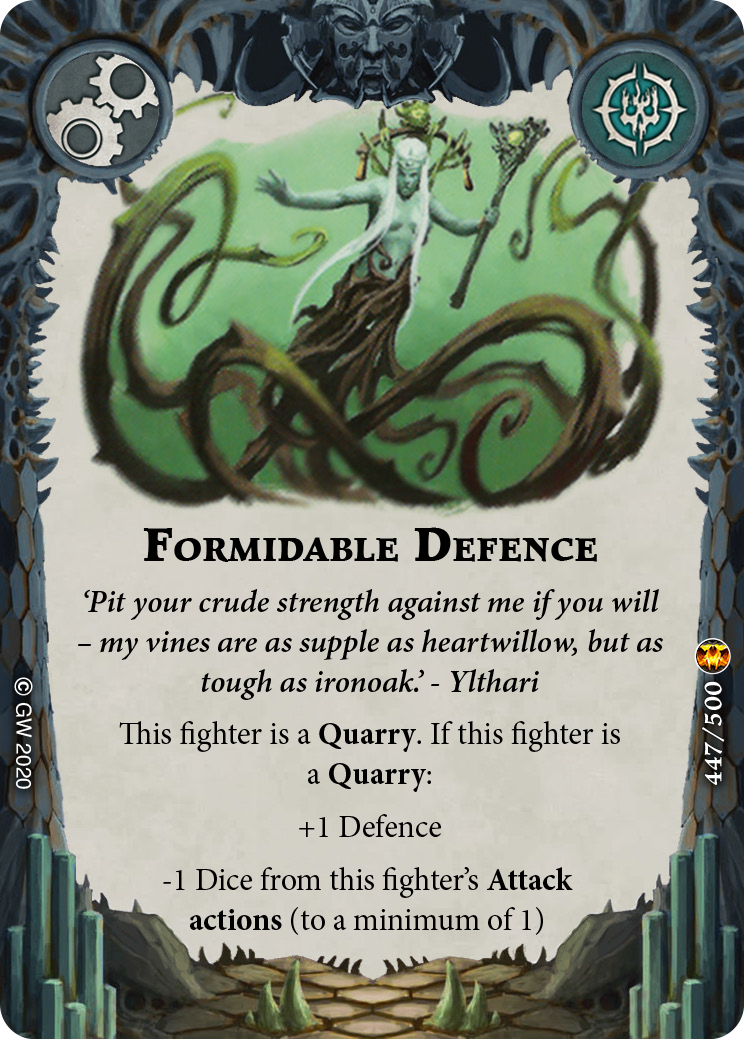 or [Champion’s Fortitude]
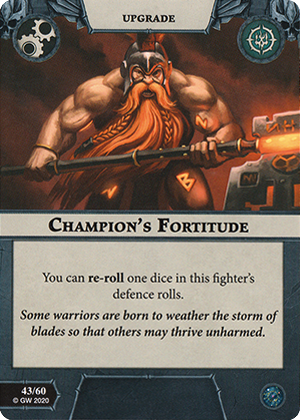 ), but we’re generally not concerned with keeping our Skinks alive (outside of [Huachi]
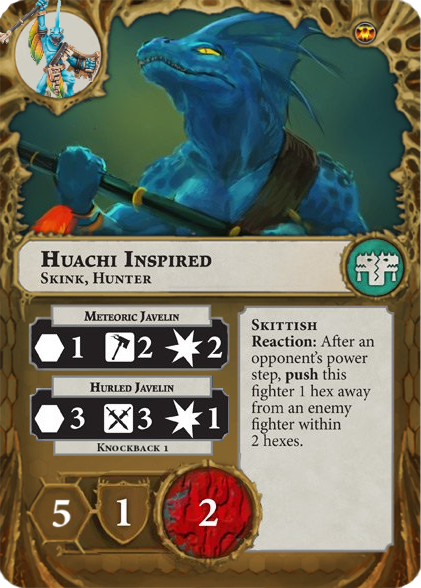 ).
). - [Replace] [Selfless Sacrifice]
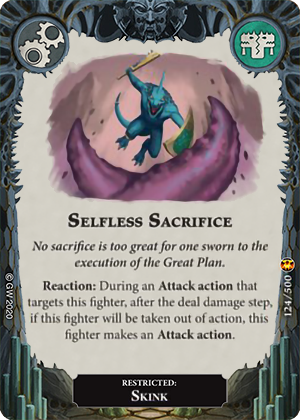 – This is a Skink restricted [No Respite]
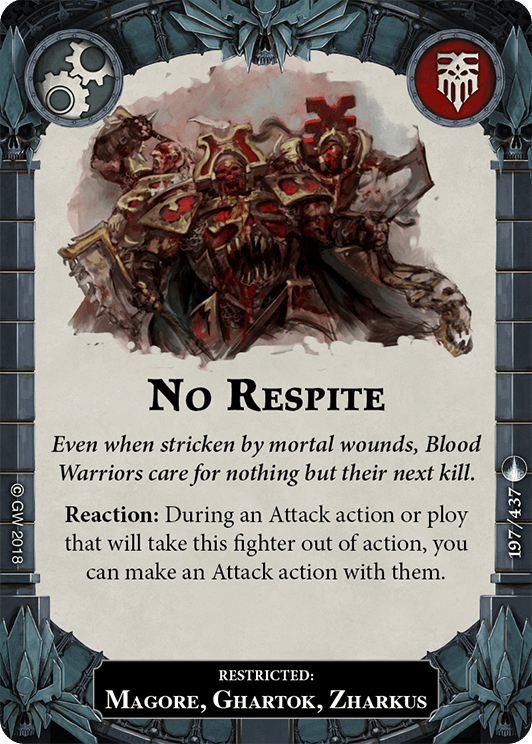 , it is nowhere near as impactful due to the relative weakness of Skink attacks and their propensity to die. Pass.
 - [Replace] [Spawning Bond]
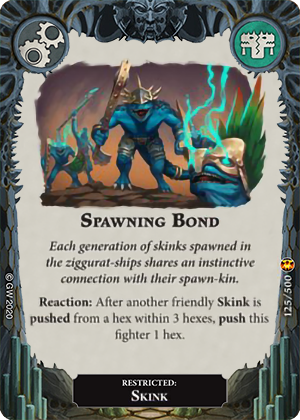 – Another Skink restricted card that relies on another Skink being pushed while within a range to get anything out of it. Just too situational and underpowered to be worth investing into.
 - [Supreme Predator]
 – While this is a fighter restricted card, it is strong enough for our gameplan that it’s worth committing the slot to. Firstly, this makes Klaq-troq a Hunter, which turns on [The Hunt Advances] and [Beast Trail], and secondly, it gives him even more accuracy, and crucially, allows you to re-roll your Powerful Jaws reaction, giving it a lot more chance to do additional damage. Just note that this card does have several downsides. Firstly, if your opponent is playing [Experienced Eye]
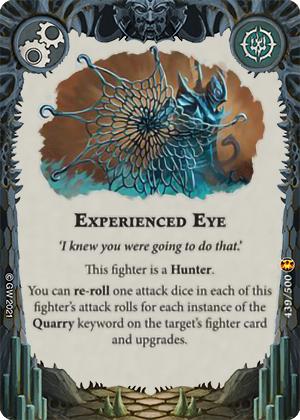 , this gives a whopping 3 re-rolls when targeting Klaq-troq. Secondly, this makes all fighters a Quarry, meaning some cards like [Absolute Stillness]
 may be even easier to score.
So we’re only keeping 3 of our faction upgrades. Thankfully, we’ve got a lot of options that synergise with our gameplan to pick from.
- [Feral Symbiote]
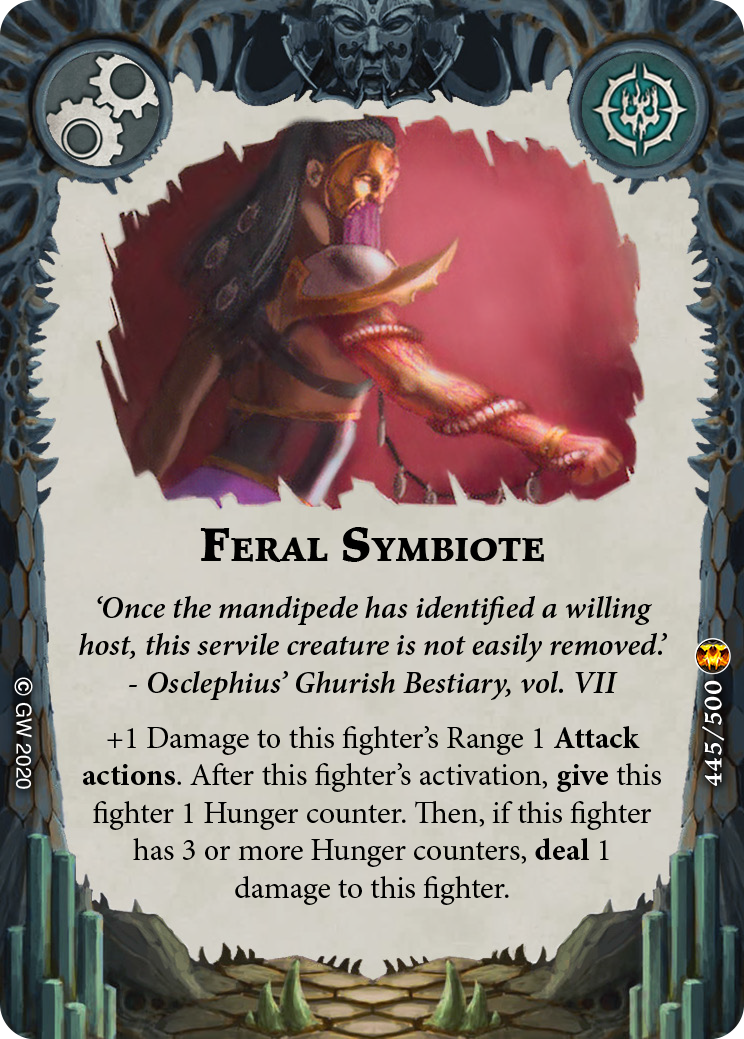 – This is great damage for Klaq-troq, which doesn’t have as strong of a downside as cards such as [Savage Strength]
 . In addition, it allows your main attack to score [Surge of Aggression]. While you do have to be careful about Hunger token damage, generally this will not become a problem until the late game, after which Klaq-troq is likely dead or finished with his job of murdering enemy fighters.
 - [Savage Visage]
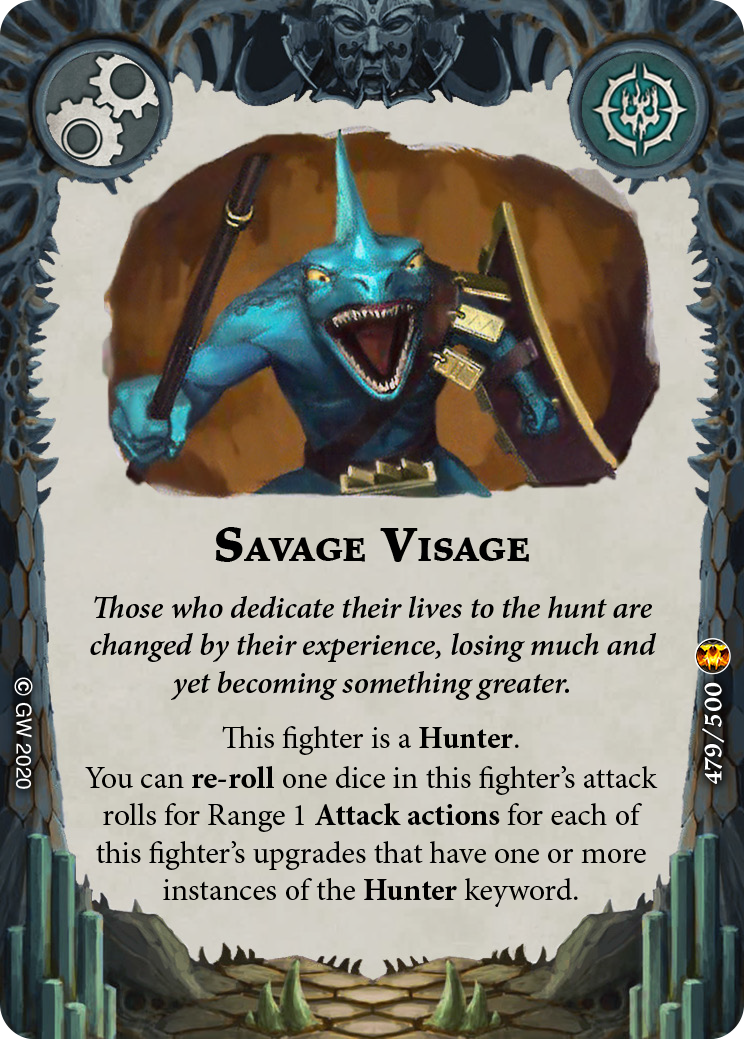 – This is another accuracy upgrade that also gives the Hunter keyword. The obvious target is Klaq-troq, which when combined with Supreme Predator gives him double re-rolls (which makes his inspired Powerful Jaws attack quite accurate), but it can also be given to Kixi-Taka in a pinch to make him a Hunter for the aforementioned cards that need it (although it won’t give him any benefits).
 - [Scavenged Armour]
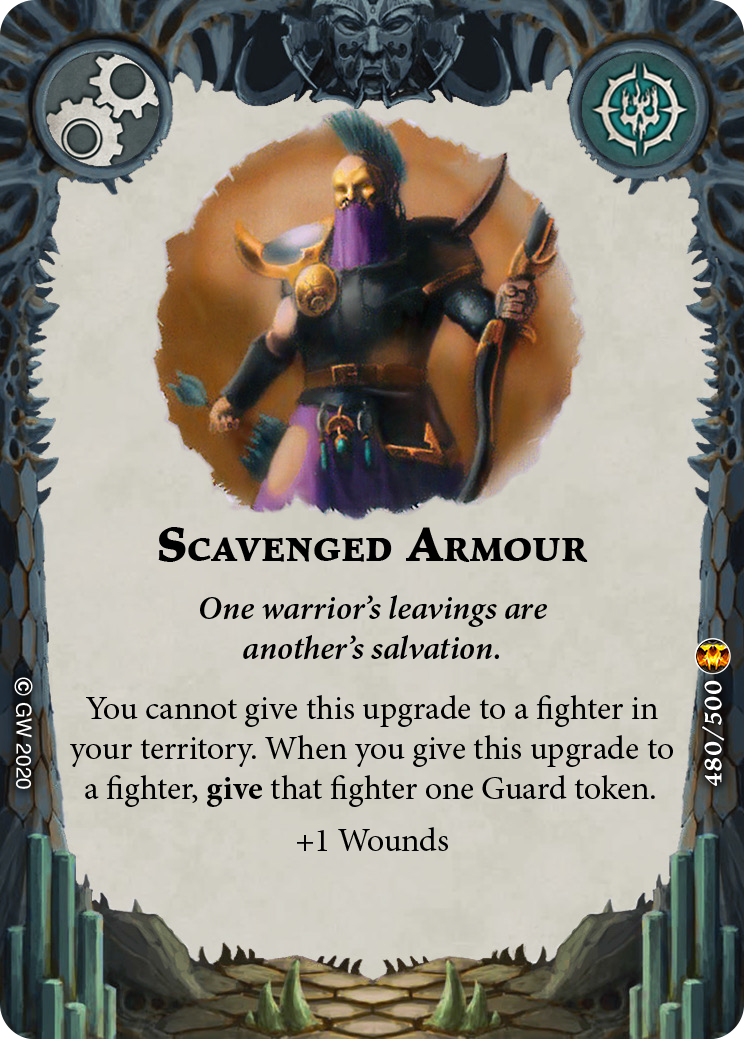 – A perfect synergy upgrade, this is a +1 Wound card that can be brutal when put on either Klaq-troq or Kixi-Taka. Bringing Kixi-Taka to 4 wounds with 2 guarded defence is quite a strong defensive profile, and allows you to keep him around a bit longer (to either poke things with his stick, ping opponents or flip an objective). Alternatively, slap it on Klaq-troq and watch your opponent try to move him.
 - [Soultooth Spear]
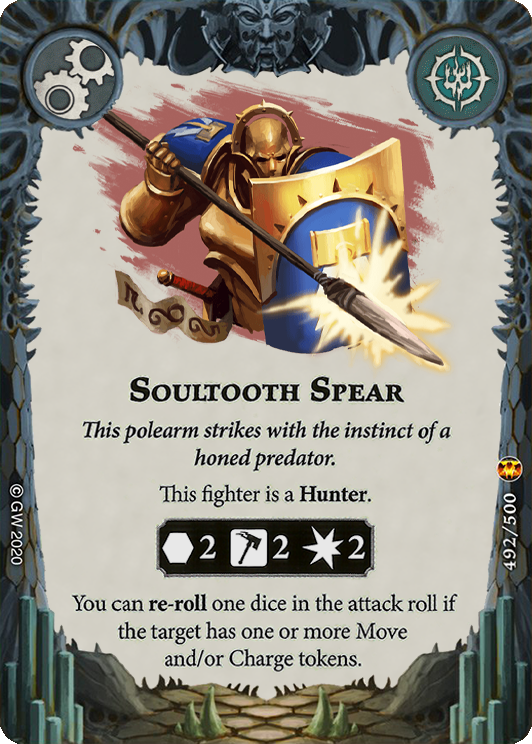 – This is another Hunter keyword delivery mechanism, that also doubles as a damage multiplier for some of the other Skinks in the warband. Allowing Xepic and Tok to contribute with more damage can be helpful, but you can also give this to Klaq-troq to increase his reach (although note that none of our accuracy cards except for [Supreme Predator] will work on this attack action due to its range).
 - [Gloryseeker]
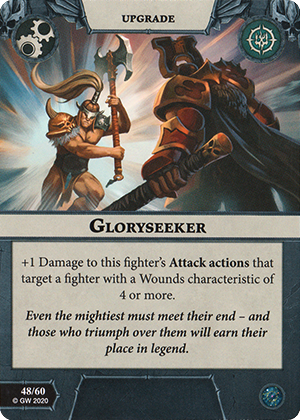 – One of these days I’ll make a deck in this series that doesn’t have this card. Today is not that day.
 - [Great Fortitude]
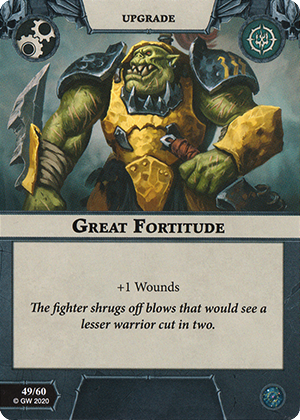 – As always, +1 Wounds is great. This can help your leader stick around longer or make Klaq-troq more annoying.
 - [Great Strength]
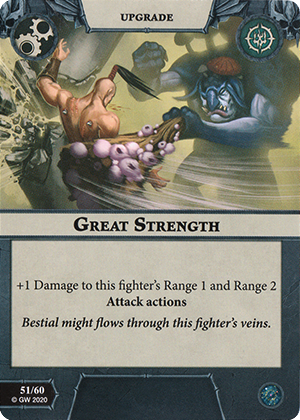 – Damage is damage. Gives your leader a little more hitting power, turns on Surge for Klaq-troq, and can buff whoever is carrying the Soultooth Spear. worth the slot.
Putting it all together
With all of our cards selected, our deck now looks like this:

Example Hand
This hand shows off how the deck relies on efficient combinations of keywords in order to score objectives. We’ve got one close to guaranteed glory in Formidable Focus, which we can achieve by simply running our fighters up into enemy territory, or in a pinch, use our Beast Trail early in order to get some glory on the board. Crucially, that single surge speed glory enables us to give a fighter (such as Klaq-troq) Savage Visage. This turns on Beast Trail for that fighter, but also enables us to engage with them in enemy territory without affecting (and in fact, assisting with) scoring The Hunt Advances. Our other “guaranteed” glory is Promise of Destruction, which we can score simply by playing The Great Drake at any point before end phase. Assuming we do score Formidable Focus, let’s draw another card and see what we get:
This is a great surge to draw into, as we can either use our leader or Symbiote’s Call to score it. As Kixi-Taka is not a Hunter at this stage, we may position him just out of enemy territory, and use his ability to score it if we have the activations to spare.
Looking at our scoring, depending on how we have positioned our fighters (or how successfully we have managed to survive in enemy territory), we’re looking at anywhere from 3-5 glory, excluding any glory gained from killing enemies. In addition, if we do manage to score The Hunt Advances, we have completed all of the elements necessary for [The Great Plan], with the exception of the number of objectives scored. This takes the pressure off of our Rounds 2 and 3, as we can be more aggressive with getting rid of objectives we can’t score easily, knowing that as long as we score a few, we will have turned on The Great Plan (potentially even in Round 2!). As always, this is simply a theoretical exercise and doesn’t necessarily reflect the realities of playing a real game of Underworlds.
What to do when…
Expanding on the example hand above, there are a number of “common” scenarios that you can encounter when playing this deck. While some are difficult to come back from, there are a number that you can work around, provided you understand the possible lines of play and you get relatively lucky with your card support.
…Klaq-troq dies early
Losing Klaq-troq early can hamper your gameplan, but it’s not necessarily an instant loss. Firstly, you can give a lot of your defensive upgrades to your leader, making him surprisingly hard to kill (although you will need to use [ Scavenged Armor] and/or ensure he’s on Guard fairly often if possible). Secondly, although your Skinks are generally quite weak, [Huachi] has a good un-inspired attack and the inclusion of Soultooth Spear means that you can punch above your weight class with the others if needed (although you will usually die to a counterpunch).
…you draw into The Great Plan in Round 1
This is a common occurrence when playing Lizards, and you really have to weigh up your ability to score it versus the speed of your hand, as well as the matchup you are playing. In an extremely aggressive matchup, you may need to keep it solely to give you a glory boost at the end of the game, as you may bleed a lot of glory early on (particularly if you’re moving up your weak Skinks). Conversely, playing against an objective based warband (or someone playing Feed the Beastgrave), then your focus may be instead to take an early glory lead and then use your tempo to deny them scoring – either by moving your fighters onto objectives or throwing your fighters into combat with them to deny them. In addition, throwing The Great Plan means you no longer have to worry about ensuring the scoring parameters are met, which gives you a bit more flexibility.
There’s no “one size fits all” approach to when to keep and when to throw your opening hand generally, and this is doubly true with The Great Plan. The best advice is to consider the glory ceiling of your opponent’s deck (which is easier to do as part of a Bo3) versus yours, and then see if the drop in ceiling is worth the tempo shift (if you think throwing will increase that).
…all of my fighters die!
This is a fairly big drawback of the deck, as it requires you to push your mostly squishy lizards into enemy territory to score. The advice on this one is that, with the exception of [The Hunt Advances] and [Formidable Focus], all of your objectives (including the enemy territory cards) can be scored with only one fighter left. This means that losing all of your Skinks isn’t necessarily the end of the gameplan (although it does bleed you a lot of glory). Similarly, expanding on above, losing Klaq-troq doesn’t mean you can’t win – in a recent game, I buffed up [Huachi] with my offensive and defensive buffs and he went around killing things until he was eventually murdered.
…you draw into cards requiring all fighters in enemy territory in Round 1
Drawing, for instance, Bold Deeds, Seeking the Heart and The Hunt Advances in Turn 1 can be absolutely brutal unless you get a really strong power hand to support it (such as both teleports and/or multiple push cards). However, the amount of glory that you do get from these cards is high enough that you can afford to be relatively slow in scoring if you think you can a) get at least some glory from a kill or two, and b) have a good enough setup to all but guarantee this in the second round. You can’t throw a hand like that without also bricking The Great Plan, reducing your glory ceiling to 9, so unfortunately you just have to grin and bear it. You would likely take an activation to throw one of the cards in order to hopefully draw into a surge that you can score to get some glory early on, and then try to use Klaq-troq efficiently to get at least one kill if possible.
…someone offsets me!
This is also a challenge depending on the speed of your hand (such as in the case above), but thanks to the inclusion of multiple teleports this isn’t actually as brutal as it could be. When offset significantly, the important thing will be efficiently placing your objectives so that they are good teleport targets, not necessarily good for blocking an opponent’s placement. You may have to have a slower first round to get your fighters in position for Round 2, but generally this means you’re not losing as many Skinks early on, so it gives you a little more gas in the late game. If you also get lucky with some of your passive or less positional objectives (such as Instinctive Tactics and Promise of Destruction) you can at least get some upgrades going to move into the next round with a little power boost.
Potential purchases and next upgrades
As with all of the articles in this series, below we’ll go over some suggestions for additional warbands you could add to your collection to enhance and improve the gameplan for this deck. As always, these are a very small subset of potential cards that could improve the deck, as almost all Underworlds warbands have at least one universal card that is strong enough to consider making space for in your deck. However, as above, we’re only going to be looking at Direchasm warbands within this section. While there are a lot of potential improvements that could be made by incorporating cards from Beastgrave (the obvious power-up being replacing several of the surges in the deck with the “speed package” – such as [Gathered Momentum] and [Cover Ground]), there are still a number of things you could do to improve the consistency of this deck with just the universals available in the Direchasm season.
First up, [the Crimson Court] . There’s a number of cards here that really help our gameplan, as well as some nice to have upgrades.
- [Dominant Display]
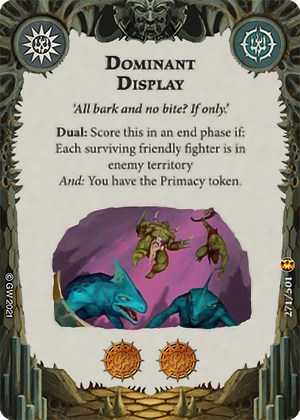 – This is a really nice Dual objective that is essentially Seeking the Heart with another condition. If you are going to go this route, then you would likely lean more heavily into primacy – freeing up Restricted slots for [Proud Runner]
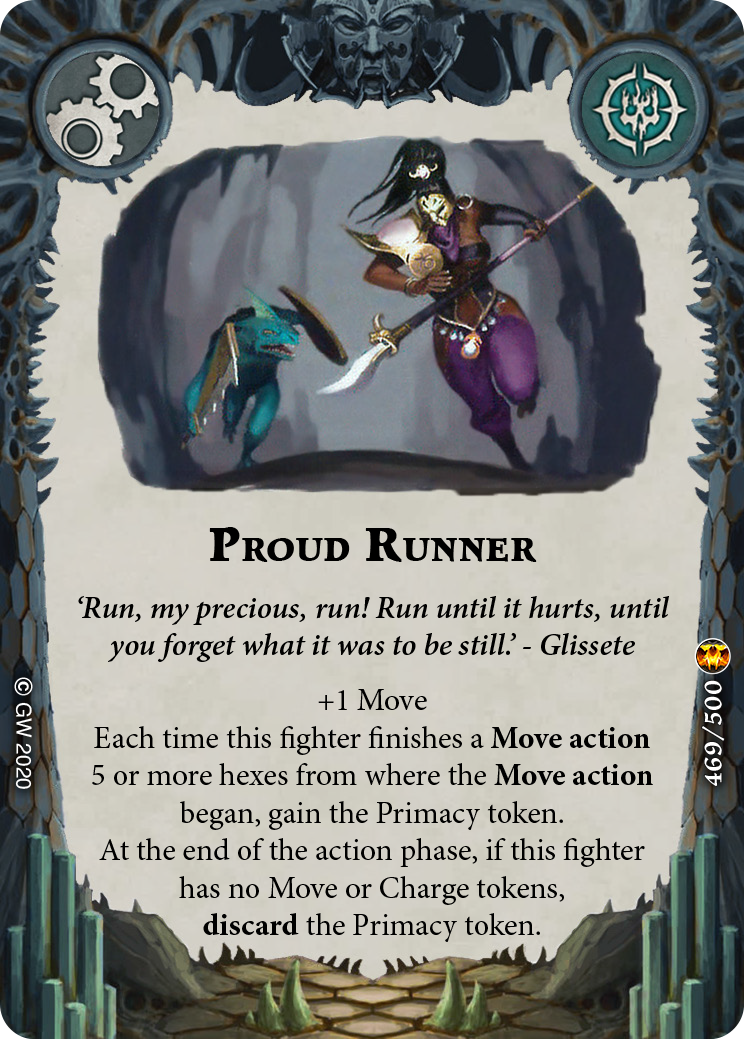 and [Haughty Resistance]
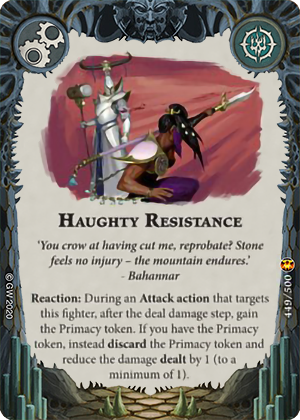 if possible to make this more reliable. There’s a couple of other Primacy based cards that we’ll look at below which can also help you score this. This takes the pressure off needing to use The Hunt Advances, making some of your card choices a little easier as you aren’t as beholden to the Hunter keyword.
 - [Punching Up]
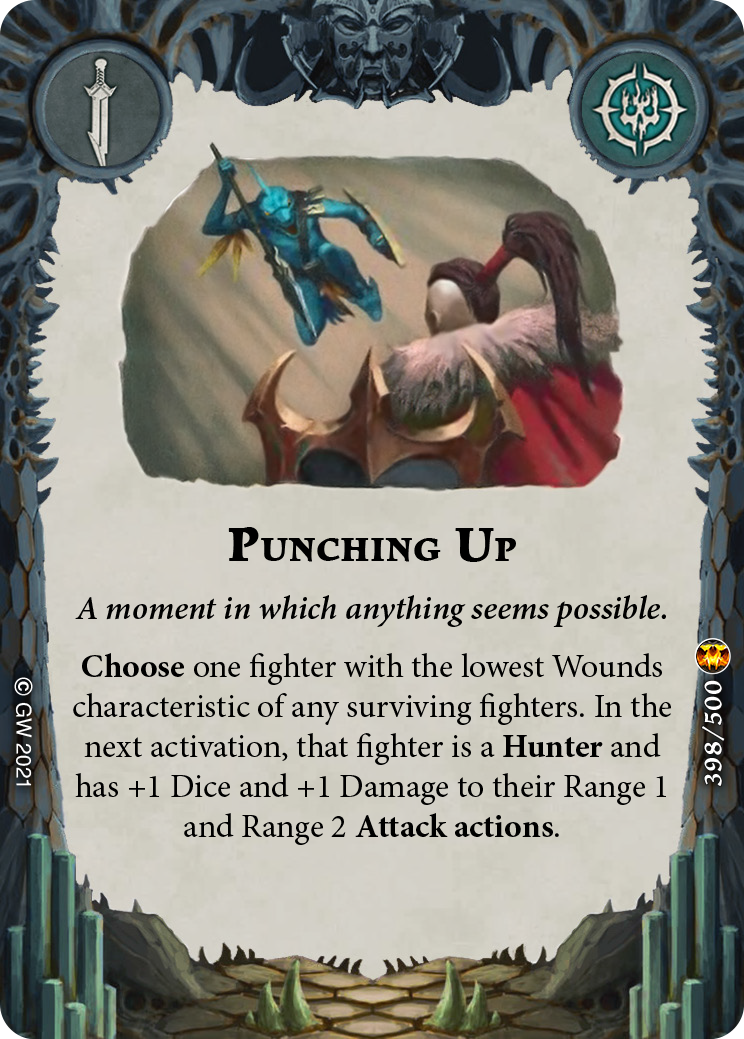 – This card was basically made for this warband, and in particular this playstyle. While it can be blanked in some situations (primarily against Elathain’s Soulraid thanks to the [Spinefish]
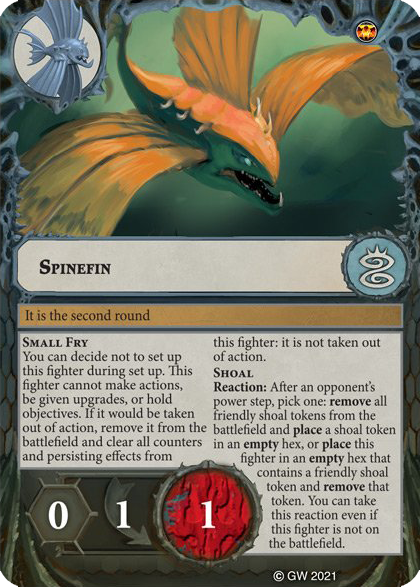 ), this is a straight offensive buff to all of your Skinks. Obviously this is the most impactful on [Huachi], taking him up to a whopping 3 smash 3 damage attack profile, but it is also helpful on the other Skinks as well.
 - [Momentary Match]
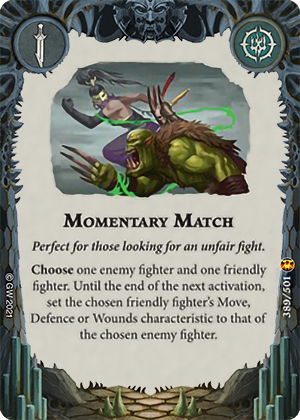 – This is another tech card for your Skinks, it essentially enables them to get +2 Wounds for a round (generally). While there are some really niche usages outside of this, it can be a nice card for keeping Skinks alive slightly longer, or giving Klaq-troq a significant movement buff.
 - [Silent Helm]
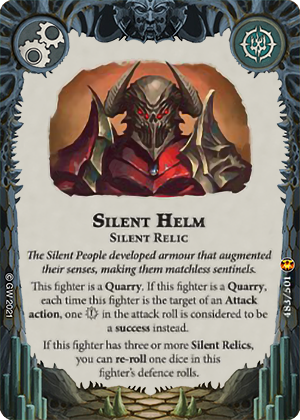 – This is the one of the best defensive upgrades in the game. Blanking a critical roll can be crucial in keeping your fighters alive, especially on something like an inspired Klaq-troq thanks to his strong defensive profile.
 - [Soultooth Dagger]
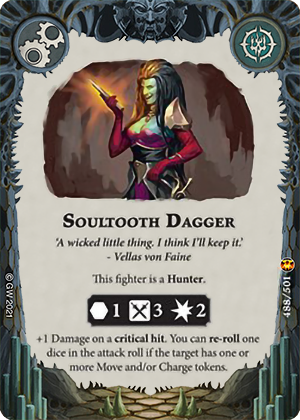 – This is a really strong attack profile and it also turns the fighter into a Hunter. Can be given to any of the Skinks to threaten big fighters, and can also be given to either Klaq-troq or Kixi-Taka to turn them into a Hunter.
Next up, [Hedkrakka's Madmob]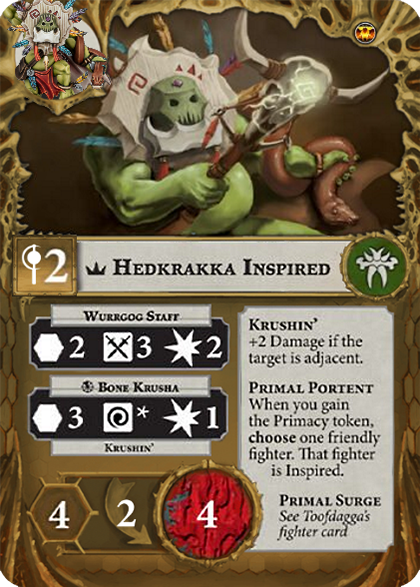 :
:
- [Claim to Domination]
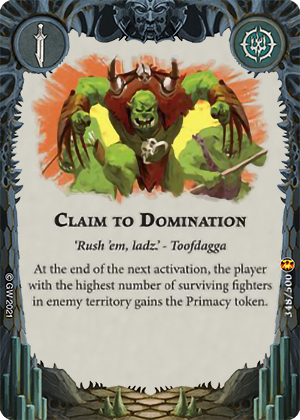 – This is a synergy card that really helps you to get and keep Primacy with your gameplan. This combos very well with the aforementioned Dominant Display. A good extra card to “guarantee” Primacy when you need it.
 - [Silent Sword]
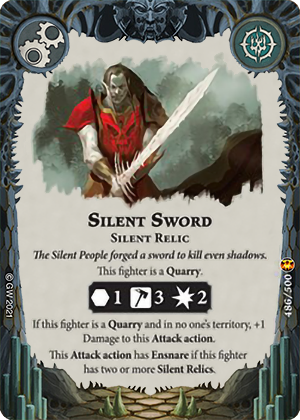 – One of the best attack action upgrades available, this can be comboed again with the Silent Helm to give easy access to Ensnare.
 - [Savage Agility]
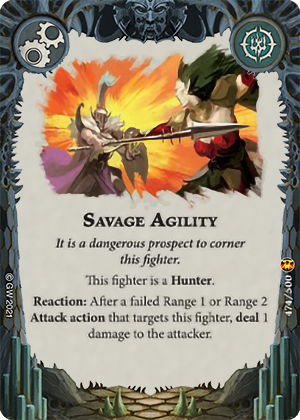 – I really, really like this upgrade (especially for some warbands such as Farstriders) but I think a case can be made for using it here. The obvious carrier is Klaq-troq, as it makes it downright scary to try to take him out, and also pulls double duty by making him a Hunter (potentially freeing up an upgrade slot, or allowing you to switch out Supreme Predator for an accuracy upgrade with less downsides). Either way, I think it’s a great keyword card with good utility otherwise.
And finally, [Elathain's Soulraid]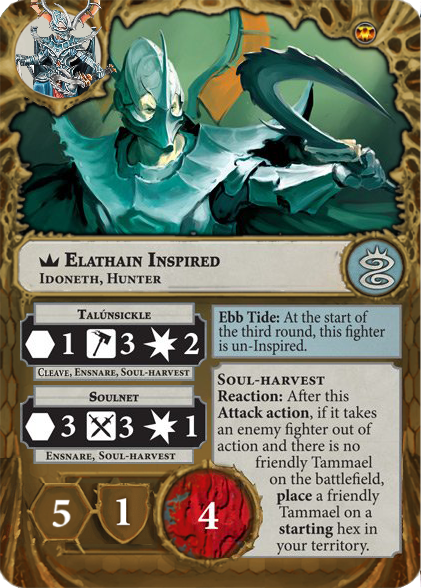 :
:
- [Everything to Prove]
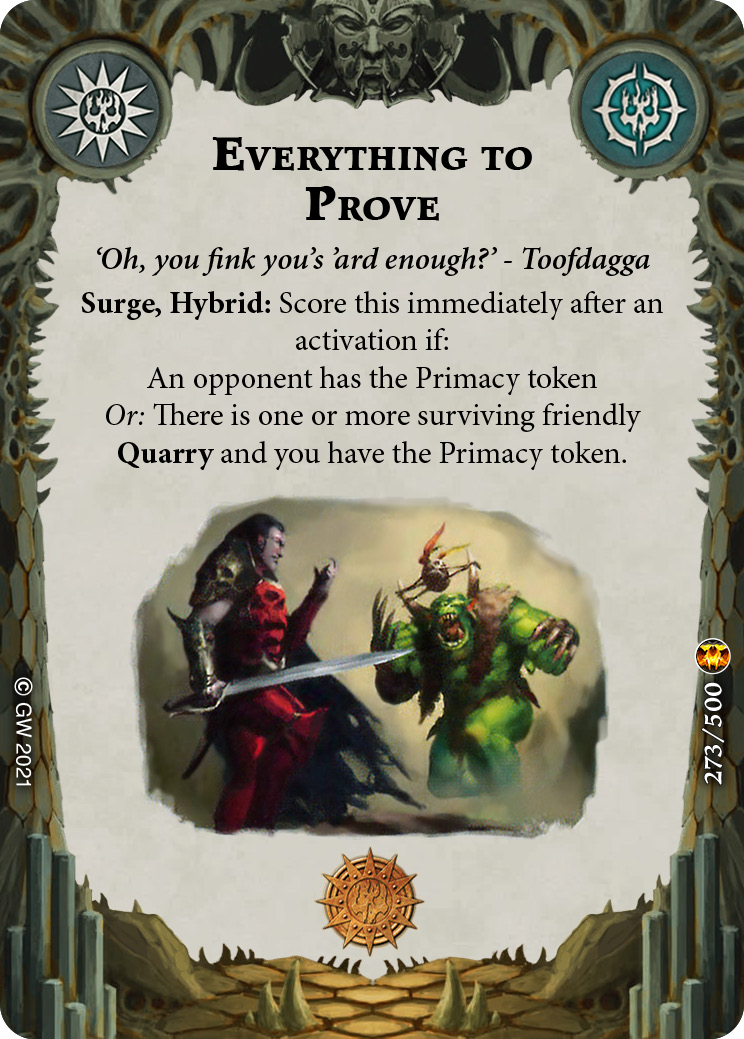 – Thanks to [Otapatl]
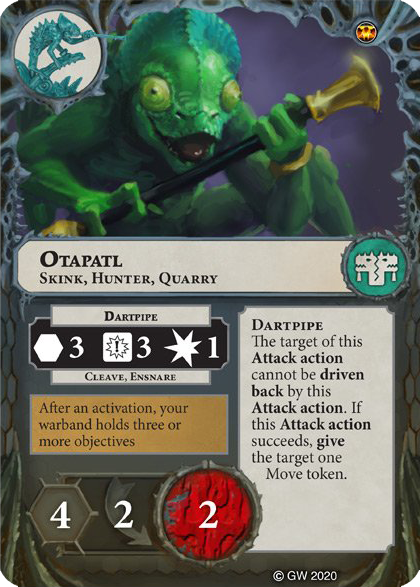 , this is essentially “get the Primacy” or “your opponent gets the Primacy”. Because your Skinks often give up Primacy, you’ll often score the [Martyred]
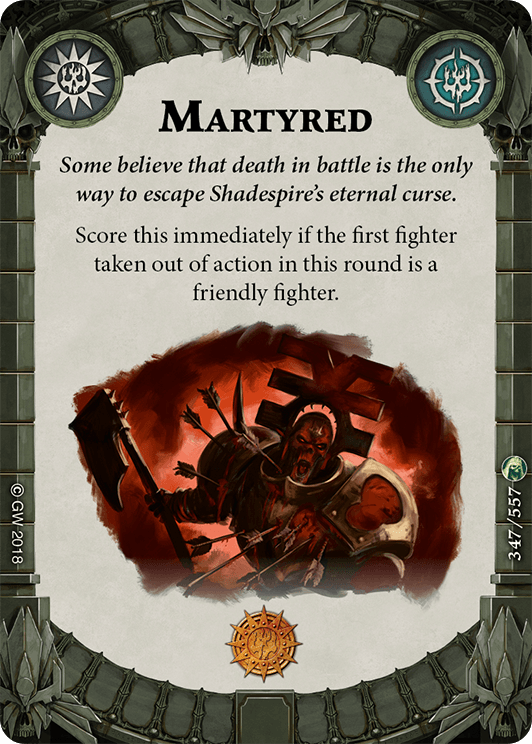 side of this pretty often, and on the off chance you do blow something up (or you’re comboing it with Claim to Domination, Haughty Resistance or Proud Runner), you’ll score that condition as well. A fantastic surge.
 - [More Muscle]
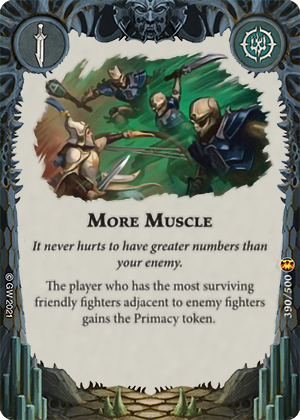 – This is an interesting card that you is slightly better in some circumstances as you don’t have to wait till after the next activation (such as for Claim to Domination). This combos very well with Impending Doom, meaning you can often grab Primacy just be charging up Skinks alongside each other. In some matchups, it can be more awkward to use (the obvious one being Kainan’s Reapers) but overall it’s another way to lean into the Primacy-heavy version of this deck.
 - [Experienced Eye] – Much like Savage Agility, this is a keyword card, but it’s also an accuracy card, making it more or less a straight improvement over Supreme Predator. While you may potentially lose out on the single reroll initially, running this instead negates all of the downsides that opponents running this can exploit when you’re playing Supreme Predator, and it fundamentally does the same thing, with it having both a higher ceiling and lower floor.
Converting to Vanguard
Our current deck is simply 4 cards away from being Vanguard legal RAW, so let’s look at what we could do to adjust it. Bear in mind that the suggestions above still hold true wherever applicable – but if you’re looking to take the base deck and throw it into Vanguard, here are the changes you could make that will maintain the gameplan while being legal for the format. Also note, that if you’re playing in a group or tournament that has ruled that the Essential Cards Pack is legal in Vanguard, then no changes are necessary at all.
- [Duel of Wits] – This is both card draw and a reaction. Unfortunately, with the sets we have access to, there’s no alternative card draw, so we’ll have to make do with picking an impactful reaction to replace the slot. Potentially useful reactions that you could use in this slot are [Slickrock]
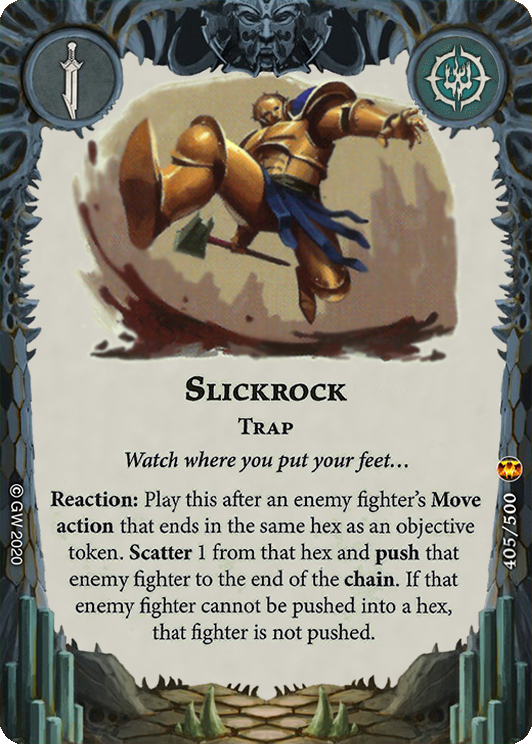 (although due to the nature of the Direchasm warbands, this will mostly have play in the mirror), [Thrill of the Hunt]
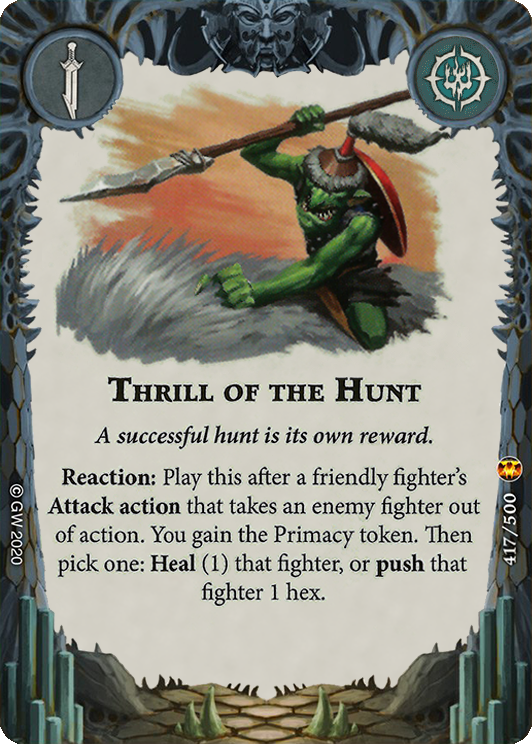 (which can help you gain Primacy off of follow-up attacks from Klaq-troq or the Skinks), or [Acidic Strike]
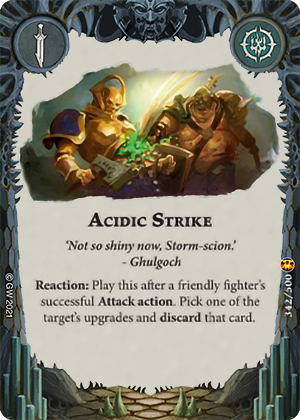 .
. - [Gloryseeker] and [Great Strength] – We’re simply looking to supplement our damage, and we only have one candidate – [Savage Strength]. It’s not perfect, as it does drop the survivability of both Kixi-Taka and Klaq-troq significantly, but it will have to do. For the other slot, you can look at supplementing the damage output of the Skinks further by including another Attack action such as [Chitin Scimitar]
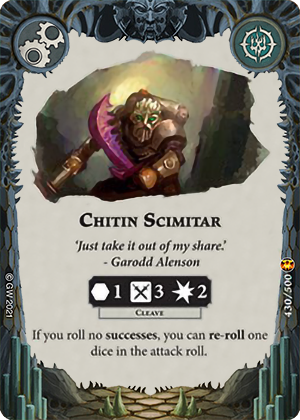 , or increasing your accuracy even further by including either [Augmented Limbs]
 or [Charike Claws].
 - [Great Fortitude] – We have no other +Wound cards available to us, so again we’re going to look to fill this slot with utility upgrades. Obvious candidates are [Proud Runner] and [Haughty Resistance], which give you easy access to Primacy and thus enable easier scoring of [Surge of Aggression].
And there we have it – an alternative, Direchasm-only approach to the Starblood Stalkers. While this may not be the optimal way to play this warband (although I think it is a lot stronger than people may first assume), it has a solid gameplan that, if the current design space of being rewarded for getting in enemy territory remains in the next season, will only improve as more warbands are released. Hopefully this article has given you some ideas on how to play the sneaky Skinks in Direchasm without breaking the bank – now get out there and roll some dice!