
Mirror Move miracles: pushing to victory in Underworlds
There’s an awesome card in Warhammer Underworlds card that was reprinted in the Essential Cards pack [ Mirror Move]. Since its print in Shadespire, Mirror Move has had several fun and weird interactions with other push effects. This article we’ll go over some of the ways you can make some Mirror Move Miracles.
Drive back, Drive in
Probably the most straightforward way to use [Mirror Move] is to drag an opponent’s fighter with you as they drive you back. Useful to keep your opponents close to your melee fighters.
I’ve used photos of my minis pulled from my Instagram in the diagrams below.

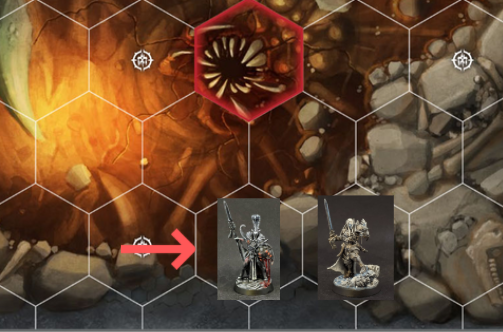
Vasillac drives back Duvalle to keep him at a distance.
Crimson Court plays Mirror Move to keep Vasillac in attack range.
Dead Sneaky Instinctive Tactics
Another simple use of Mirror move is to use it as an alternative to [ Sidestep] or [
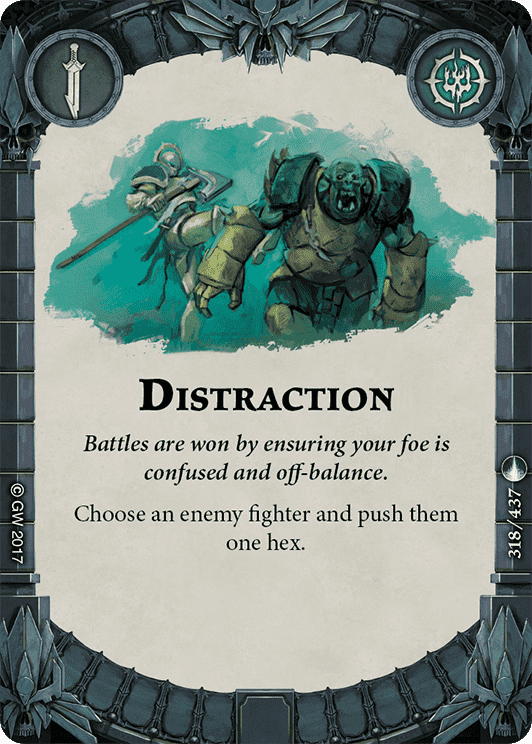 Distraction] after your opponent makes a push. While you lose the flexibility of choosing when you get to push fighters around, some warbands can capitalize by using Mirror Move to score their surge objectives such as: [
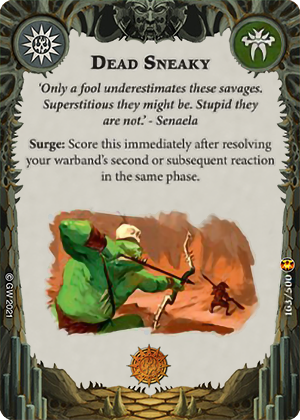 Dead Sneaky], [
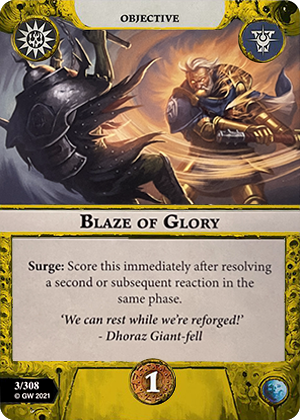 Blaze of Glory] and [
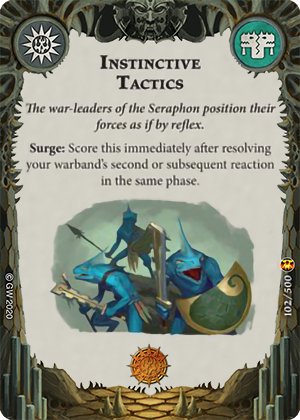 Instinctive Tactics]. You’ll notice I play it in my Starblood Stalkers deck for primarily this reason.
Counter-Countercharge
[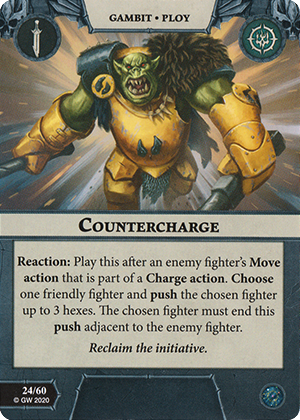 Countercharge] is a great defensive tool for when your opponent charges you. You can use it to give yourself a defensive assist, move your fighter to a different position to reduce your opponent’s supporting fighters, as well as ensuring you have another fighter close by to retaliate during your activation.
But if your opponent plays Countercharge, did you know you can use [Mirror Move] to not only remove their defensive assist but also use it to seek a juicier or easier target? See the example below:


Not only do you neutralize the defensive assist, but you can set yourself up to attack a target you otherwise would not be able to.
"But Jacko, you can't just change your attack target halfway through the charge action!"
Yes you can, a charge is two separate actions, a move and an attack action. There’s no entry in the rulebook that requires you to commit to your original intended target of your charge if a new one becomes available.
Breaking the charge
There are some warbands with push effects that trigger after their move actions, including as part of a charge. This gives you the rare opportunity to break your opponents charge with [Mirror Move] before they get to attack. Some notable candidates that come to mind include: [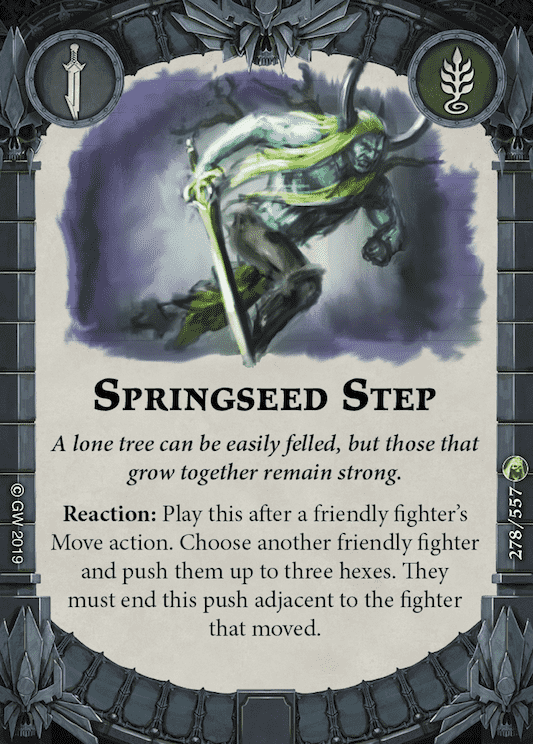 Springseed Step], [
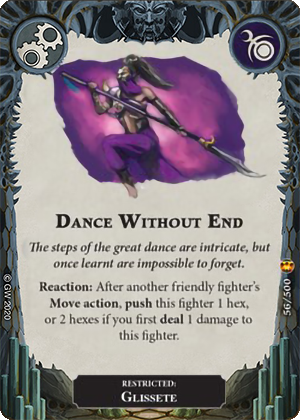 Dance Without End] and [
 Murderous Accomplice].
How does it even work you might ask?
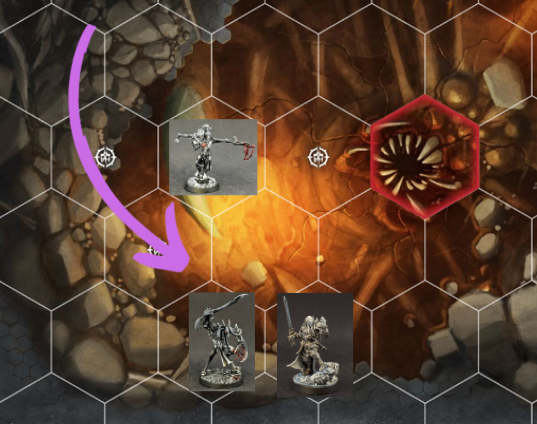
 Dance Without End] to provide an assist.
 Mirror Move] and pushes Prince Duvalle out of charge range, breaking the charge. Slakeslash gets a charge token but was not able to make an attack against Duvalle.
"But Jacko, if the Dread Pageant fighter didn't make an attack, it shouldn't get a charge token."
Rulebook says otherwise, you receive a charge token after the move action.
You must follow all of the rules for Move and Attack actions (pg 29-31), with the exception that you give the fighter a Charge token (rather than a Move token) after the Move action. Do this even if the fighter is not making the Charge action as an activation.
Page 35 Harrowdeep Rulebook
Sourtongue Save
[Mirror Move] can absolutely save you against obliteration against [Sourtongue] . As it spins and pushes your fighter back towards their doom, you can interrupt their scatter sequence with mirror move and give your fighter some distance from Sourtongue.
Slide the Slickrock
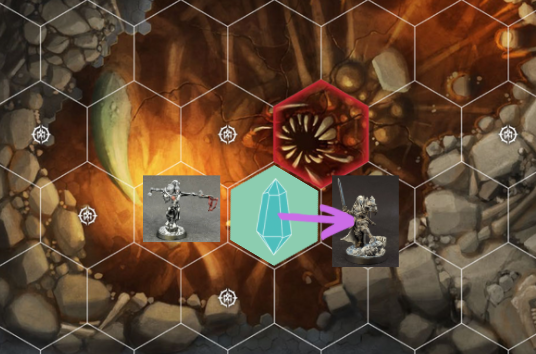
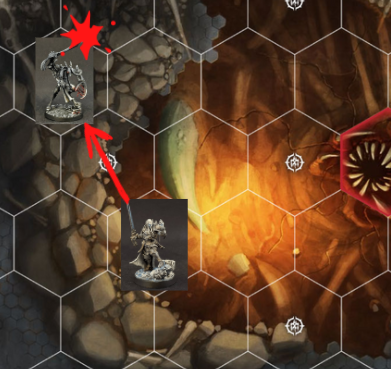
[ Slickrock] seems to have lost its popularity in Harrowdeep but it’s still a restricted card and may see play in the odd game here and there. One of the uses of Slickrock is to throw opposing fighters off objectives, especially when they make a charge. If you’re lucky, you can also push them out of attack range, and force them to waste their charge. [Mirror Move] can be used to somewhat counter Slickrock and drag them back into attack range.

Not My Turn
[Mirror Move] has an essential role to play in the Relic format. [ My Turn] is one of the old Shadespire restricted power cards that was played regularly during Season 1 and 2. [Mirror Move] can counter the [My Turn] reaction.
 My Turn] does not prevent you from being driven back.
 My Turn] and pushes towards Duvalle
There’s many other funky uses of [Mirror Move] that we haven’t covered. If there’s an awesome trick that I missed, please drop a comment and share below. Hope this gives you some new ideas. Looking forward to reacting to [Mirror Move] with another [Mirror Move].
Thank you for the insight! Especially the interaction with Countercharge is a great trick. I have been struggeling adding Mirror Move to my decks, but Countercharge is actually quite common in my area, so I will definitively give this one a chance!