

Building for the meta- Pt.2
In the last post here, I talked about meta gaming, tech cards and hate cards. This post I will go over the specific card choices for this Godsworn deck and the thought process behind it.
I had 2 decks prepared going into the Combat Company event. Decklists below:
- Myari’s Purifiers. You can see the same deck be played on camera here on this episode of Tabletop Sydney.
Why these two warbands?
Myari’s Purifiers is a solid glory machine while Godsworn can earn glory even as they die (more on this later).
But most importantly, both of these warbands sit nicely outside the elite 4+ wound aggro meta. The most popular factions played around Sydney are 4+ wound aggressive warbands. [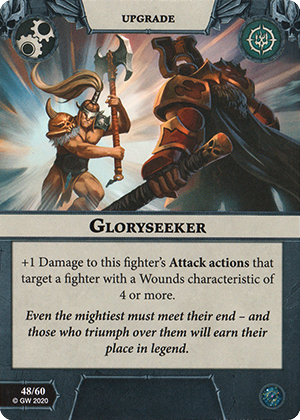 Gloryseeker] was reprinted recently and has become a popular card to include. Both warbands invalidate Gloryseeker (and similar cards). With all the extra +damage upgrades and ploys going around, suddenly boosting yourself to 4 – 5 damage damage does nothing to help you kill more Godsworn or Lumineth.
Card choices
As promised in my last post, I will go over my card choices for the Godsworn deck. The goal of this deck is simple, inflict as many casualties as possible while scoring glory as your own fragile fighters die too.
Objectives – Surge
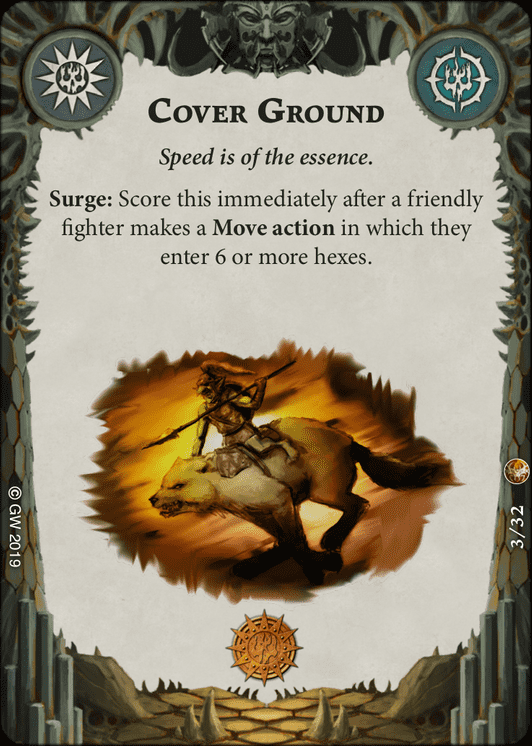
We take the speed package ([ Cover Ground], [
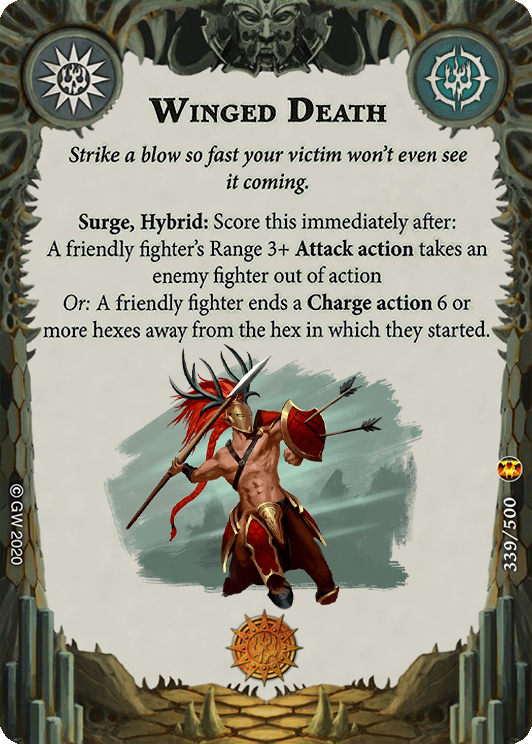
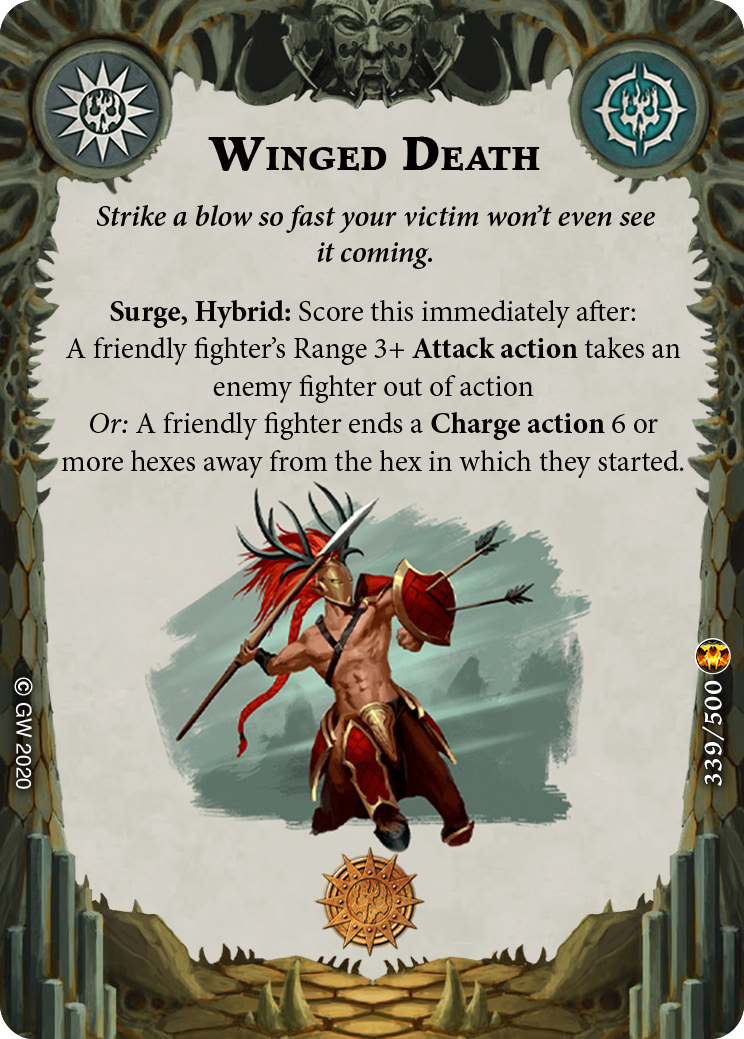 Winged Death], [
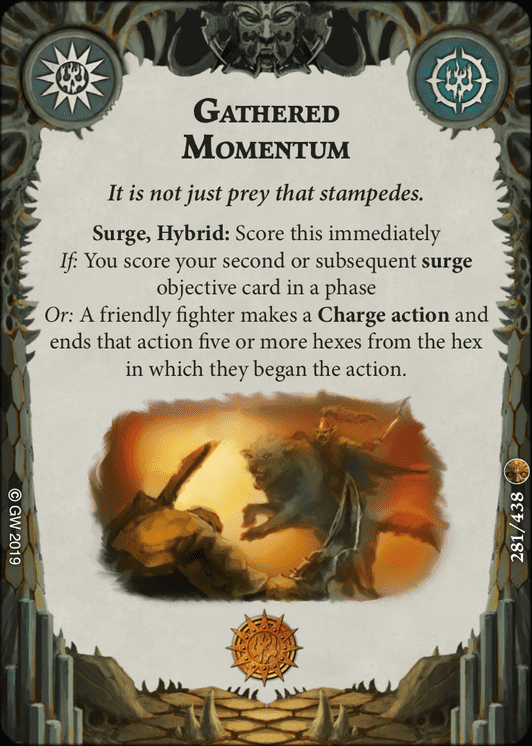 Gathered Momentum]) because the entire warband is move 4, and with a little help and we can easily score each of these 3 surge objectives. We also have the means to score them on their secondary conditions. Ollo and Jagathra have range 3+ attacks and can score Winged Death and Grawl and Grundann have move 5 when inspired and can score Gathered momentum without much hassle.

We take [ Branching Fate], [
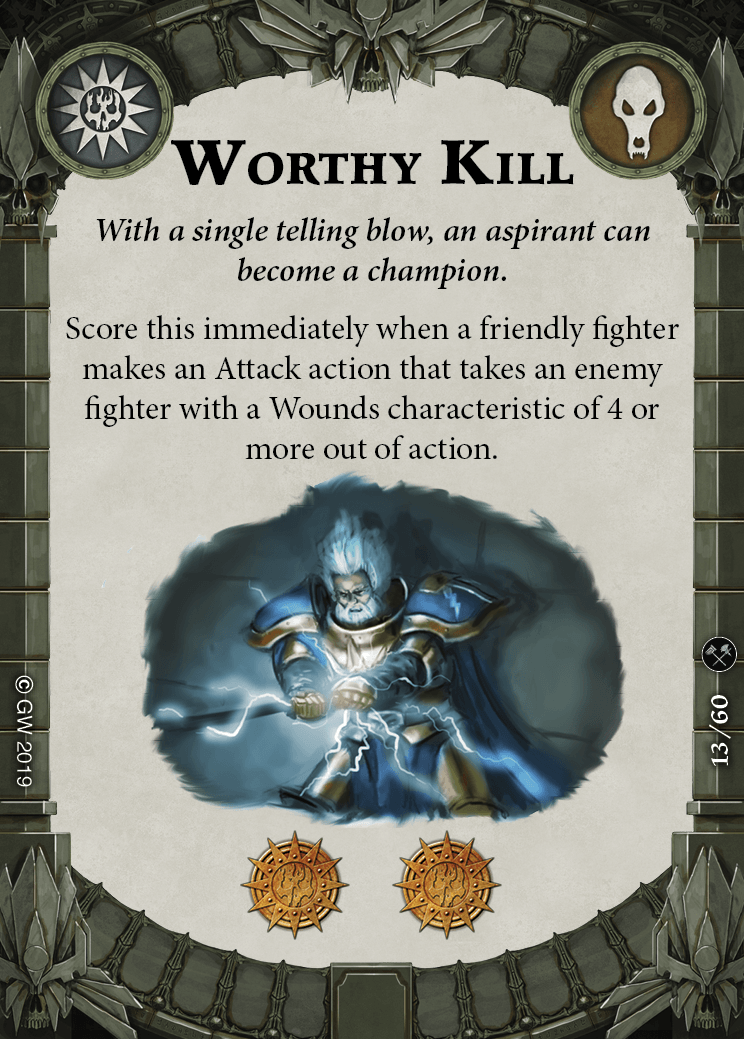 Worthy Kill] and [
 Show of Force] to finish our surge objectives. Worthy Kill is easy to score in this meta since there are plenty of 4+ wound fighters. Branching fate we can make work with some gambits and upgrades. If you don’t have these cards, suitable alternatives include any surge cards that reward you for attacking and taking out enemy fighters. E.g: [
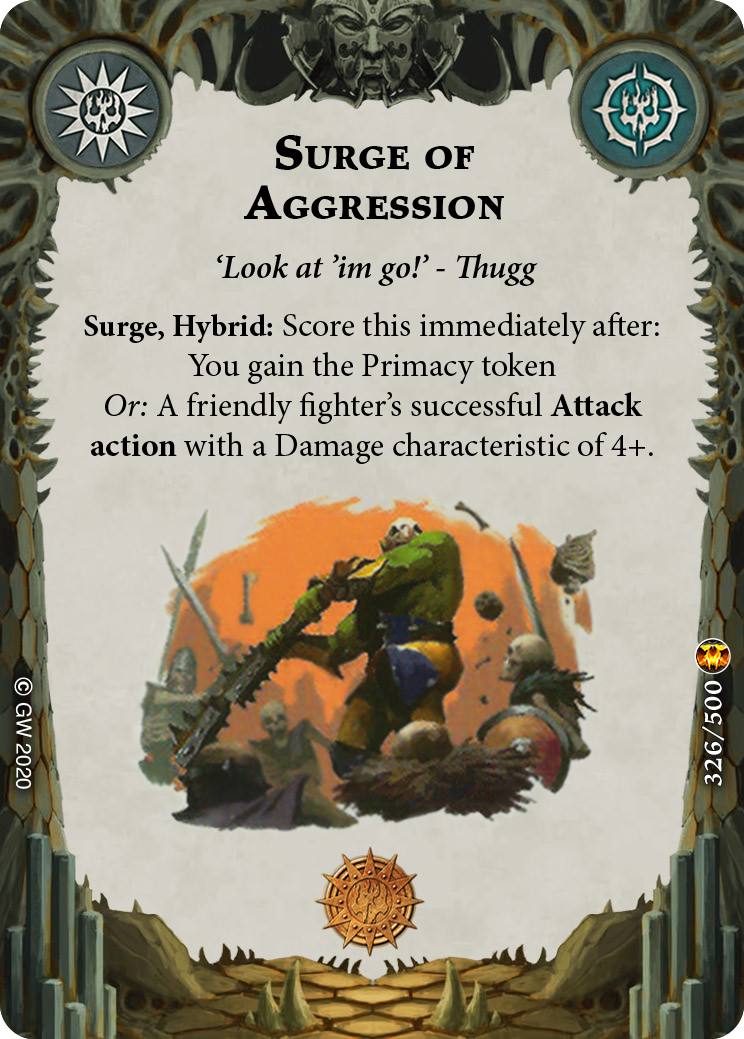 Surge of Aggression], [
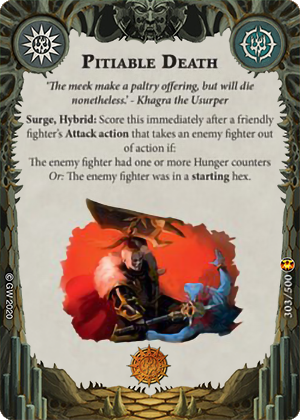 Pitiable Death], [
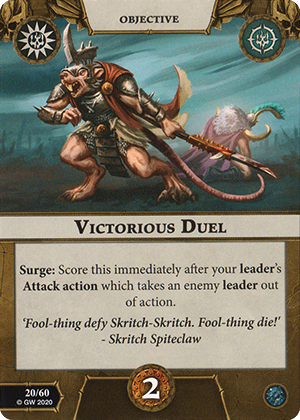 Victorious Duel].


Objectives – End Phase
We know the current meta is packed full of Aggressive Warbands (see previous post) and we want to prepare for that. One way to do this is to embrace the aggression and take objectives that score glory even as our own fighters are eliminated.
Our low toughness fighters means we’re going to give up Primacy easily, making [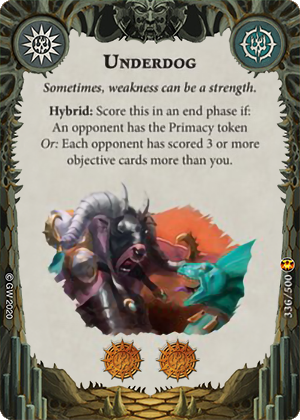 Underdog] a solid objective. It can also be scored if your opponent takes first turn and scores 3+ objectives over you. [
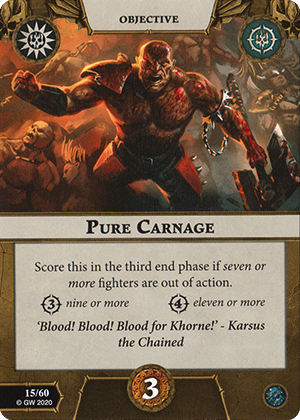 Pure Carnage] is the core of this deck. It allows you to capitalize on the fact you have 6 fighters that are all fairly easy to kill. Even if you get absolutely cleared off the table, you only need to bring down 1 more enemy fighter with you to make sure you score it. In my first game all my fighters were eliminated, but had taken out 2 enemy fighters and won off the Glory Swing from Pure Carnage and Clean kills.


[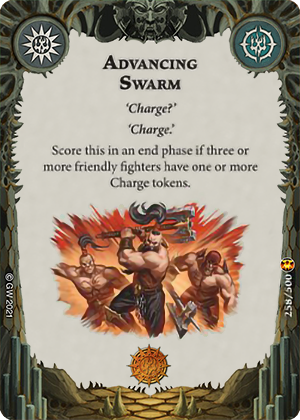 Advancing Swarm], [
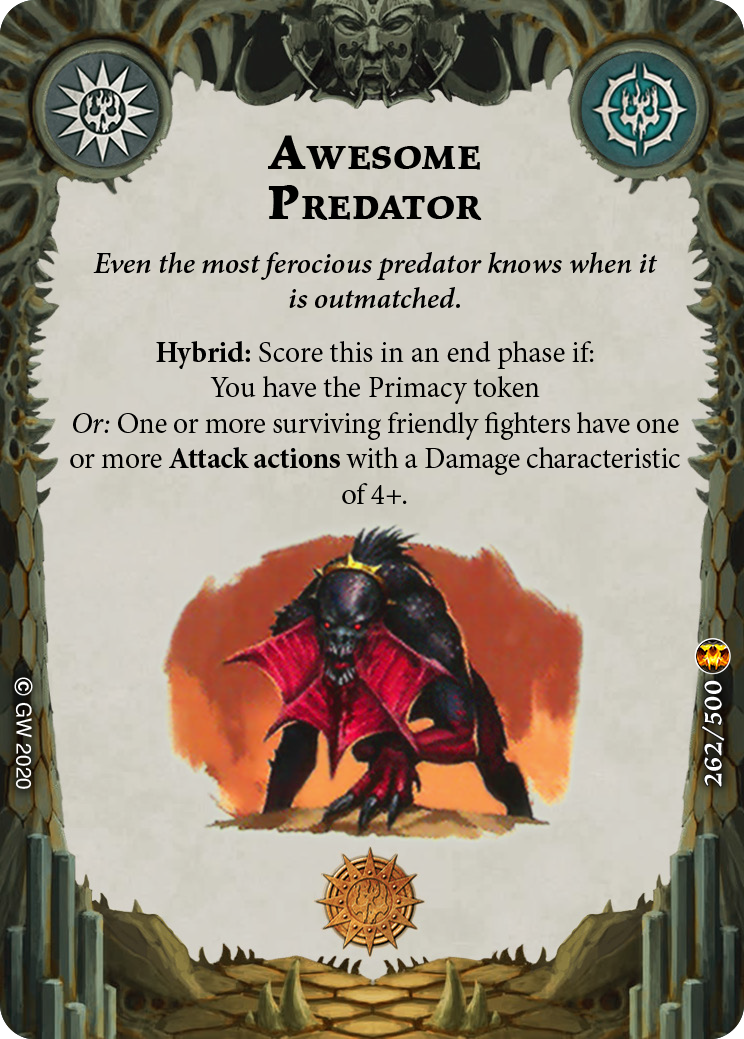 Awesome Predator] and [
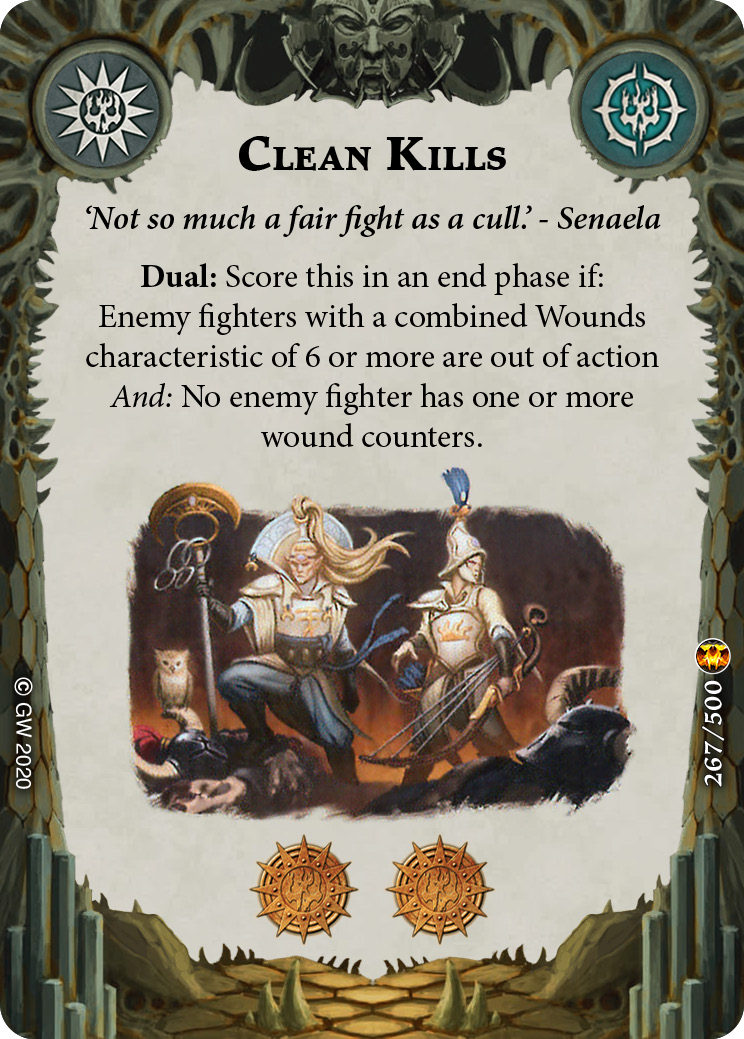 Clean Kills] are fairly straightforward. Getting to 4+ damage on this warband is surprisingly easy. Mid game you will be taking out an enemy fighter in one hit or missing entirely, making Clean Kills an easy include. Advancing Swarm is good early but dies off in usefulness as your fighters die. I considered replacing this but didn’t come up with a better alternative before the event.
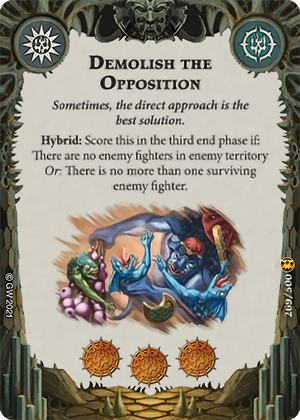
[ Demolish the Opposition] is a lower risk, lower reward [
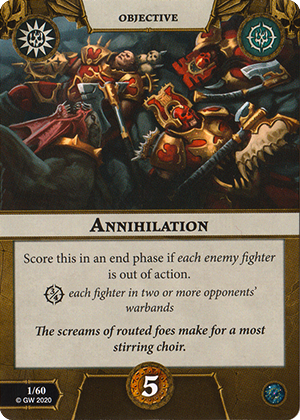 Annihilation]. It’s easier to score as you don’t need to kill all enemy fighters, but it is locked to third end phase. I ended up taking Demolish the Opposition given the competitive environment is full of warbands that want to leave their territory to fight you. Suitable alternatives are [
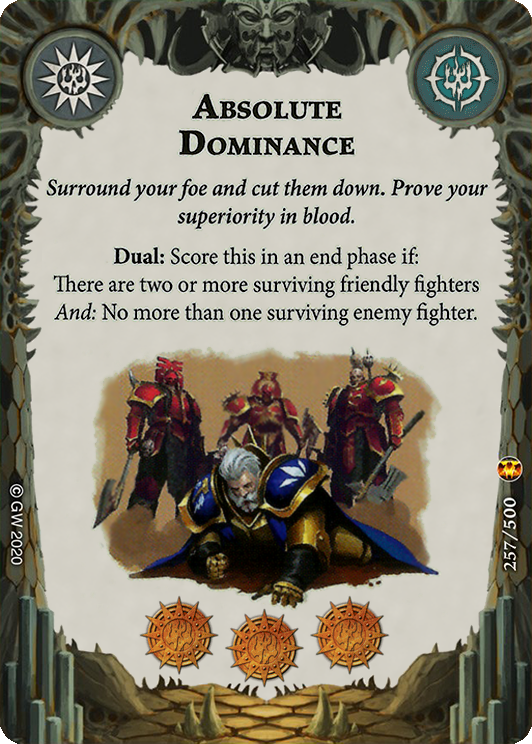 Absolute Dominance], [
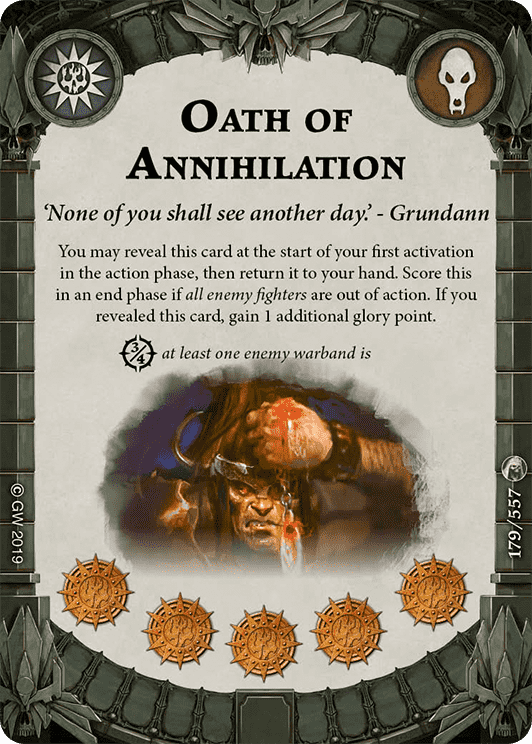 Oath of Annihilation]. Oath of Annihilation is harder to score and I would have taken it if the tournament uses glory difference as a tiebreaker, as it drives up the Glory gap in games where the dice are in your favor. If the meta was less aggressive and didn’t have so many warbands that want to walk into your territory, I’d have considered [
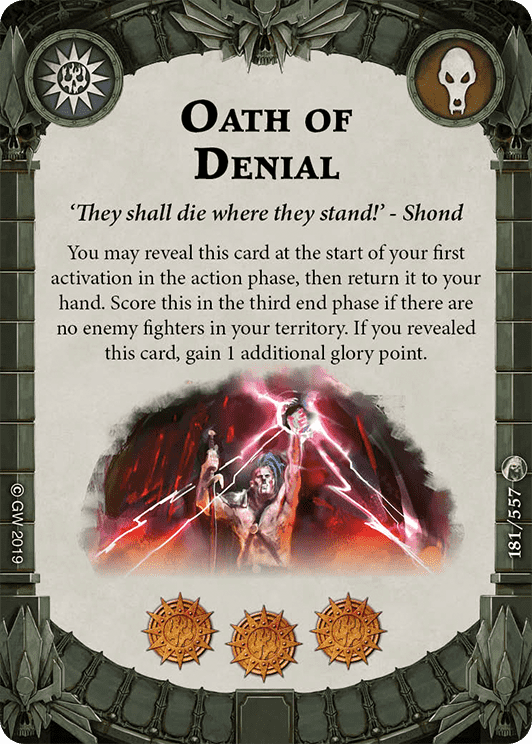 Oath of Denial] too.
Power cards
There’s a large number of power cards that add damage, movement or extra dice and their purpose is straightforward: to help you eliminate enemy fighters. [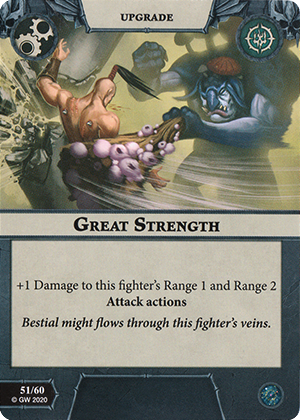 Great Strength], [
 Savage Strength], [
 Sting of the Ur-grub], [
 Strength of Terror], [
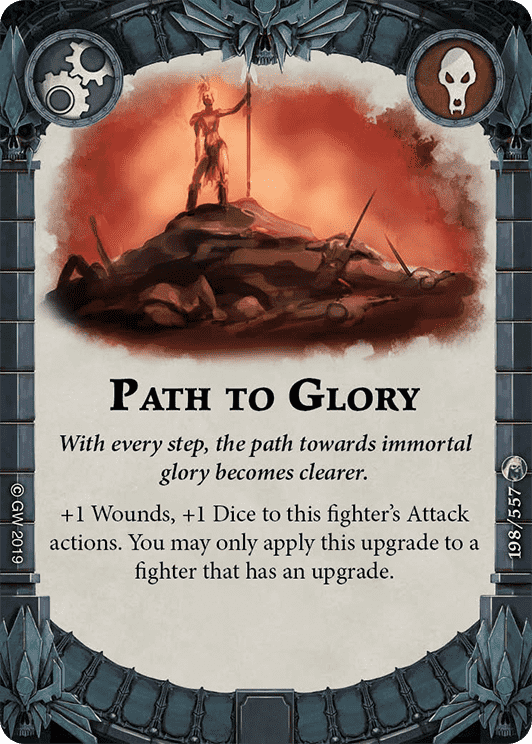 Path to Glory], [
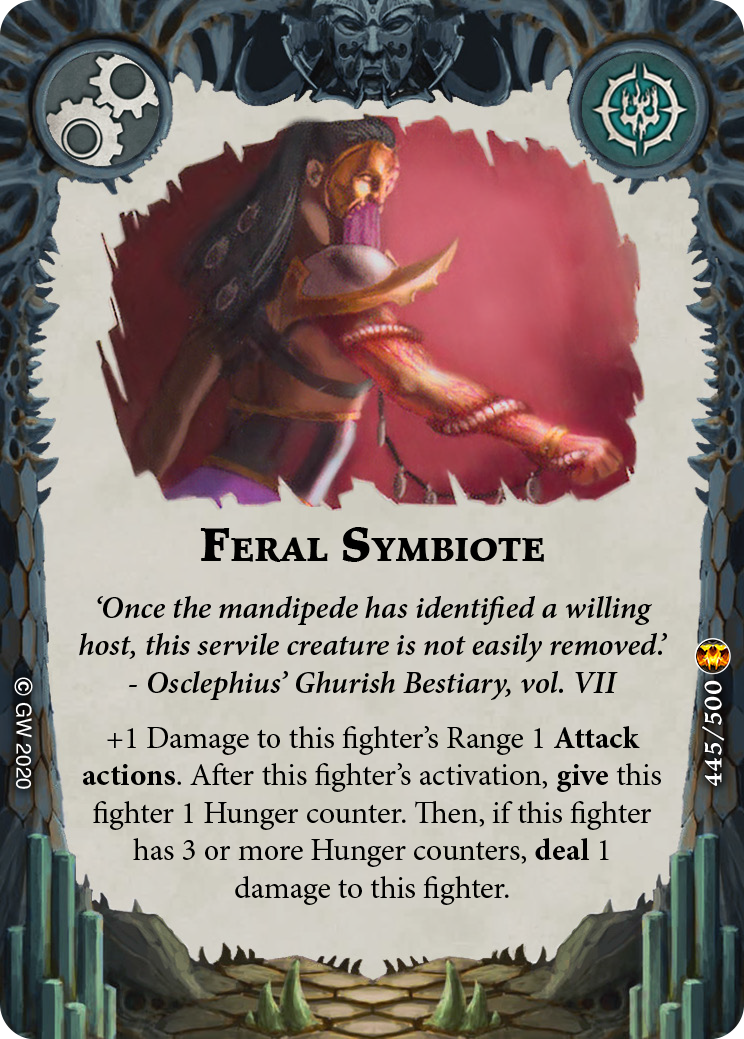 Feral Symbiote], [
 Augmented Limbs], [
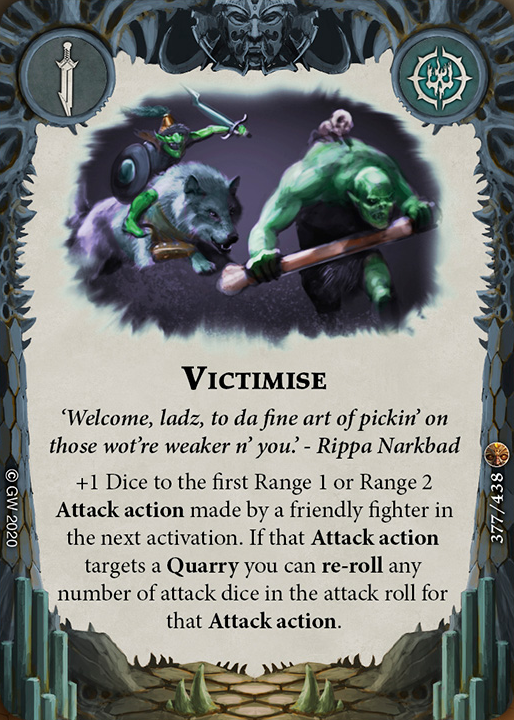 Victimise], [
 Lethal Ward], [Gloryseeker], [
 Spectral Wings], [
 Outrun Death] etc – all serve the end goal of getting you closer to Pure Carnage.
Lets talk about [ Rebound]. Love it or hate it, Rebound’s effect (when successful) is disproportionately devastating to aggressive elite warbands. For example, a successful rebound against Morgok is could almost win you the game straight up. It stops your fighter from dying, reflects 3 damage back and then you have the next activation to finish off an Orruk. However rebound is not useful against every warband. Against warbands with expendable fighters like Grymwatch, rebounding a 1 damage Crypt Ghoul doesn’t do anything for you. It may put you in a worse situation as the wounded Ghoul no longer gives you primacy.

Another symptom of the meta is that warbands with tough fighters also like to pack the [![]() Avatar of the Ur-grub]
Avatar of the Ur-grub]![]() cards to score bonus glory from [
cards to score bonus glory from [![]() The Avatar Risen]
The Avatar Risen]![]() . [
. [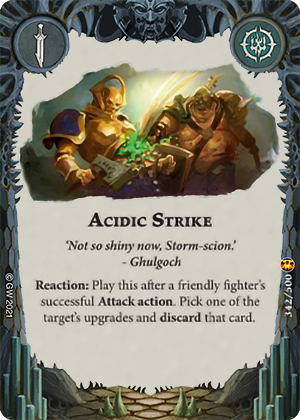 Acidic Strike] is a soft counter to that, as it allows you remove a specific upgrade from a fighter (potentially breaking their 3 glory combo). It also lets you secure kills by removing extra wound upgrades like [
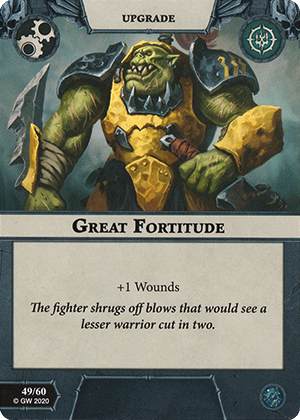 Great Fortitude] from a fighter. Note, you can’t remove the Avatar upgrade once they have combined it.
[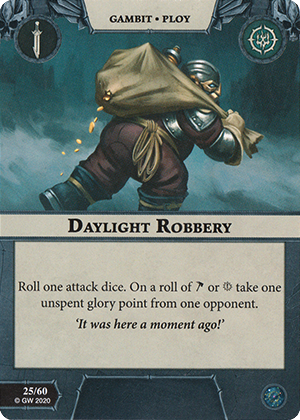 Daylight Robbery] is an include for the psychological effect. Usually, players like to wait till their opponents power step to drop upgrades (that way they can immediately activate the fighter they just dropped the upgrade on). Some players like to wait till the scoring phase to spend their glory and drop their avatar upgrades (so they can put it on the safest fighter).
This changes entirely once your opponent realizes you’re playing daylight robbery. Once your opponent knows daylight robbery is being played, they start spending their glory immediately to drop upgrades. This pressures them to play the Avatar upgrades earlier than they want, allowing you to target the Avatar candidate for elimination.


[ Lost in Reflection] is the prime hate card. This card is incredible when your opponent takes primacy OR when your opponent has a single fighter remaining. It lets you lock them down for an entire activation. You can even do it after they start dropping Outrun Death, Victimise to boost one of their fighters to shut them down.
To put this in perspective each player only has 12 activations (over 3 rounds) – and effectively taking one away from your opponent can disrupt your opponents game.

Jagathra (after using her Javelin) and Ollo aren’t really that threatening on their own. [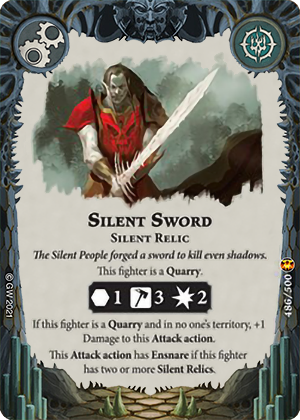 Silent Sword] gives you a way to make them a bigger threat. Suitable alternatives are [
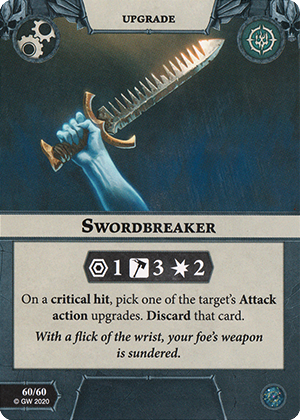 Swordbreaker] or [
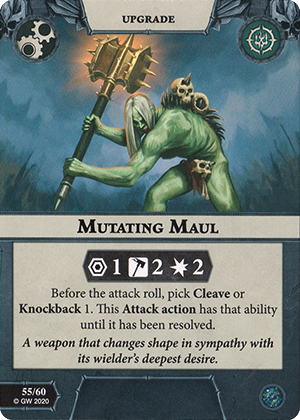 Mutating Maul].

Playing the deck
The goal of the Godsworn Hunt deck is simple. Trade fighters with your opponent until 7 fighters are dead. After 7 fighters are dead you can consider going for more glory kills if you can press your advantage or run back into your territory to bait your opponent to chase you so you can score Demolish the Opposition (worked in game 1 as my opponent was not expecting it).
You want to deploy Jagathra back and throw her javelin early. It has an effective threat range of 7 hexes (4 movement + 3 range). You can typically deploy some of the more valuable fighters further back and still make charges depending on how many movement ploys are in your opening hand.
Hol’up a minute…
We’ve covered quite a lot so lets review some points.
- The local meta here is full of elite aggressive warbands.
- Local players know this and are practiced against elite aggressive warbands and tech cards for this.
- We are playing off the Elite Warband meta, to avoid some of the tech cards.
- We have built a Godsworn Hunt deck that scores even as aggressive warbands take out our fighters.
- We are packing our own tech and hate cards for when we face off against elite aggressive warbands.
This kind of metagaming is not for everyone. Making the right call is rewarding as your tech cards pull their weight in your games, but it’s also risky. Sometimes you don’t get the matchups you expect or you predict the local meta incorrectly and now you’re stuck with dead cards in your deck.
Side note on Mollog and local metas:
One of the fun things about localised competitive environments is that while one strategy may be effective in one region, it may fall apart in others. One example currently is in some online and foreign metas [Mollog]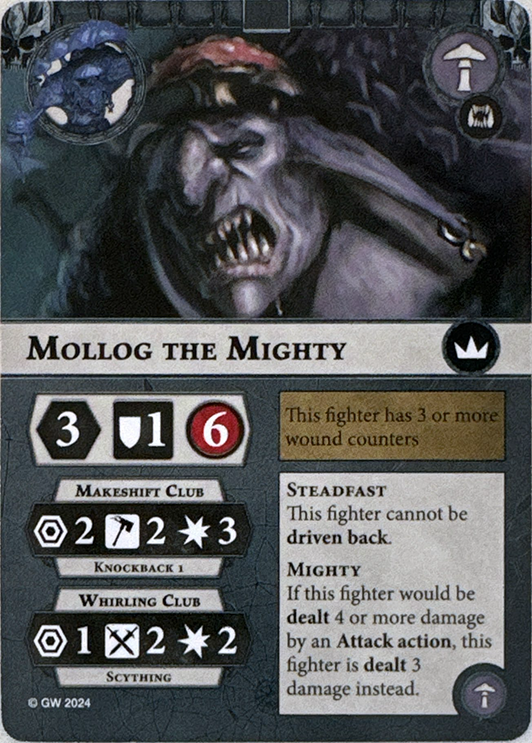 is dominating, but here in Sydney Mollog is pushed into a state of mediocrity.
Warhammer Underworlds Players in Sydney have adapted to the fast elite aggro environment, bringing nets (e.g [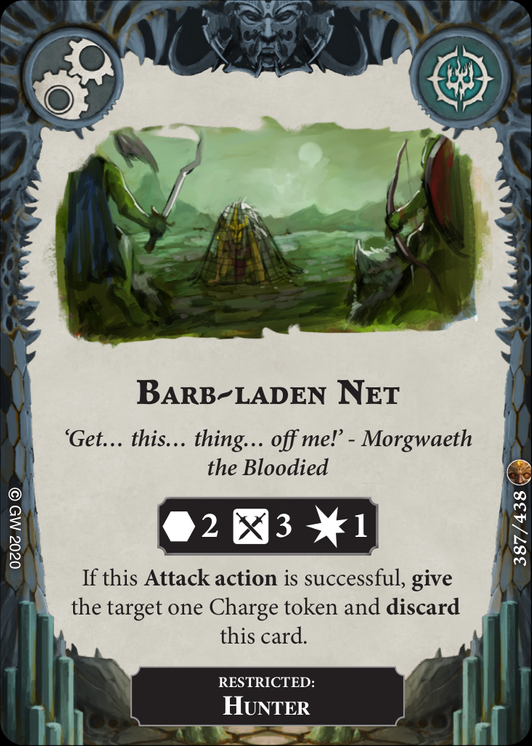 Barb-laden net], [
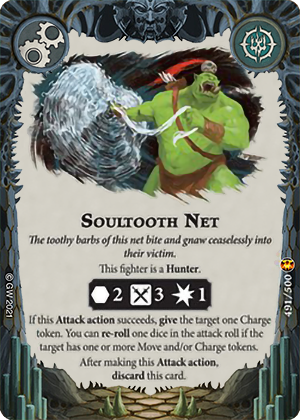 Soultooth net]) and other hate cards like Lost in Reflection. These cards that slow down [Morgok]
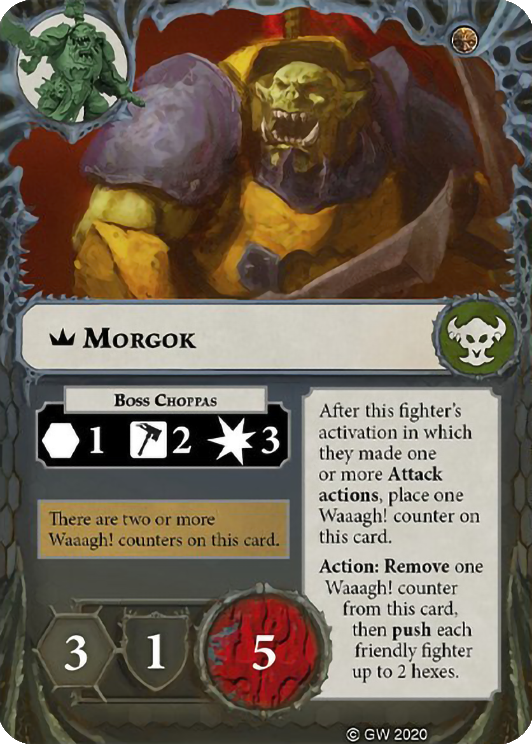 and [Rippa]
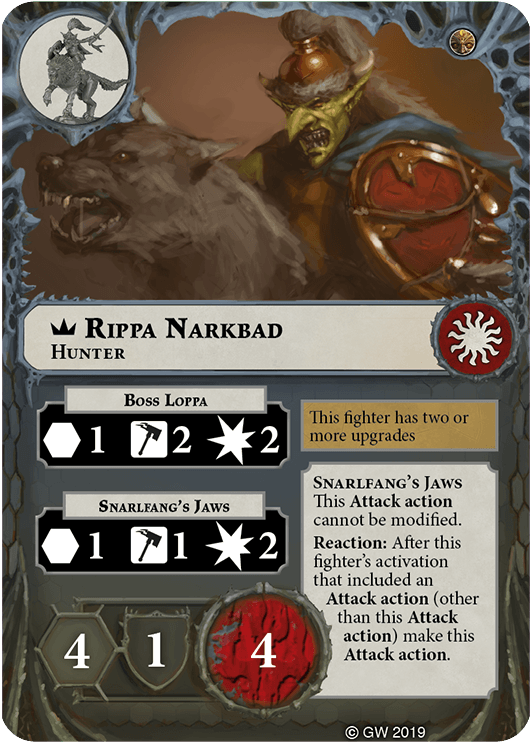 , happen to also be devastating against Mollog.
Warhammer Underworlds tournaments are always a test of how well you play, how lucky you are and just as importantly, how well you adapt to your fellow competitors.
Signing off – Jacko