Building on a Budget (with Morgok’s Krushas)
Want to play Warhammer Underworlds competitively, but warbands are hard to find or strapped for cash? We got you covered. In the Building on a budget series, we’ll cover how to compete in Warhammer Underworlds without breaking the bank. This Morgok’s Krushas deck will give your opponents a run for their money. You will enjoy scrapping with [Morgok]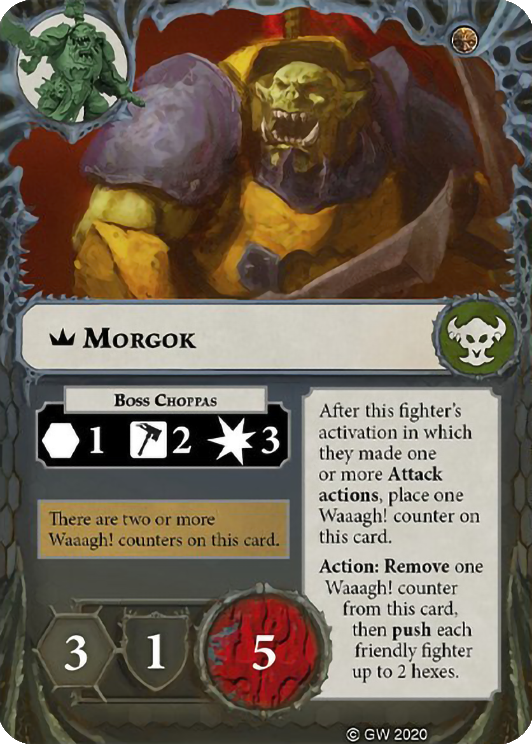 and his friends in Direchasm.
In the last post with Myari’s, I covered Forsaken and Restricted lists (FAR) and how they make building on a budget easier. Card restrictions reduce the advantage of having a full collection. Morgok (and other Aggro warbands) were hit by the recent changes, but it’s still a relatively strong warband.
Starting out
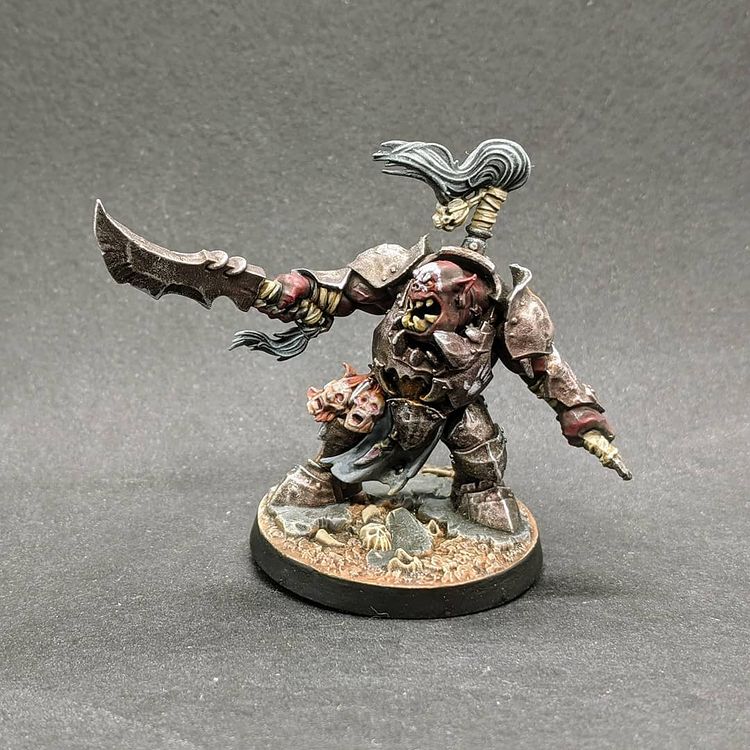
You’ll notice just loading all of Morgok’s faction cards fills all of your 3 available restricted slots. It can limit your options, but it’s a blessing for budget players. It means you won’t need to go hunting for those powerful restricted cards in other expansions.
Whats the game plan?
A short time ago, many Morgok decks ran Voltron style builds (where you stack piles of upgrades namely [![]() Mortis Relics]
Mortis Relics]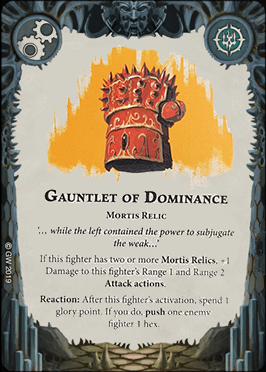 and [
and [![]() Avatar of the Ur Grub]
Avatar of the Ur Grub]![]() ). This kind of deck is expensive (in terms of getting your card collection), but after the recent FAR list changes, it’s less powerful.
). This kind of deck is expensive (in terms of getting your card collection), but after the recent FAR list changes, it’s less powerful.
So we will be making this a straight no-nonsense aggro deck. Move towards the opponent and hit stuff. Bring objectives that reward you for doing it, and power cards that make that easier.
Shopping time!
If you intend to play competitively, you should be prepared to own at least the following sets.
- Direchasm core set
- Essentials Pack (skip this if you are a returning Shadespire / Nightvault player as you will own most of the cards already).
- Khagra’s Ravagers expansion.
Objective run through
Lets dive into the faction objectives. Surges first.
- [
 Got it, Boss]
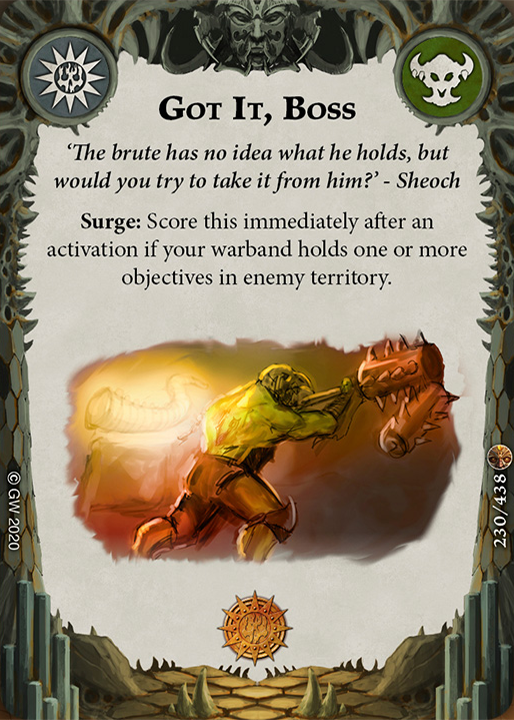 – Restricted, but one of the easiest objectives to score. Moving into enemy territory is something you want to do anyway. If you can stop by one of their objectives as you charge something, bonus.
 - [
 Might of the Orruk]
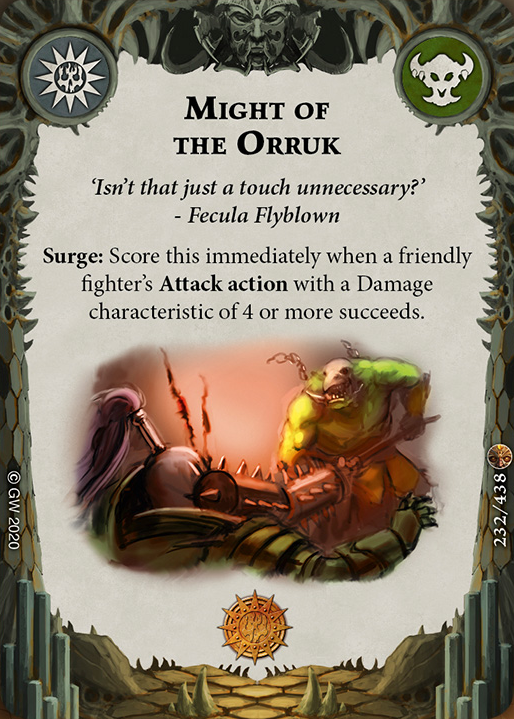 – 4 damage for this warband is not difficult to get. ['Ardskull]
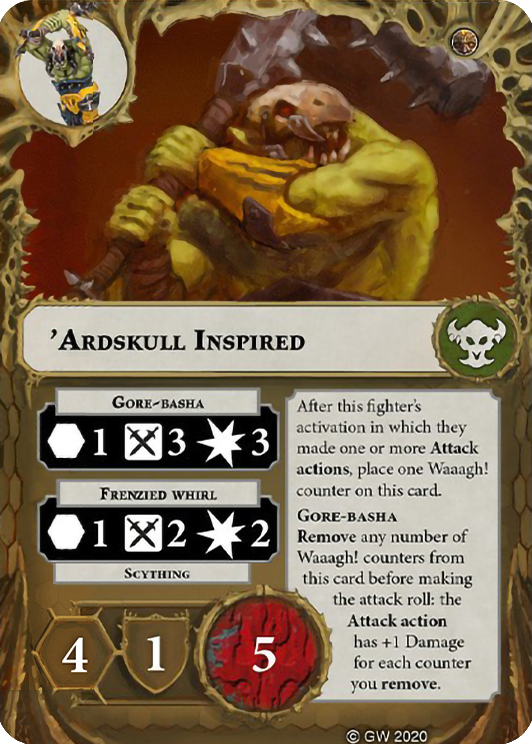 can even do it without upgrades once inspired. [
 Surge of Aggression]
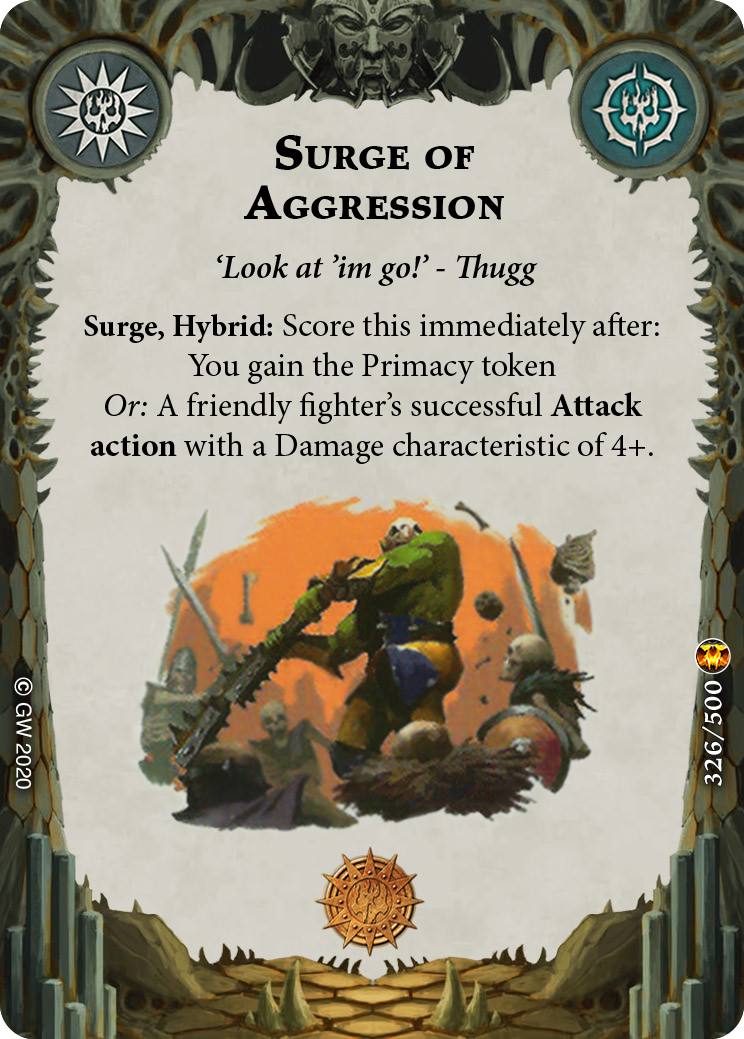 is strictly better, but it takes a restricted slot. If you want to up the aggression, consider replacing [
 Got it, Boss]
 with [
 Surge of Aggression]
 .
. - [
 Now Wot?]
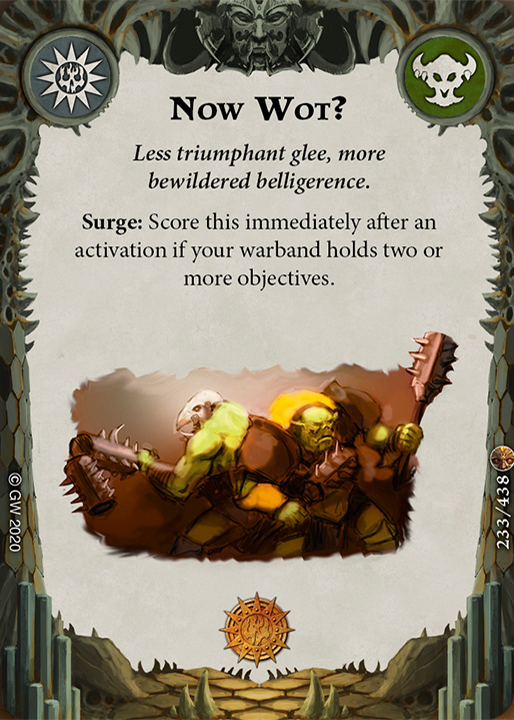 – It’s hidden purpose, but not restricted. It’s good. It can sometimes sidetrack you from knocking out enemy fighters, but for now it’s good enough.
 - [
 Orruk Kunnin’]
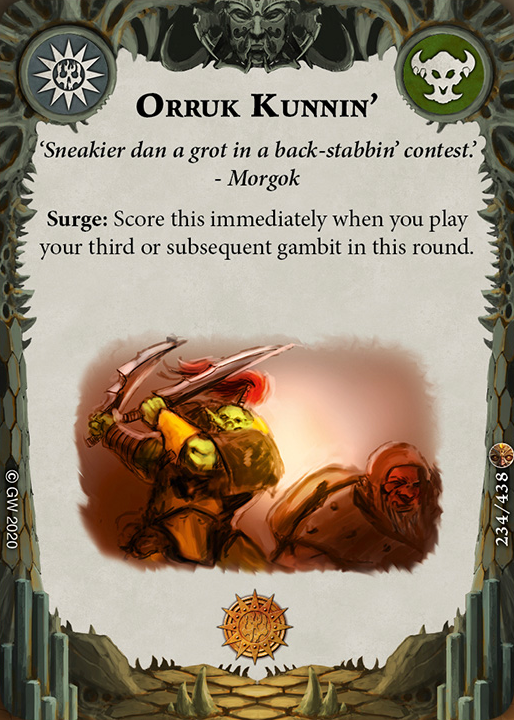 – Easy objective to score. Remember it’s 3 gambits in a round, so you don’t have to play them all in the same power step.
 - [Replace] [
 Called to Waaagh!]
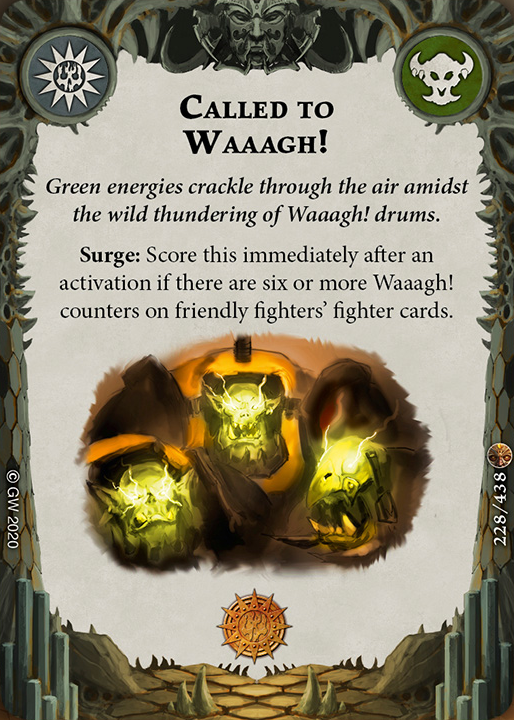 – Getting to 6 Waaagh! counters is not easy, and it’s only 1 glory for the effort.
End phase objectives
- [
 Proppa Rumble]
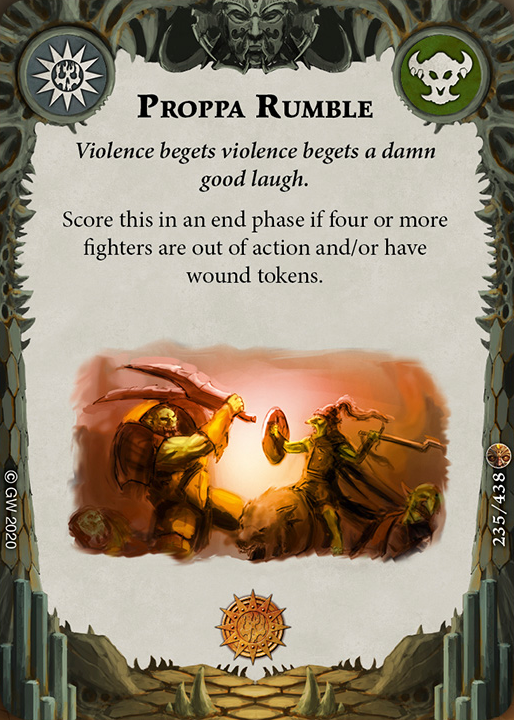 – Scores for doing what we want. Taking out fighters, inflicting wounds. Good objective.
 - [Replace] [
 Brute Triumph]
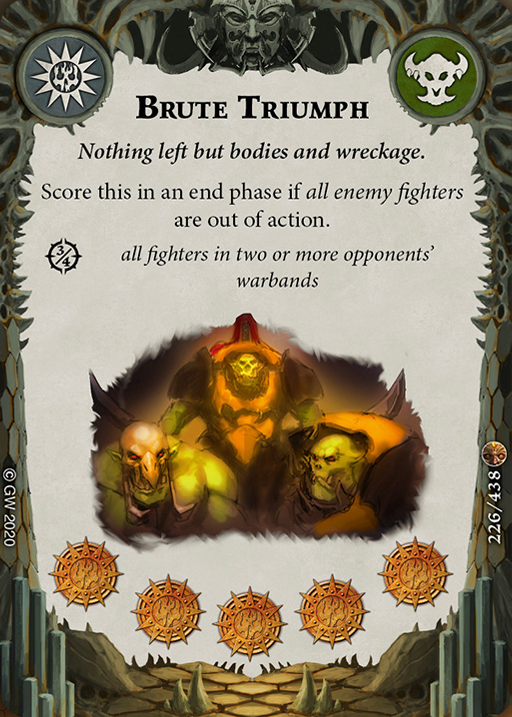 – Basically [
 Annihilation]
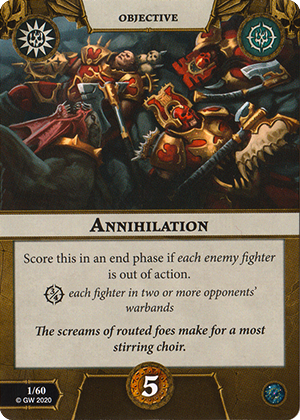 . It’s too hard to score in this meta. Fun fact, [Spinefin]
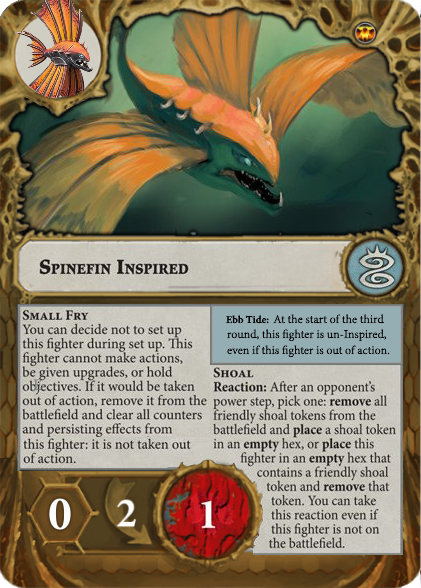 makes scoring annihilation against Elathain nearly impossible.
 - [Replace] [
 Avalanche of Aggression]
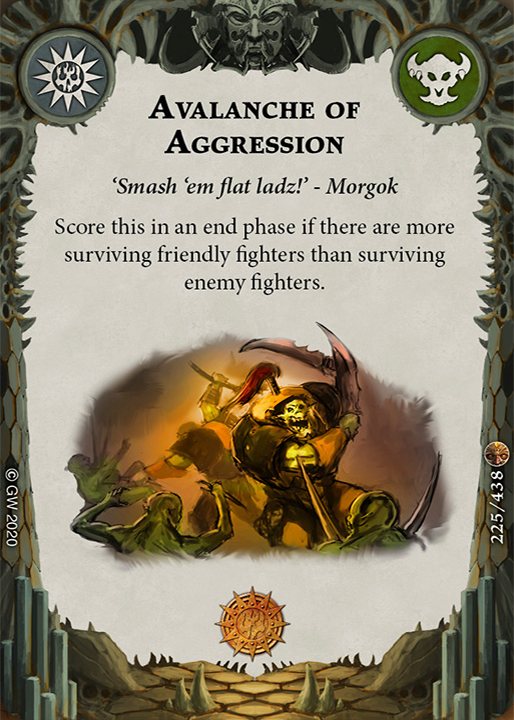 – Hard to score first round and difficult to score against larger warbands. You start with only 3 fighters, which means you need to knock them down to 2 or less. For a single glory, the difficulty to reward ratio isn’t great for this one.
 - [
 Good Day’s Work]
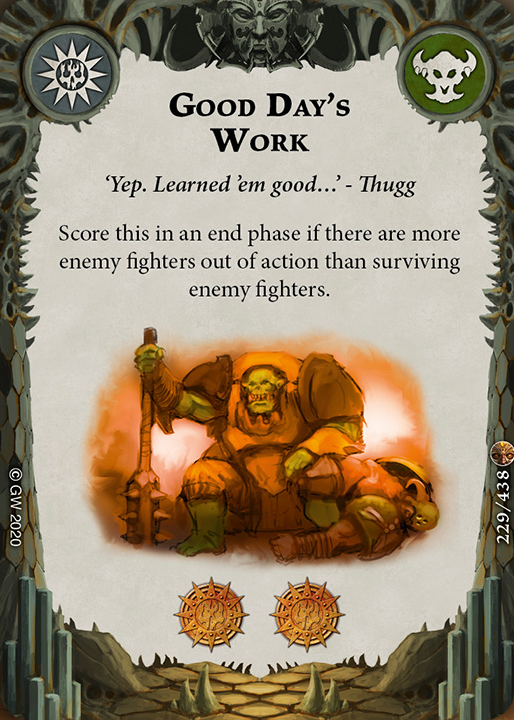 – Difficulty of scoring varies by opponent’s warband, but it does award 2 glory. The risk/reward is better on this objective.
 - [Replace] [
 In Their Element]
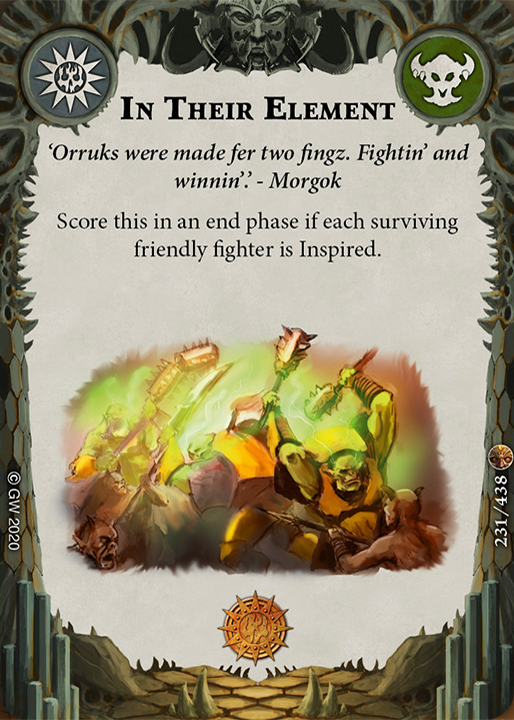 – It can often be difficult to inspire the entire warband. One of your fighters might get zoned out leaving them out of combat for a round, or you lose the board roll off, and your opponent sets up in a way where one fighter cannot easily get into the fight. This means they stay uninspired for longer than you want and this becomes a dead objective card.
 - [Replace] [
 Waaagh! Unleashed]
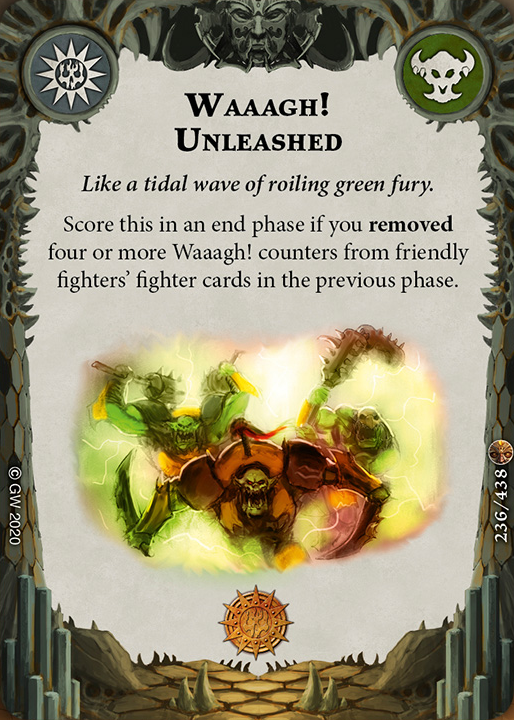 – Difficult to score and incentivizes wasting Waaagh! tokens when you don’t need to.
We need 5 new objectives. Consider replacing the ones above with these.
- [
 Savage Exemplar]
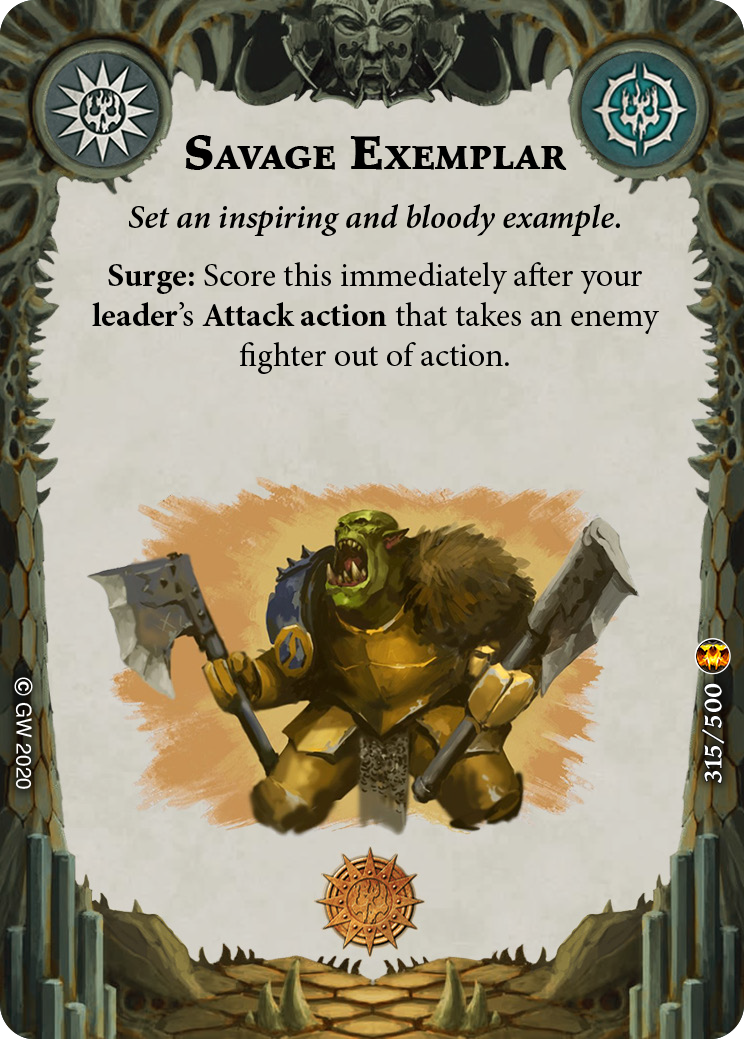 Morgok just needs to knock someone out. If you happen to lose Morgok, it can be unfortunate, but more often than not you will want Morgok to hit something.
 - [
 Branching Fate]
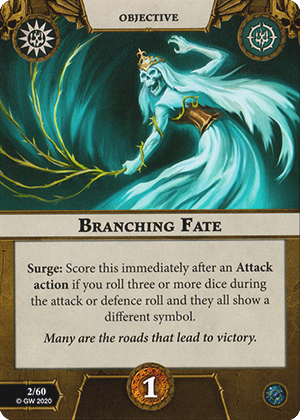 Thugg does roll 3 dice on attack. The other two do as well once inspired. There are more reliable objectives, but this is good enough. You do not have to succeed on your attack to score this.
 - [Optional] [
 No Remorse]
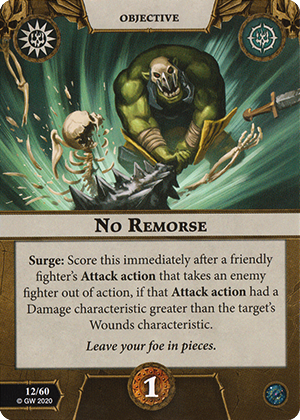 If you don’t like Branching Fate or if you are playing in an extremely aggressive meta where Morgok has a solid chance of getting sniped, switch in No Remorse instead of one of the above. It’s in the Essentials cards pack and Morgok’s Krusha’s have the potential to get big damage numbers.
- [
 Awesome Predator]
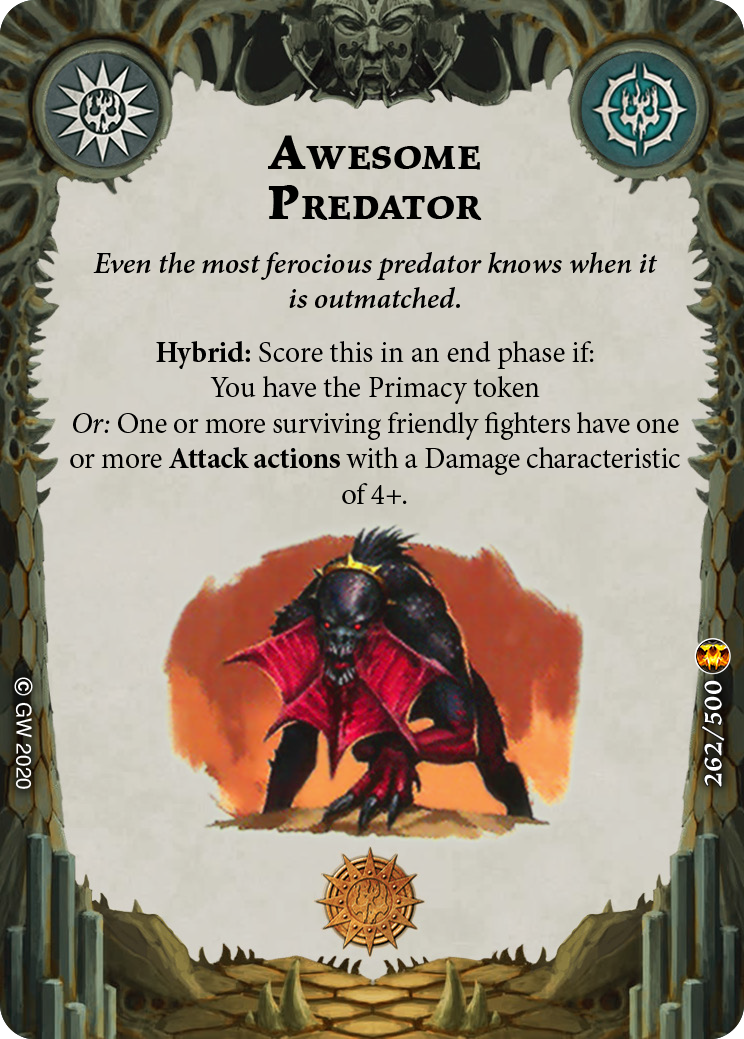 – Scored by holding Primacy or having an attack action that does 4+ damage? Both easy for Morgok.
 - [
 Intimidating Display]
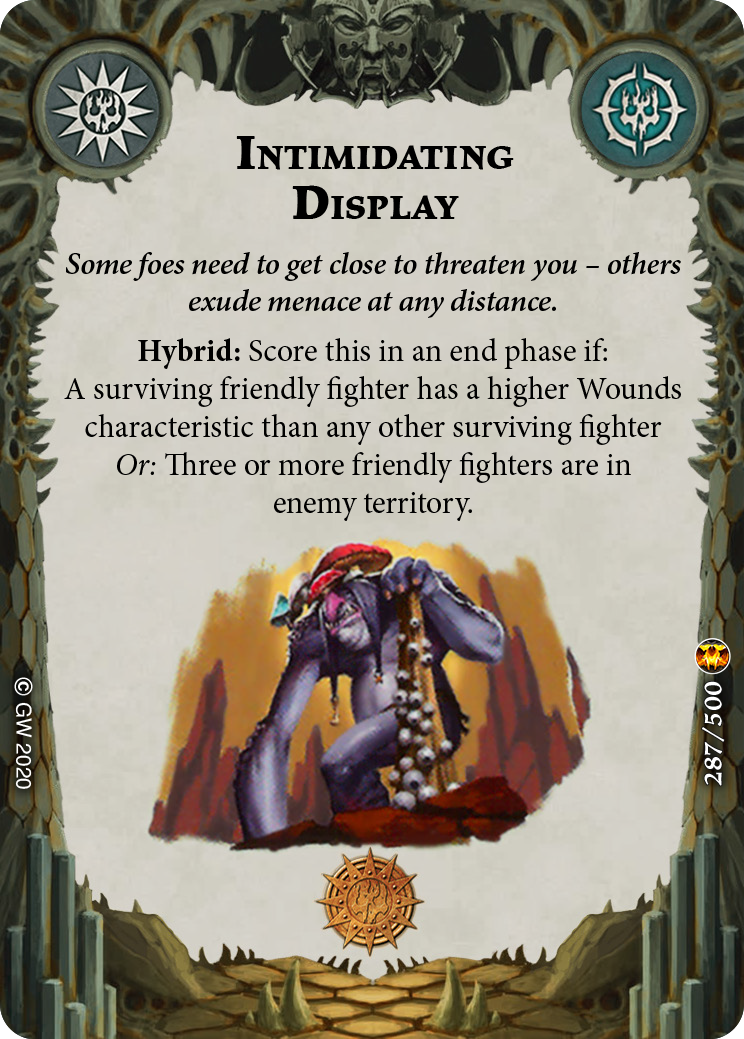 – You will most likely score this by moving 3 fighters into enemy territory. To score the other condition, you will need to have a fighter with more wounds than any other fighter, including your own. Which means you need to give someone +1 wounds first.
 - [
 Unafraid]
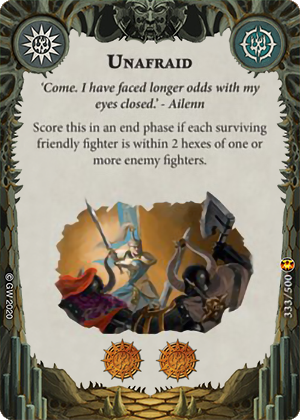 – Great objective that rewards you 2 glory for getting stuck in with enemy fighters. It comes from Khagra’s Ravagers expansion. If you are feeling optimistic, you might get away with [
 Absolute Dominance]
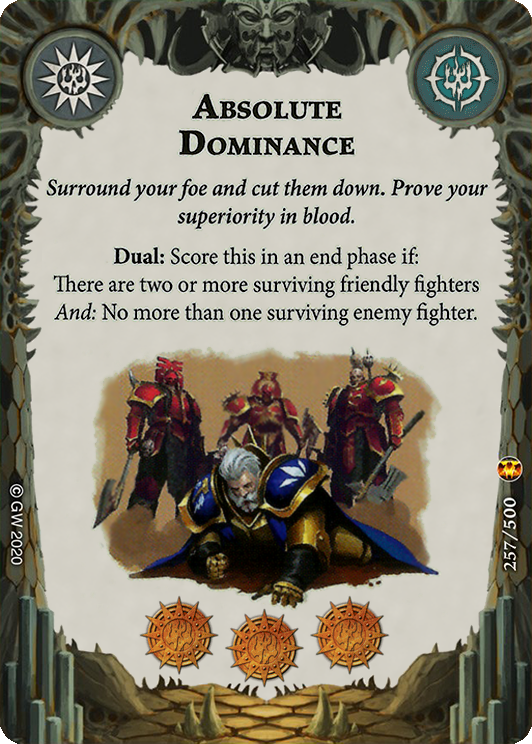 instead.
Kunnin’ Gambits
One challenge newer players run into is they struggle to figure out which cards to swap and which cards to keep. One helpful tip is to compare the cards you are putting in against the staples. For example if you’re going to add a push card in, is it better for your warband than [![]() Sidestep]
Sidestep]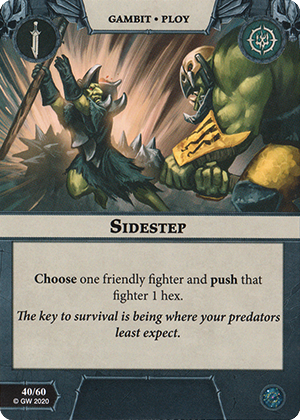 ? If it’s a damage boosting upgrade, how does it compare to [
![]() Great Strength]
Great Strength]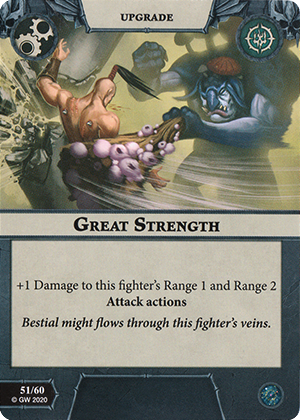 ?
?
- [
 Berserk Fortitude]
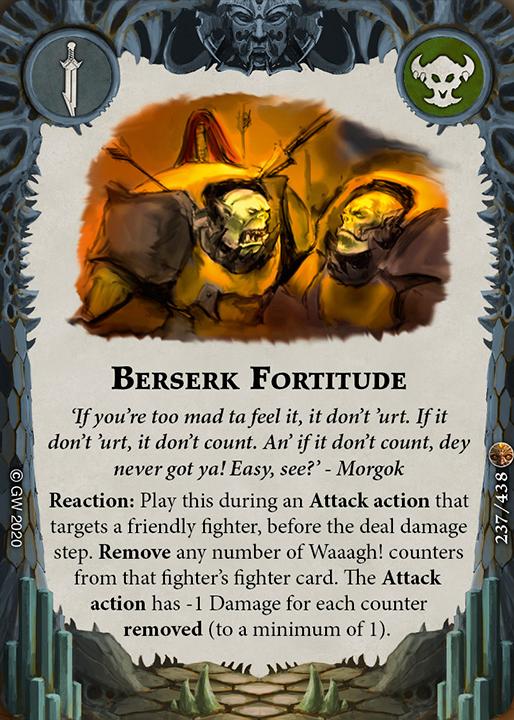 – Takes a restricted slot but it’s worth it. It ruins the math on your opponents attack and lets you consume your Waaagh! counters to potentially save a fighter.
 - [
 Brutal Attack]
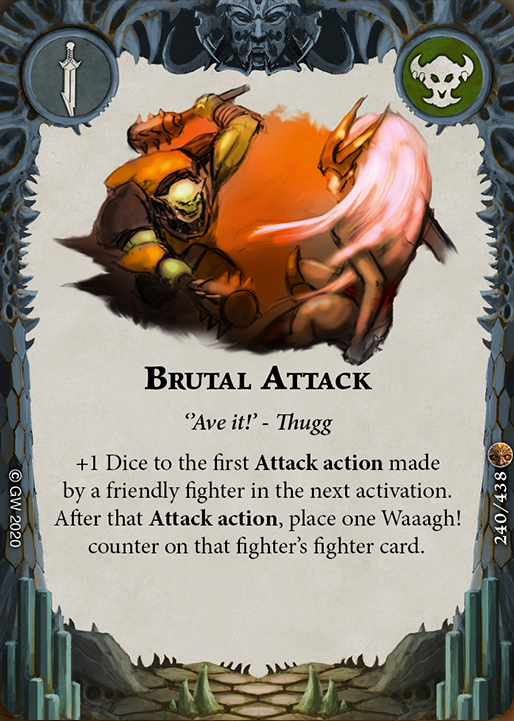 – It’s good, [
 Determined Effort]
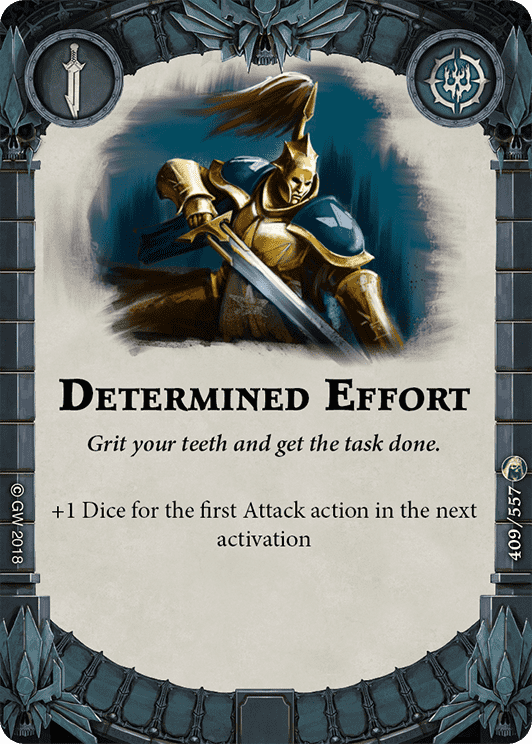 with a bonus Waaagh! Solid, we’ll keep it.
 - [
 Brutal Reprisal]
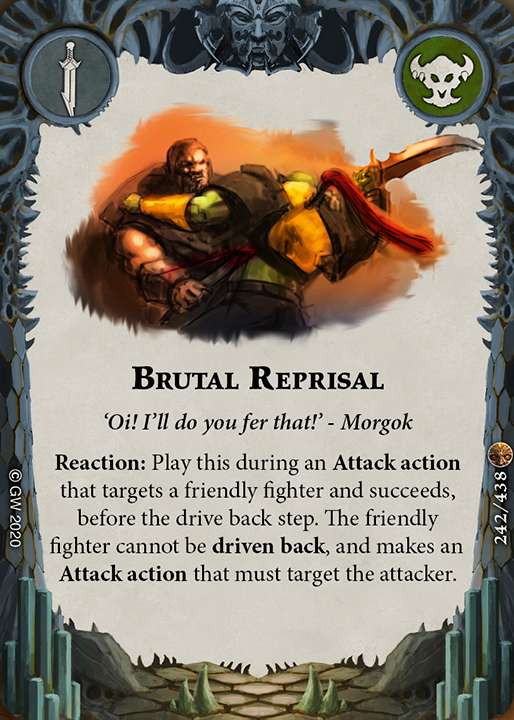 – Basically a modern day [
 My Turn]
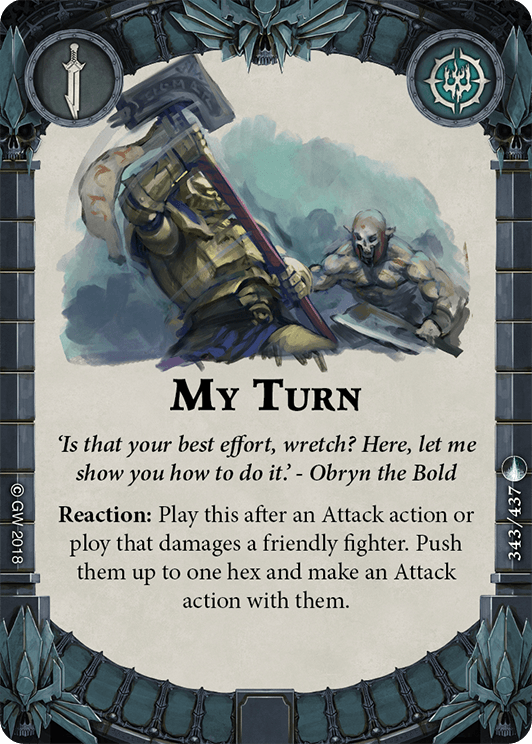 (which was so good it was restricted in Shadespire). Definite include.
 - [
 Eager Advance]
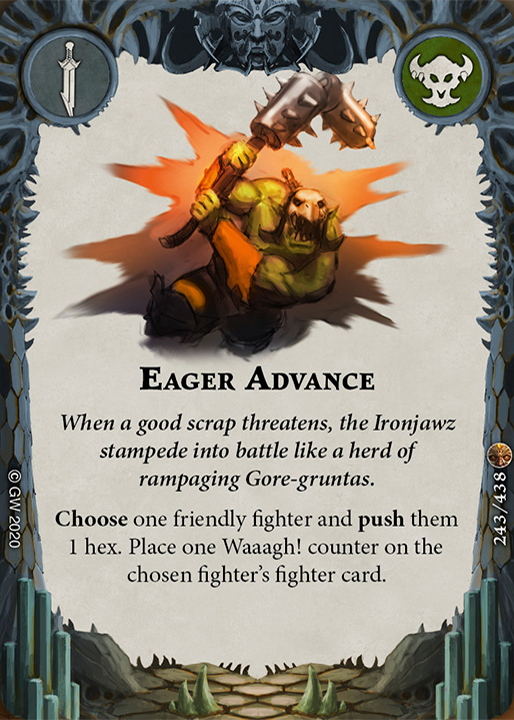 – [
– [ Side step]
 with a bonus Waaagh! counter? Side Step is already a good card, Side Step with bonuses are amazing. Always include.
 - [
 Kunnin’ Brutality]
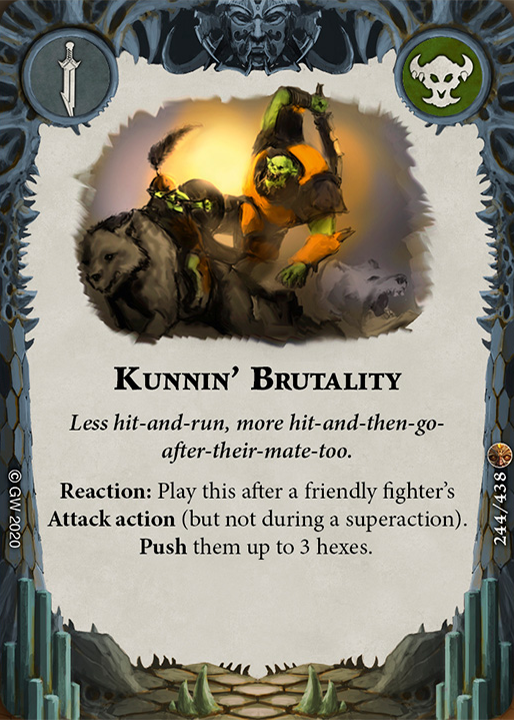 – It’s a decent trick. Hit a fighter, then push yourself to the next victim or move onto an objective. Either way, it’s quite flexible.
 - [
 Waaagh! Energy]
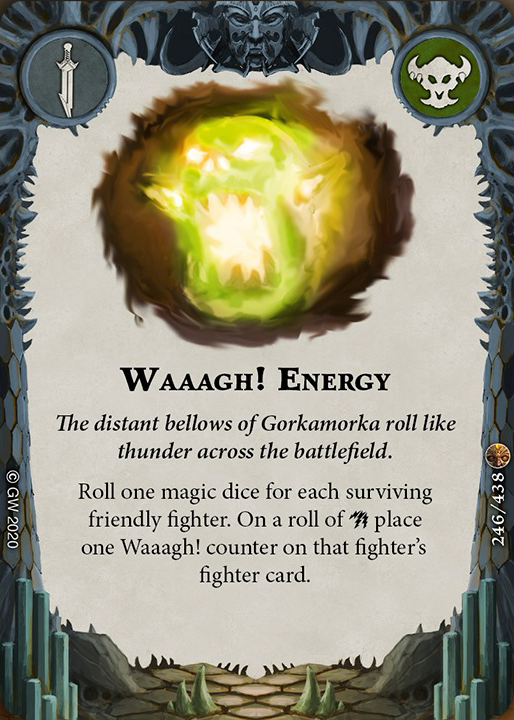 – Not great but can give multiple Waaagh! counters. In this deck build we keep this, but consider replacing this with [
 Distraction]
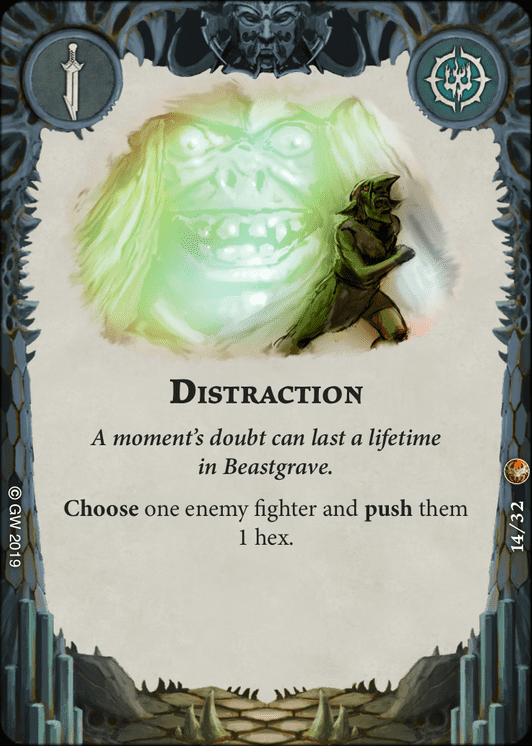 or [
or [ Outrun Death]
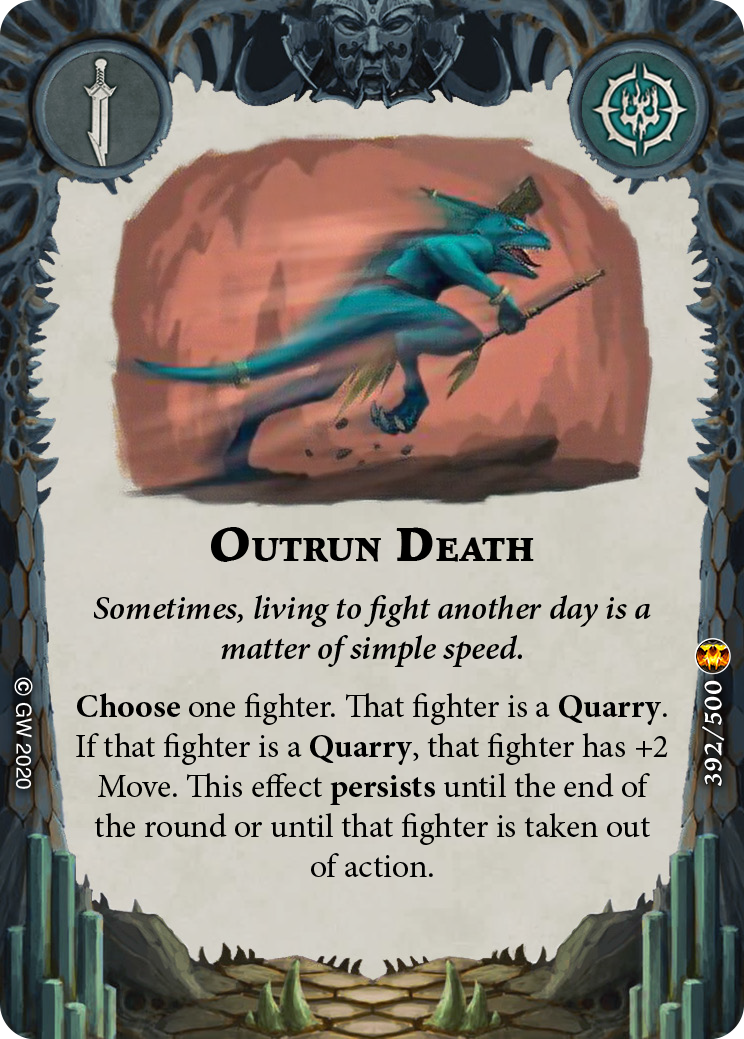 as your collection grows.
 - [Replace] [
 Berserk Strength]
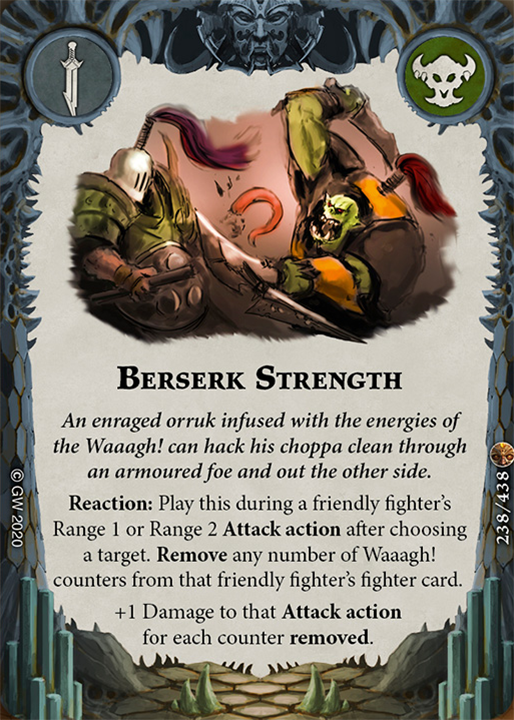 – A version of [
 Ferocious Blow]
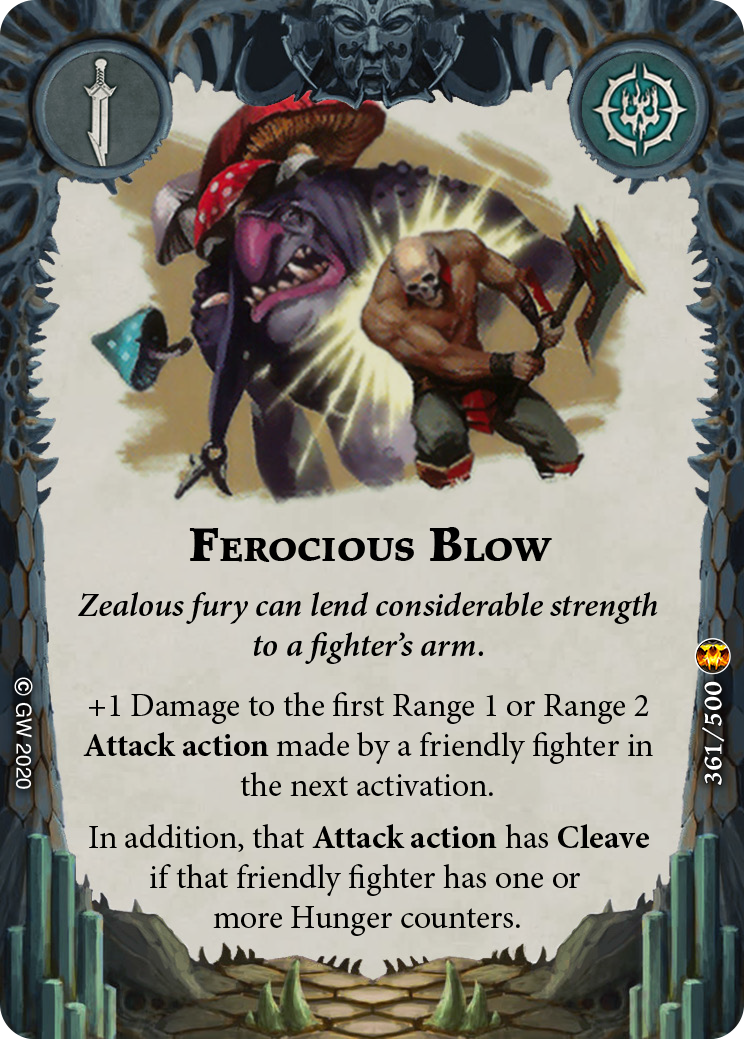 that requires you to consume Waaagh! counters to add damage. Can be useful late game if you somehow have excess Waaagh! tokens and need to blow up a large target. Not good early game when you are trying to get Waaagh! counters to inspire. I’d look to replace this.
 - [Replace] [
 Brawling]
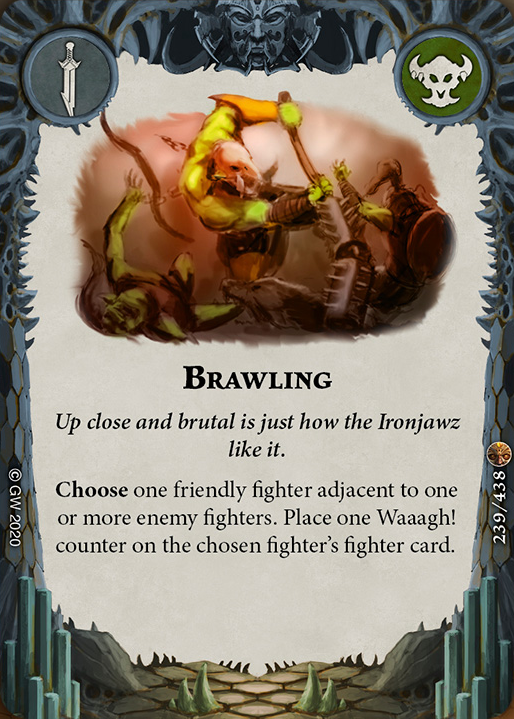 – Waaagh! counters are good, but this card doesn’t do anything else. You’re better off with some push or movement cards to help you close the distance and make more attacks (and get more Waaagh! counters).
 - [Replace] [
 Brutal Kunnin’]
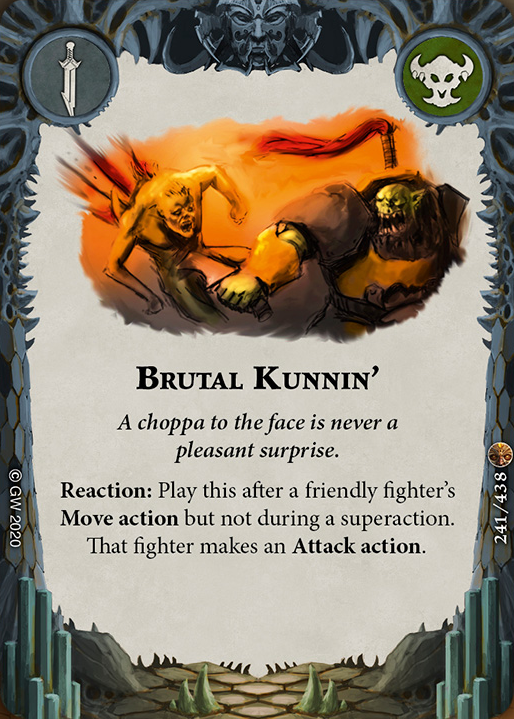 – The reverse of [
 Kunnin’ Brutality]
 . This one is slightly less flexible in it’s use case. It’s OK but more often than not you’ll find you’d rather have something else.
 - [Replace] [
 Power of the Waaagh!]
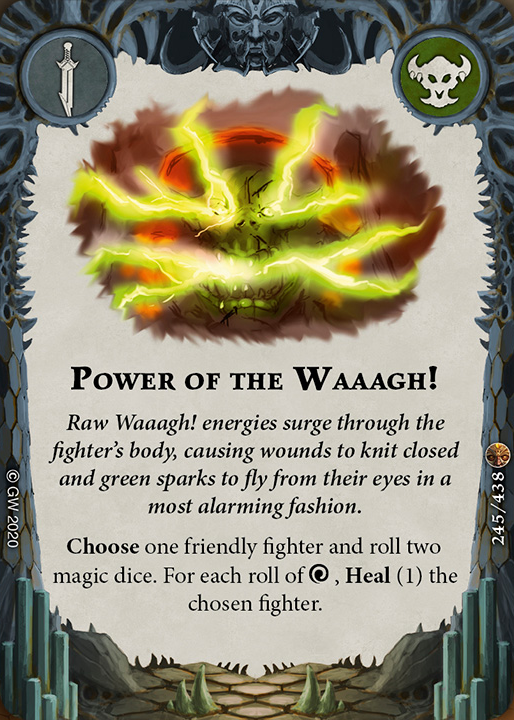 – Sometimes it heals for 2, sometimes it does nothing. Just play [
 Healing Potion]
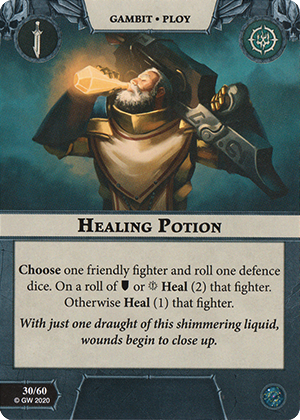 instead if you want a heal card. At least Healing Potion can’t fail and heal for 0.
Other Kunnin’ Gambits
Consider replacing the gambits we took out with some of these.
- [
 Healing Potion]
 – More consistent than [
 Power of the Waaagh!]
 . You won’t regret it.
 - [
 Duel of Wits]
 – Draws cards for free. It’s card draw with minimal downsides.
 - [
 Mirror Move]
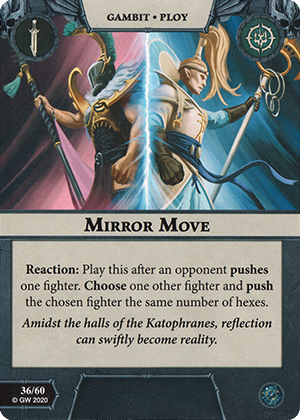 – Another flexible push card, that can be used for alot of combat tricks. A few examples:
- Opponent attacks one of your fighters and chooses to drive you back (pushing you out of range). You can react with Mirror move to push them right next to your fighter that was just driven back.
- Opponent plays [
 Slickrock]
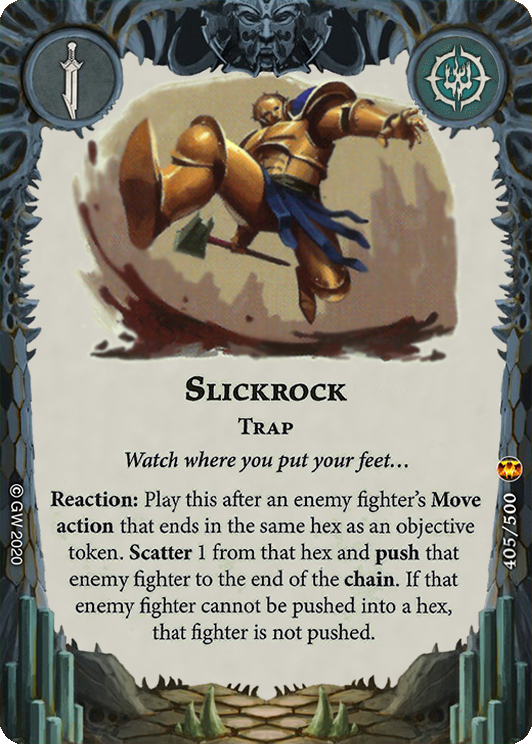 as you charge onto an objective, pushing you out of attack range. You can react to the push with Mirror Move to push them into range.
 - Opponent uses [
 Commanding Stride]
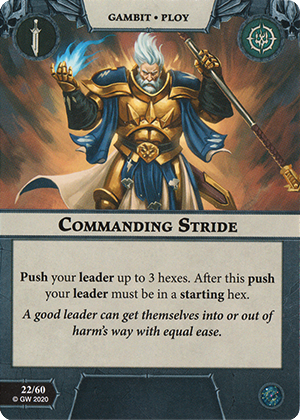 to push their leader around. You can react with Mirror Move to push yourself 3 hexes towards one of their fighters.
- [
 Sidestep]
 – If you’re not really into [
 Mirror Move]
 , you can run Sidestep. It’s easier and more flexible to use but doesn’t have the reaction surprise factor.
 - [
 Ferocious Blow]
 – If you find you often need the damage boost run this instead of [
 Berserk Strength]
 . At least Ferocious Blow wont consume your much needed Waaagh! counters.
 - [
 Centre of Attention]
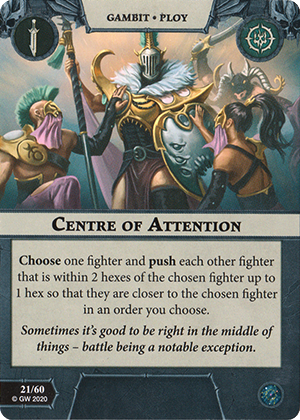 – Another push card that can setup enemies together for a ['Ardskull]
 to use his scything attack.
Why the extra push cards? Morgok’s main weakness is being zoned out. With only 3 movement to start and range 1 attacks, your opponent can position themselves to zone you out and deny charges. Adding much needed push cards helps you get your fighters into combat, which means more Waaagh! counters.
Brutal Upgrades
Most of Morgok’s faction upgrades we end up replacing. Many of them have fighter restrictions, which we want to avoid. We never know which of our fighters our opponent might manage to kill or end up out of the fight. The Upgrade section needs the most help from the Universal pool for this faction.
- [
 Brute Charge]
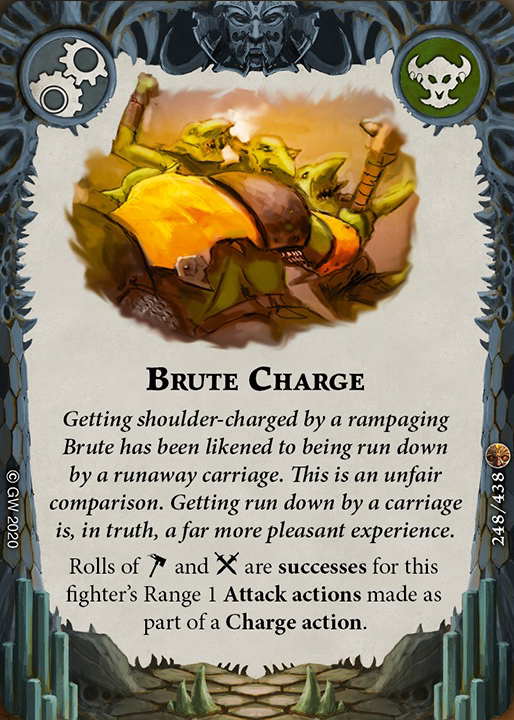 – Fantastic card. Making both Hammers (Smash) and Swords (Fury) count as successes on your charges is amazing.
 - [
 Inured to Pain]
 – Damage reduction becomes better the more wounds you have, and these guys each start with 5 wounds. There’s a reason why this card is now restricted, it’s good.
 - [
 Vengeful Glare]
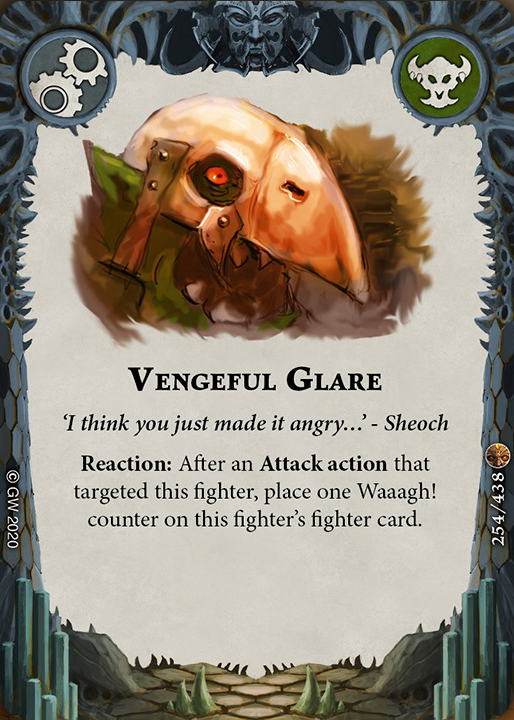 – This gives your fighter a reaction after being targeted by an attack, you gain a Waaagh! token. It’s OK, but we’d probably look to replace this later on. Fun tip, this cards reaction has some defensive uses too. It interferes with reactions such as [Rippa Snarlfang]
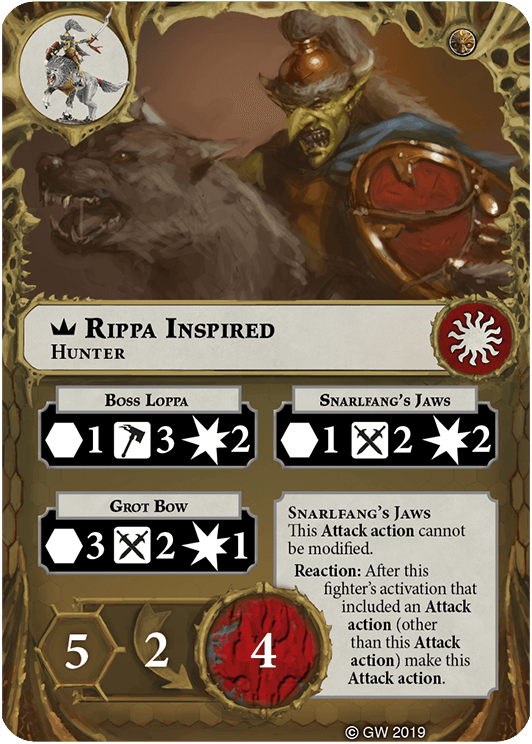 and [Klaq Trok]
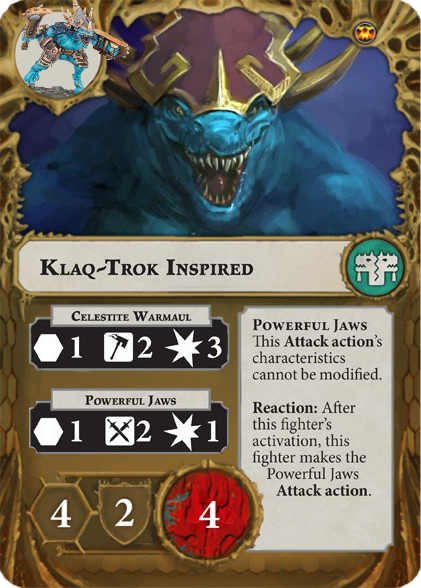 ‘s reaction attack. It also blocks any other after attack action / after activation power cards (when attacking this fighter) such as [
 Acidic Strike]
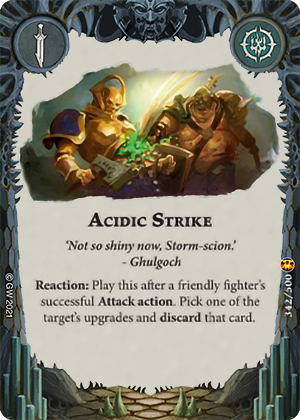 .
. - [
 Waaagh! Eadbutt]
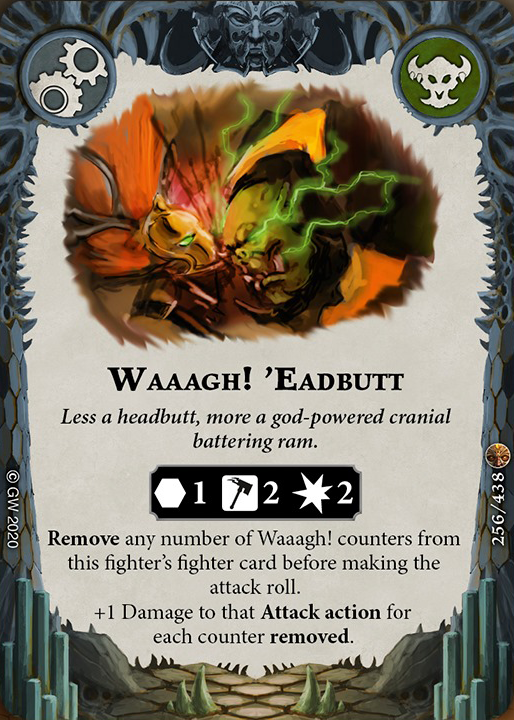 – It’s an outlet for your Waaagh! tokens if you need to blow up a big fighter. You can give it to ['Thugg]
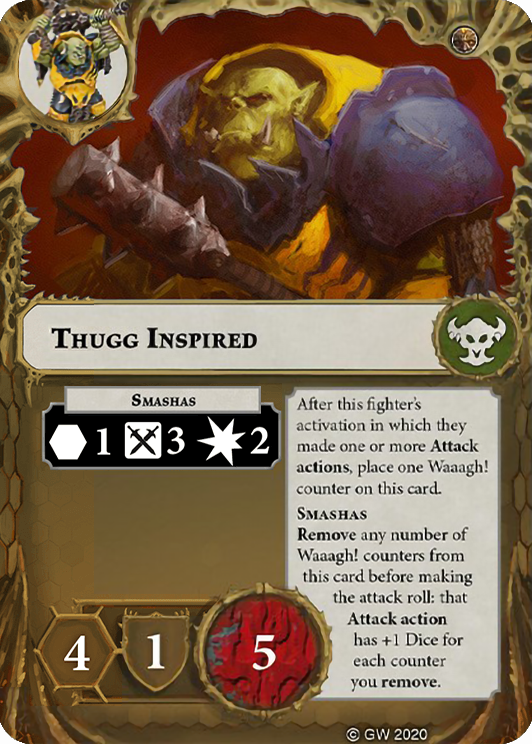 to make him a bigger threat. If your local meta doesn’t have many players running 4+ wound fighter warbands, then I would probably replace this.
 - [Replace] [
 Berserk Whirl]
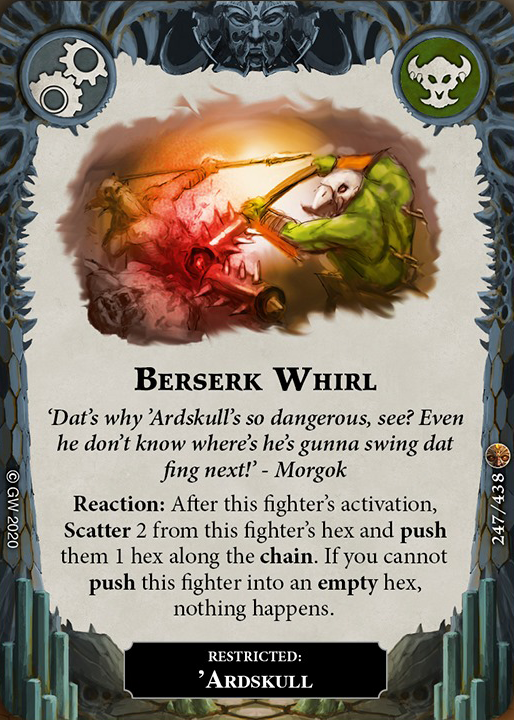 – Gives you random pushes after a fighter’s activation. Restricted to ‘Ardskull too. Not good.
 - [Replace] [
 Brute Swing]
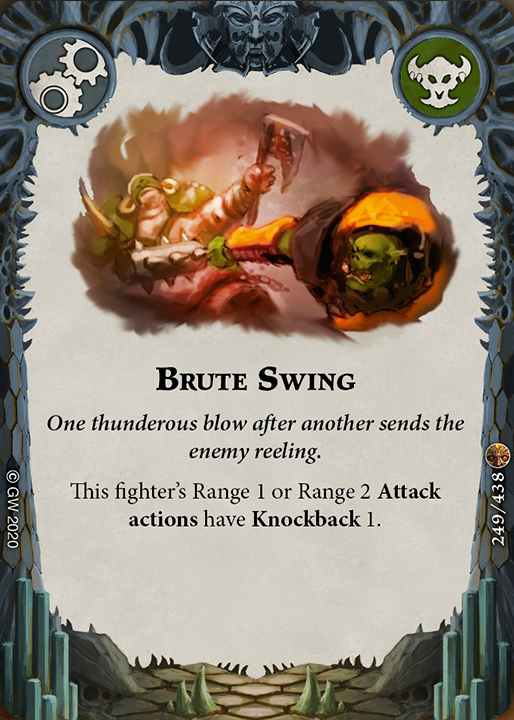 – Knockback isn’t necessarily a bad ability, but for an upgrade you’d rather just have extra damage, extra wounds or more movement to help you get in the fight.
 - [Replace] [
 Incredible Bellow]
 – ['Morgok's]
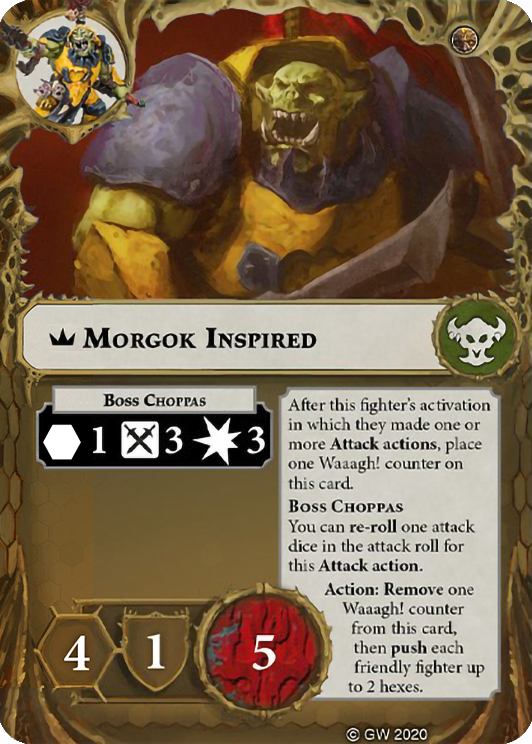 ability is better. He can’t use his Waaagh! tokens to boost his attacks, so you will end up using Morgok’s Waaagh! tokens to push your fighters around. Also this upgrade is restricted to Morgok.
 - [Replace] [
 Keen Choppa]
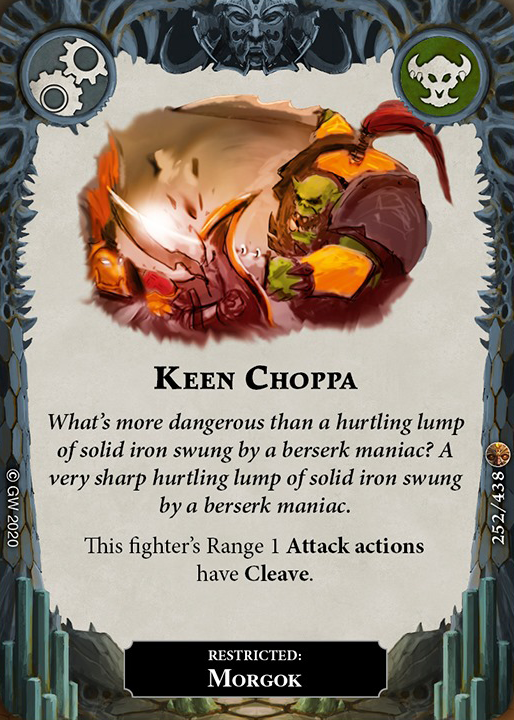 – Cleave is strong ability to have right now. It is fighter restricted on Morgok though. I’d personally replace it due to the fighter restriction, but you can run it in place of either [
 Vengeful Glare]
 or [
or [ Waaagh! Eadbutt]
 depending on your preference.
 - [Replace] [
 Seething Hatred]
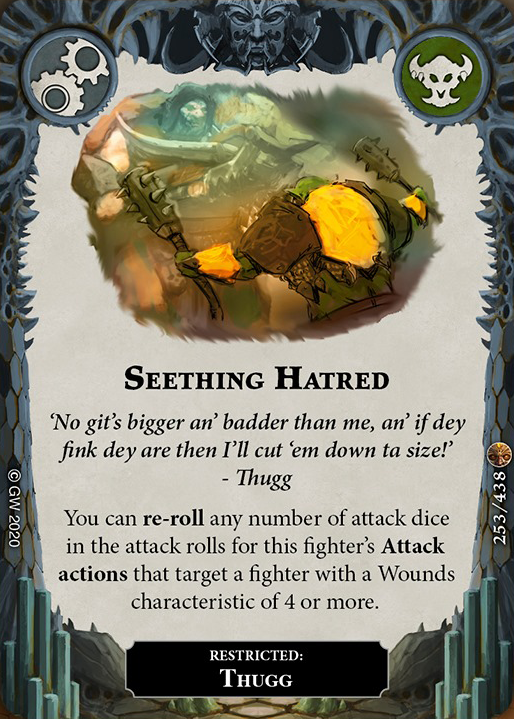 – Extra rerolls for Thugg when attacking fighters with 4+ wounds. Not bad except that Thugg already has the accuracy boost when inspired, and the rerolls are better on the other two who need it more. Would be great if it wasn’t restricted to Thugg.
 - [Replace] [
 Vessel of the Waaagh!]
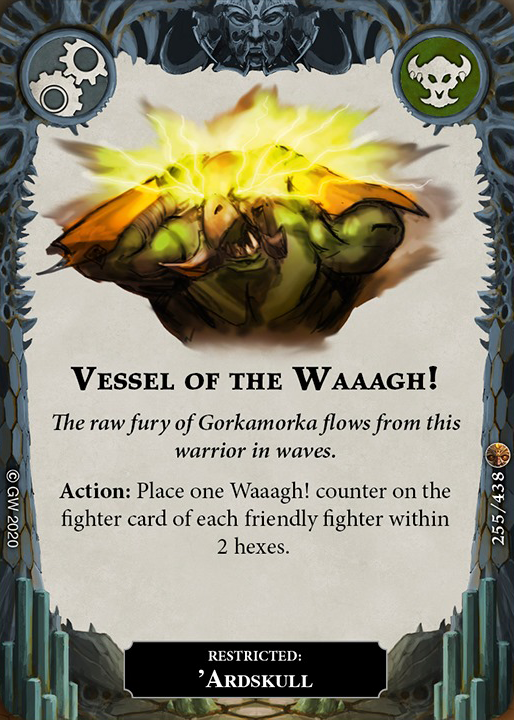 – Gives ‘Ardskull an alternate action to feed Waaagh! tokens. Waaagh! tokens are good, but not good enough to spend a turn not pushing your fighters closer, charging or attacking enemies.
Other Brutal Upgrades
Fortunately there are plenty of decent upgrades Direchasm core set and Essentials card pool.
- [
 Great Strength]
 – Bonus damage without any drawbacks, perfect. You can use it to push Morgok or ‘Ardskull to 4+ damage or start making Thugg a little scarier.
 - [
 Savage Strength]
 – Same as Great Strength. The drawback doesn’t affect you since your fighters are on 1 defense characteristic and it does not improve as they inspire.
 - [
 Great Fortitude]
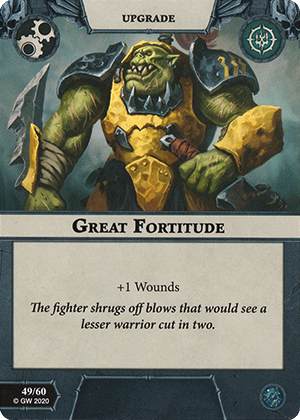 – An extra wound can change the math and make you much harder to kill. Keep in mind that boosting a fighter to 6 wounds means it awards 2 glory if your opponent kills it. Only give a fighter this upgrade if it will make it harder for your opponent to finish him off.
 - [
 Scavenged Armour]
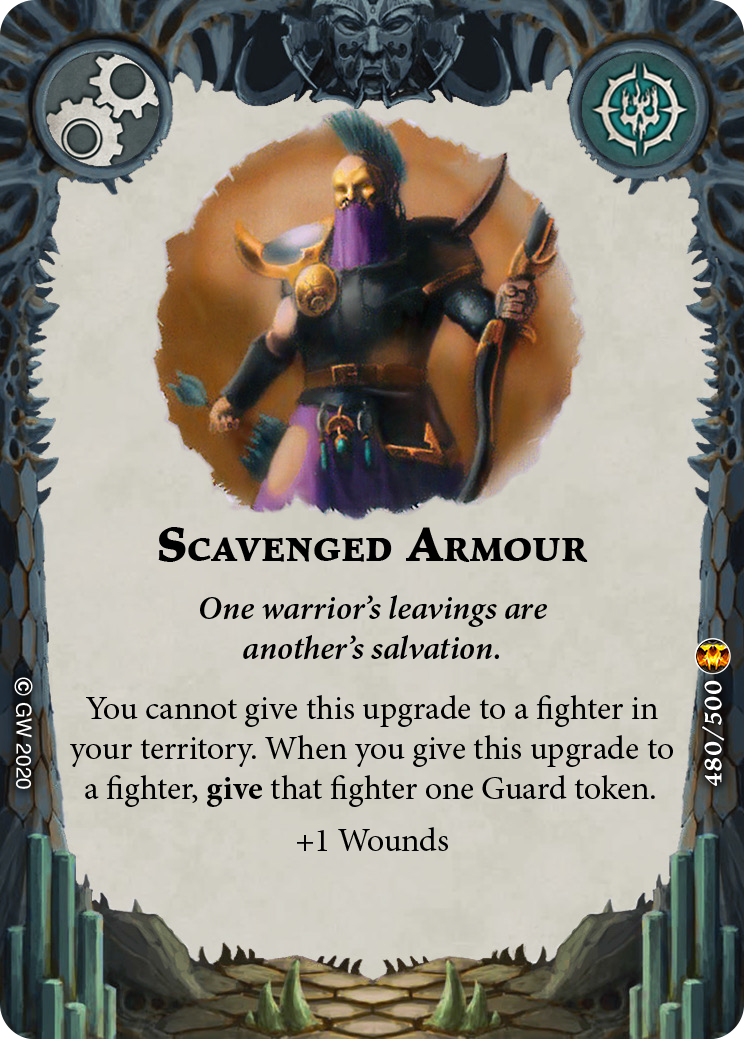 – From the Khagras Ravagers expansion. Like Great fortitude, it grants an extra wound. It does have a limitation in that it needs to be played in enemy territory (which is where our fighters are heading), however it gives you a bonus Guard token when it’s played. This means you can make plays such as charging your fighter near a lethal hex, play Scavenged Armour to gain a Guard token and make yourself immune to being driven into it.
 - [
 Savage Speed]
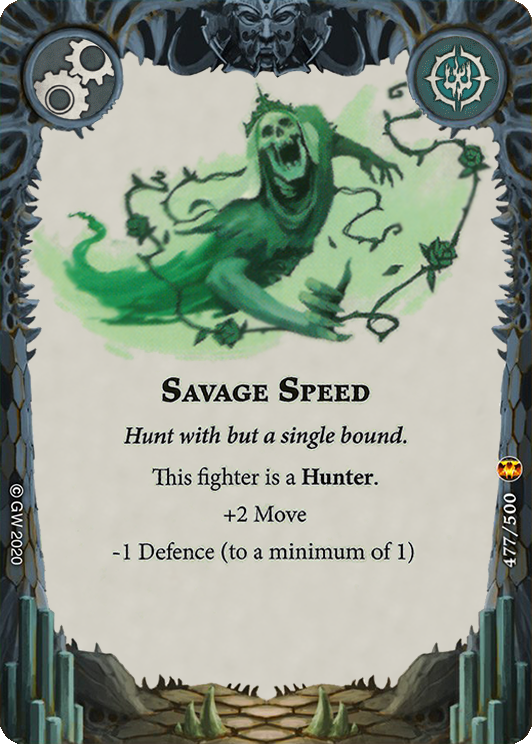 – +2 Movement upgrade. There is a downside to losing a defense characteristic, but our fighters are already on 1 defense. The extra movement is great early game to get into the fight and can be useful late game to hunt down enemy stragglers.
 - [
 Soultooth Javelin]
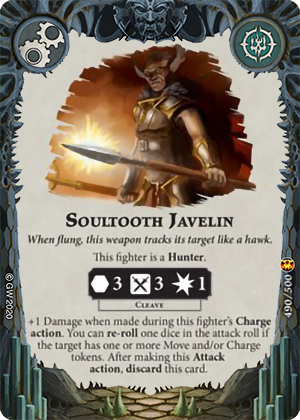 – Why add a Javelin? Sometimes your opponent sets up a board so that some of your fighters don’t get into attack range. Throwing a Javelin is a nice way to hit something you can’t reach yet. The Javelin attack still gives you Waaagh! tokens.
 - [Optional] [
 Gloryseeker]
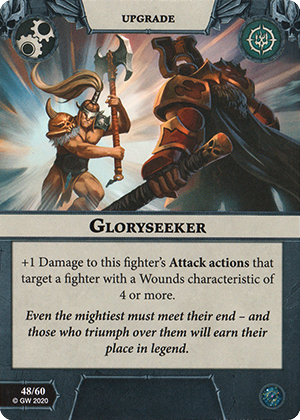 – Expecting tough fighters and need to pack more damage? Load Gloryseeker in there!
 - [Optional] [
 Soultooth Spear]
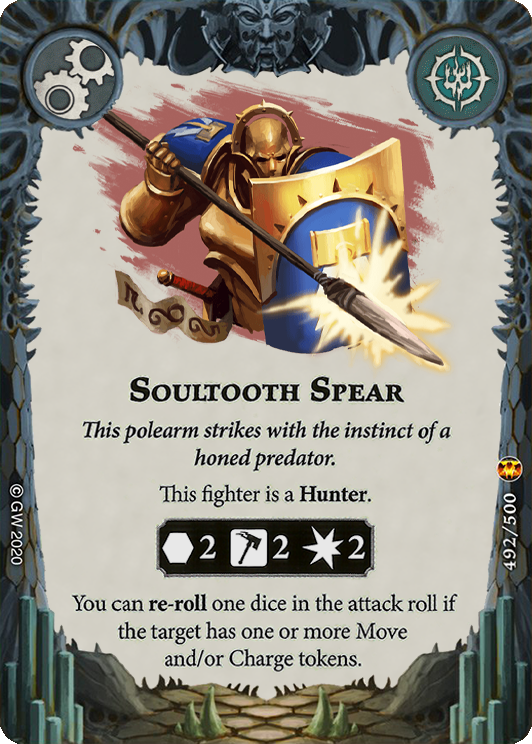 – Opponents playing keep away and staying 1 hex just out of reach? Give an Orruk a spear to surprise them! You can use this in place of [
 Soultooth Javelin]
 if you prefer to keep your weapons instead of throwing them.
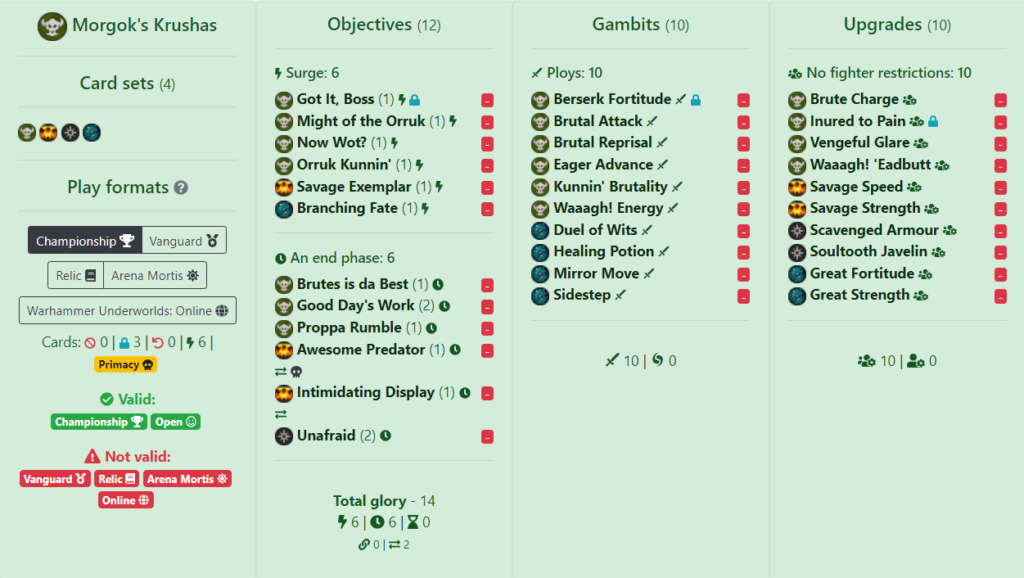
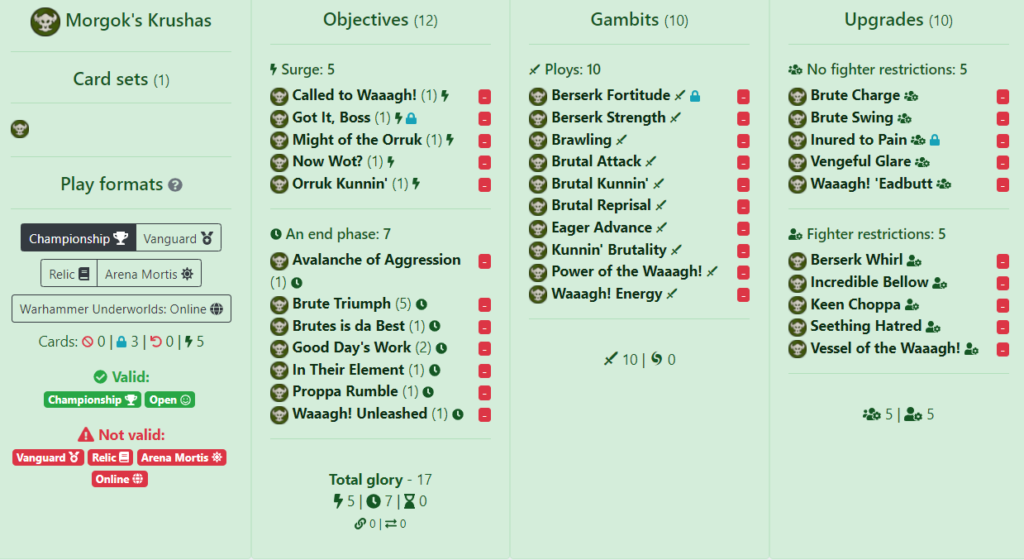
The decklist we end up with is here. The Glory ceiling is a little low (with only 14 total glory), but aggressive warbands can get away with it. If you’re killing your opponents fighters, you will limit their options and reduce the amount of glory they can score. You should adjust your deck for personal taste and which opponents you expect to face locally.
Playing the Warband
This warband’s goal is straightforward. Move towards your enemies and knock them out of action. There’s finesse in the ordering and positioning of your fighters, which you will learn from a bit of practice. The push cards are used to close the distance and let you attack enemies more often. Be mindful when applying the extra wound upgrades. They are good to keep your fighters alive longer but if they die with 6+ wounds, they give an extra glory to your opponent.
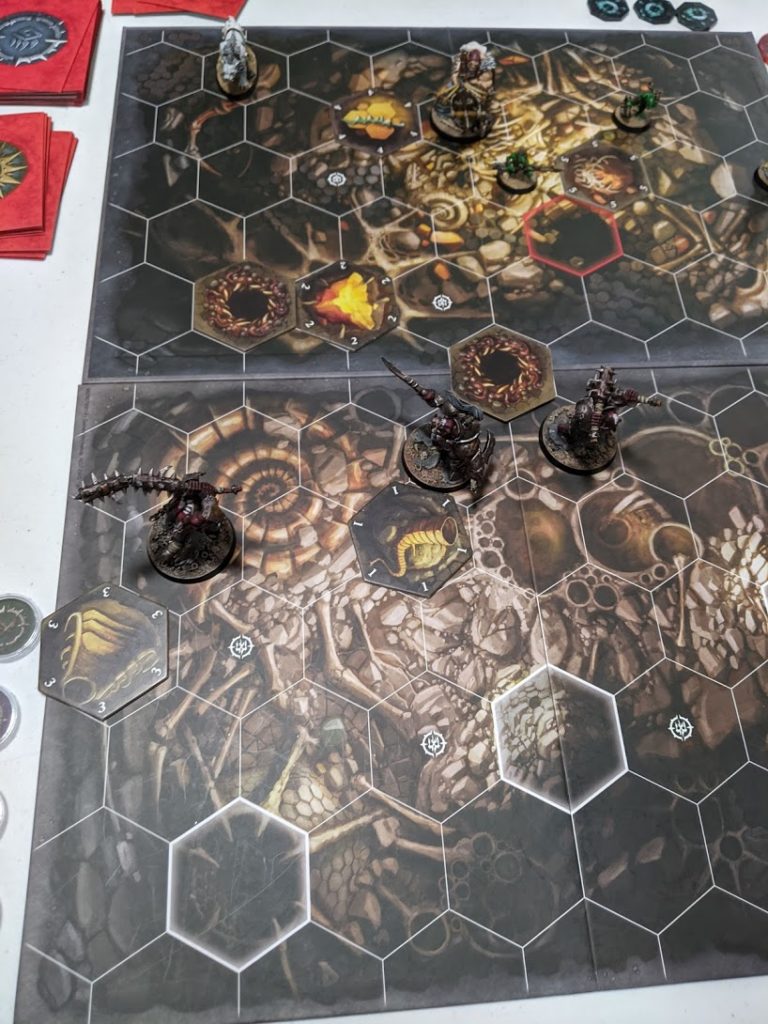
As for deployments and objectives, you want to set up objectives to either block lethal hexes or put them in charging distance so your opponent has to fight you to capture objectives. Rather than reading about it, Ben from Tabletop Sydney has a deployment guide which explains this in more detail.
Going for gold
As your collection grows, it could benefit from some additional movement cards such as [![]() Outrun Death]
Outrun Death] or [
or [![]() Membranous Wings]
Membranous Wings]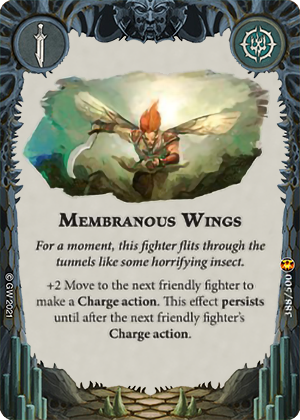 to help close the distance with enemy fighters. [
![]() Distraction]
Distraction] is always a welcome push card and helps drag enemies off objectives.
You will be taking Primacy by hitting things, making [![]() Primal Lunge]
Primal Lunge]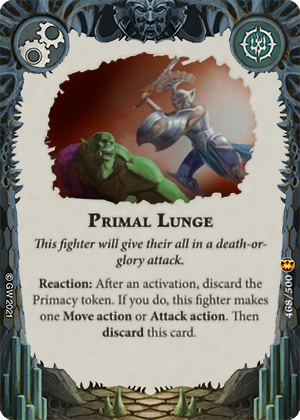 a nice card to include for the extra attacks. More dice is always welcome, [
![]() Augmented Limbs]
Augmented Limbs]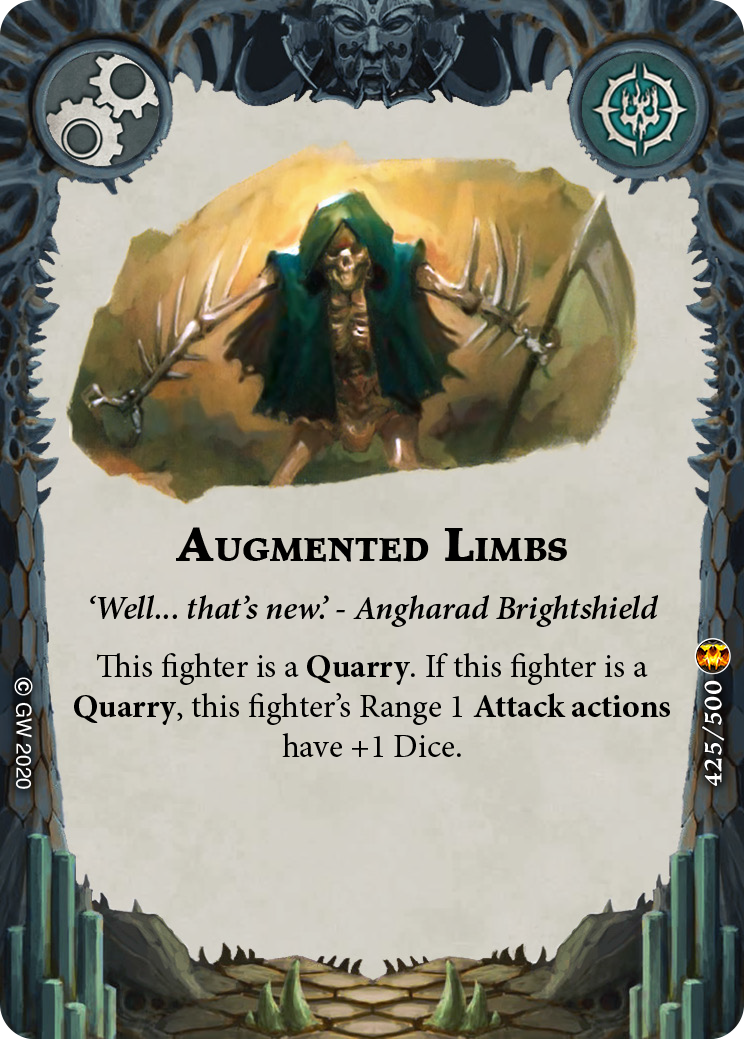 makes for a nice inclusion if you happen to get your hands on the Silent Menace card pack.
Good luck out there!

Thank you for sharing! Really helpful for a new player!
Can’t wait to see you play this on TTS channel!