
Unhinged Underworlds | Skittershank Greedy Clawpack, yes-yes.
It’s not uncommon to run a big juicy glory bomb in Warhammer Underworlds. An Objective that you can drop third end phase to push your point score up for the win. But what if you ran two of them? Like the Starblood Serial Killers this is what Clan Eshin, Skittershank’s Clawpack will do too.
What the deck

What’s the gameplan?
The gameplan is straightforward. Kill their leader, even if it costs you every single fighter in your warband. Then you score [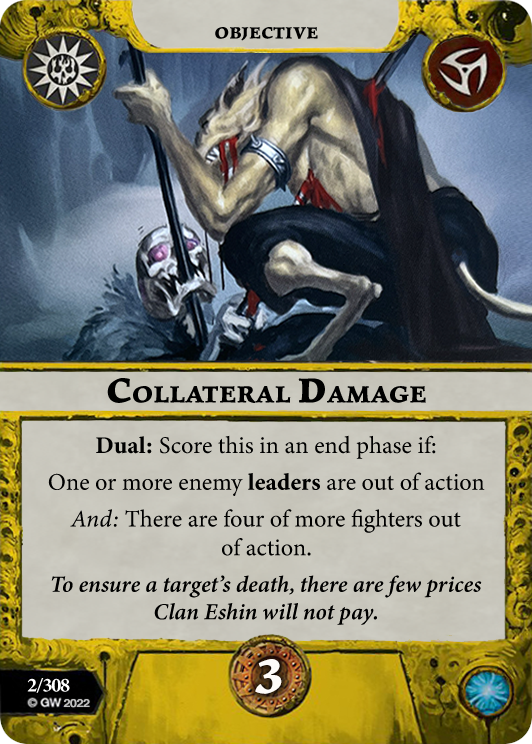 Collateral Damage] and [
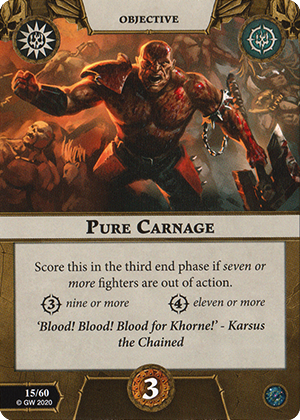 Pure Carnage] for a massive 6 glory swing.
Keep in mind that [Collateral Damage] does not need to be scored in the third endphase, and the requirement for four or more out of action fighters includes the enemy leader (ie if their leader is out + 3 other fighters are out on any side, then you can score it).
The rest of the objectives are to feed you glory as you attack your opponent. [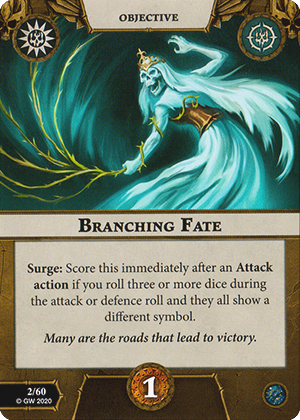 Branching Fate], [
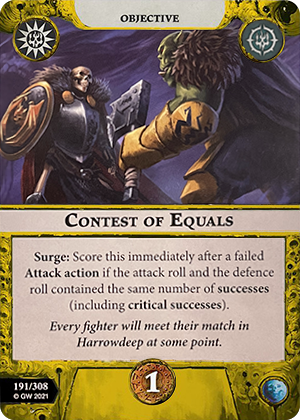 Contest of Equals], [
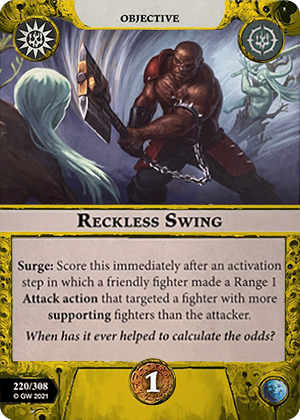 Reckless swing] and [
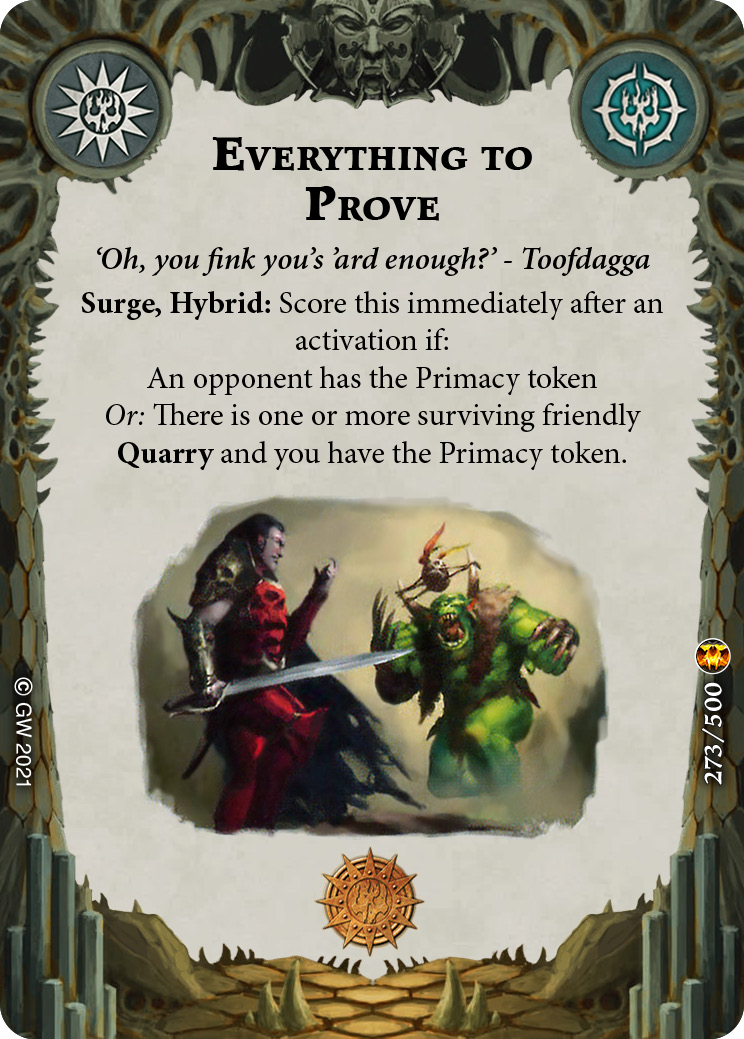 Everything to Prove] can be scored even if you fail your attack actions.
You will not be playing to control any objective hexes at all, so [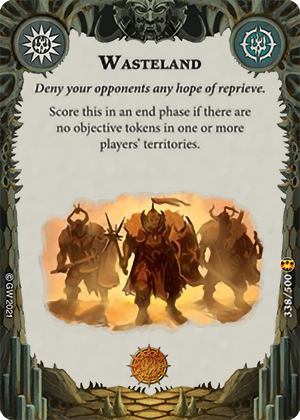 Wasteland] is an easy score. Ideally during setup you want to place an objective in no-man’s land, and one in your territory that is difficult to reach. That way, your opponent does not have an easy way to flip your objectives and guarantees a [Wasteland] score. [
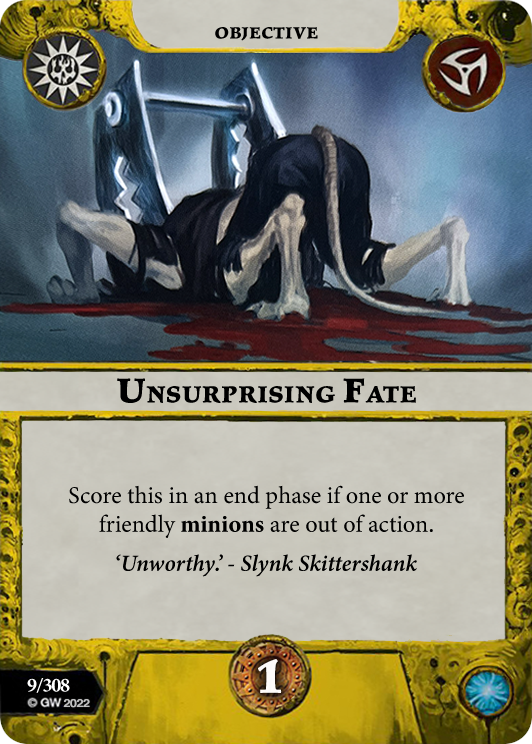 Unsurprising Fate] rewards you when your opponents pick off your minions. [
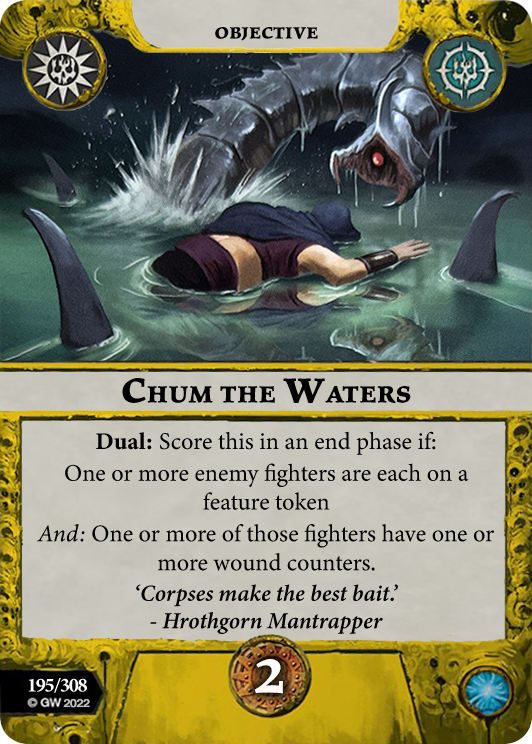 Chum the waters] is an easy 2 glory that you can score by driving back an enemy fighter into a feature hex or using [
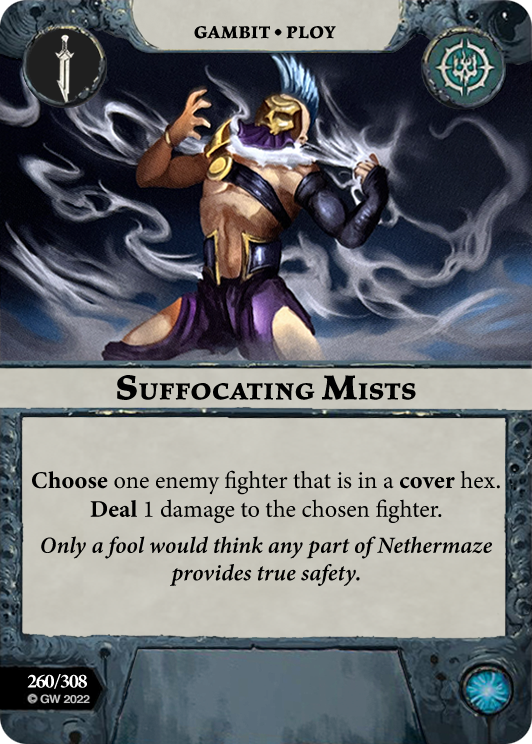 Suffocating Mists].
Lets see this in action
There’s game here on Tabletop Sydney where I face off against Keeva’s Exiled dead. We misplay some of the Exiled dead’s rules regarding their ability to hold objectives, but this is still a good showcase on how deadly this warband is and how much glory they can score once they take out the enemy leader.
Explain your card choices!!
The goal here is to eliminate the enemy leader. Of course if you can eliminate other fighters along the way, that’s great too, but don’t take your eyes off the prize. Every other card in this deck is to help you achieve your primary goal. With 5 base movement, you can get your fighters in where they need to be most of the time.
[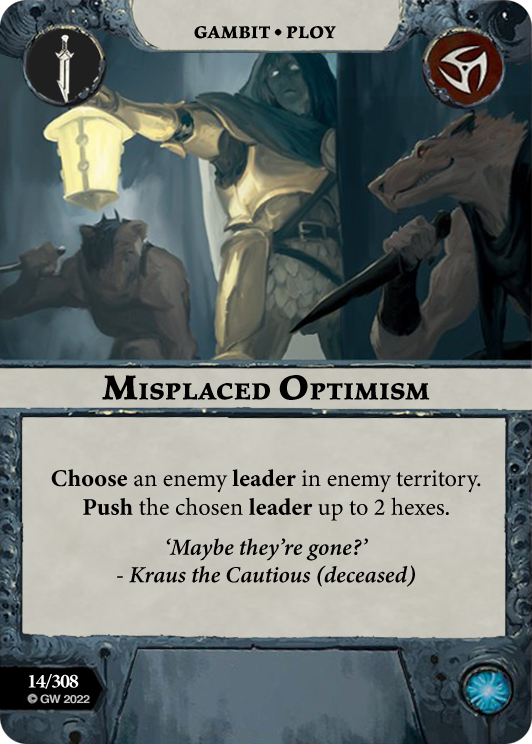 Misplaced Optimism] is an amazing card to have in your opening hand. It drags their enemy leader out of position. You can use it to drag them away from their friends, off their cover hex or right next to all your rats for extra supports on your dice rolls.

[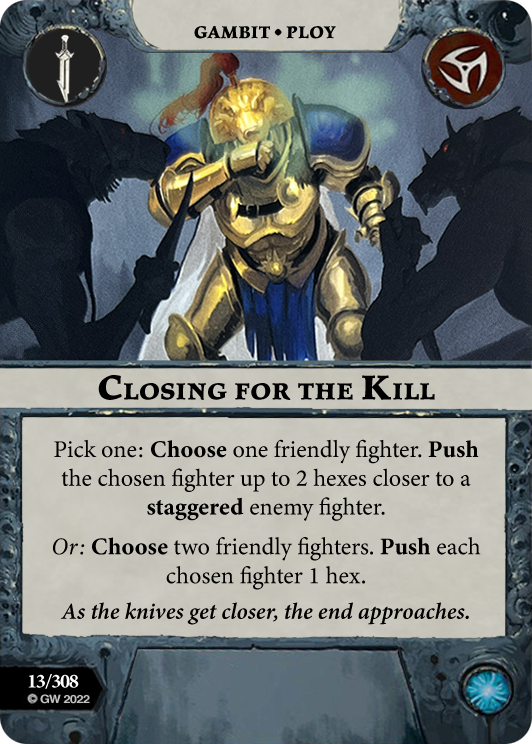 Closing for the Kill] is [
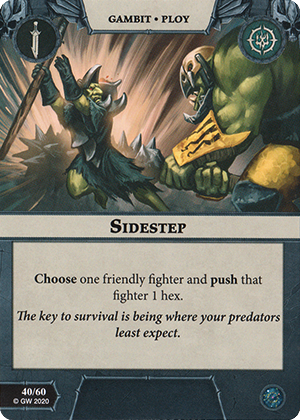 Sidestep] for two fighters. Sidestep is already good, double sidestep is even better!
[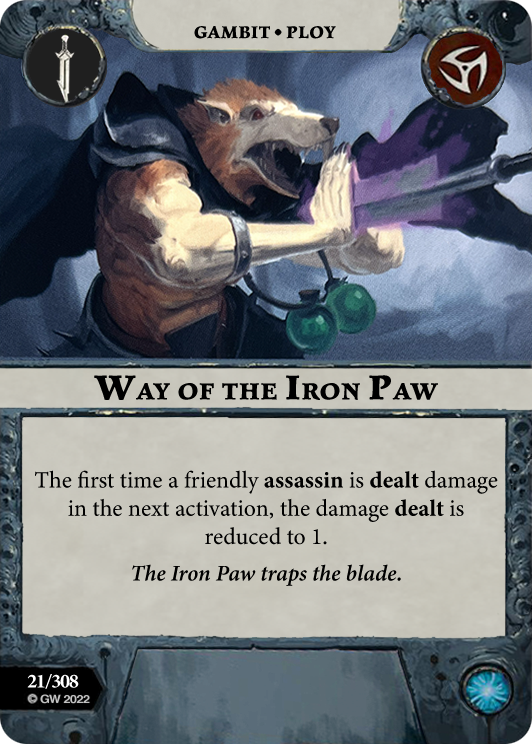 Way of the Iron Paw] and [
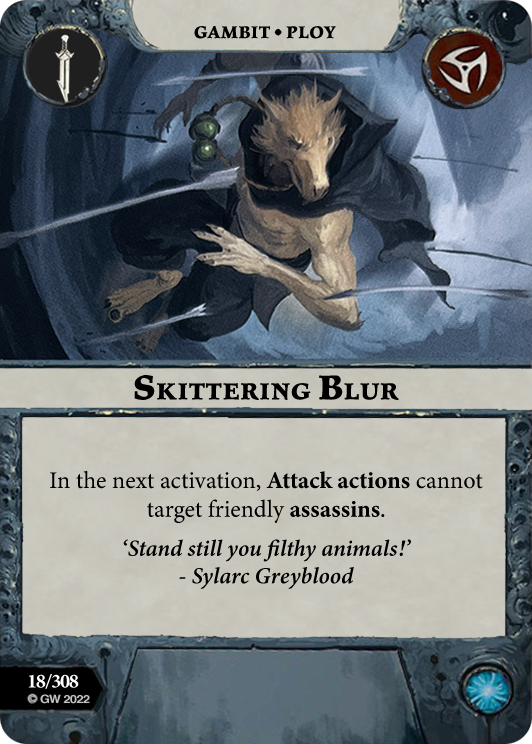 Skittering Blur] serve the same purpose. They keep [Padpaw]
 and [Skittershank]
 alive after you dive them deep into enemy territory.
Mentioned earlier [Suffocating Mists] helps score [Chum the waters] but can also be used to finish off enemy fighters. [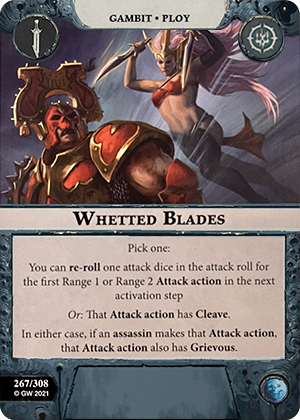 Whetted Blades] gives you cleave / reroll and grevious, giving you another shot to score [
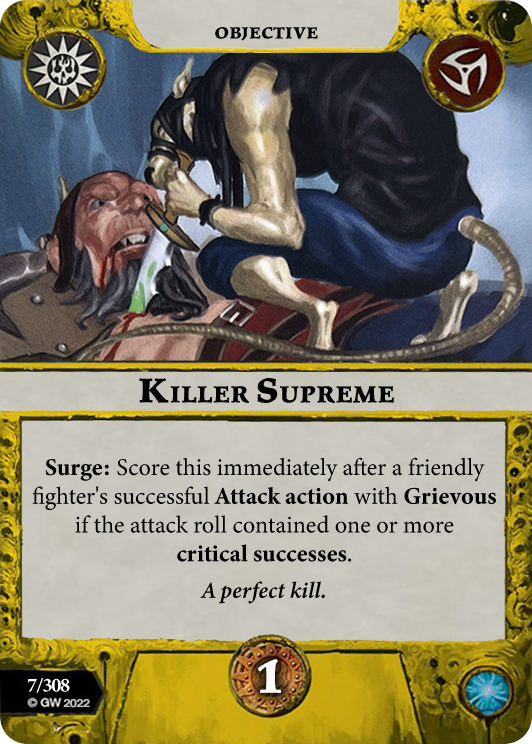 Killer Supreme].
[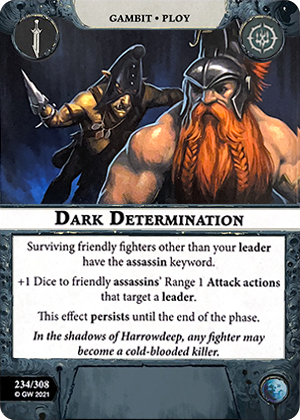 Dark Determination] makes everyone on your team into an Assassin as well as giving you extra dice when targeting their leader. Perfect card for this warband.
[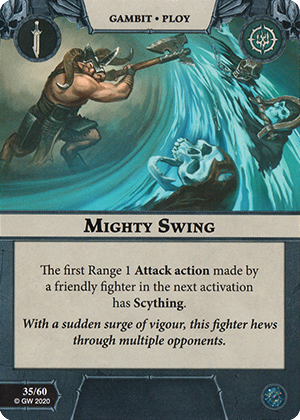 Mighty Swing] is to help break lines should your opponent decide to hide their leader and [
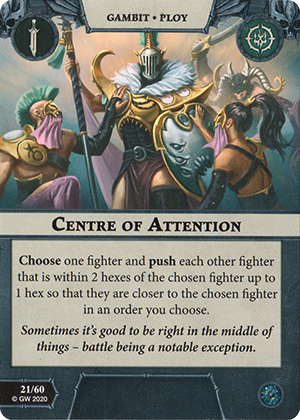 Centre of Attention] is useful for moving fighters around. I’d experiment to see which ones work for you, as you can run [
 Mirror Move] instead or switch it out for any other offensive card such as [
 Determined Effort].
[ Final Gambit] is for the crazy players. The sensible human part of me wants to switch it out for more push cards or extra dice, but there is an allure to possibly getting a free out of sequence charge action (or killing off your own fighters to add to the body count). If you’re not crazy enough to run this card, simply switch it out for another offensive card like [
 Ferocious Blow] or [
 King of the deeps]
[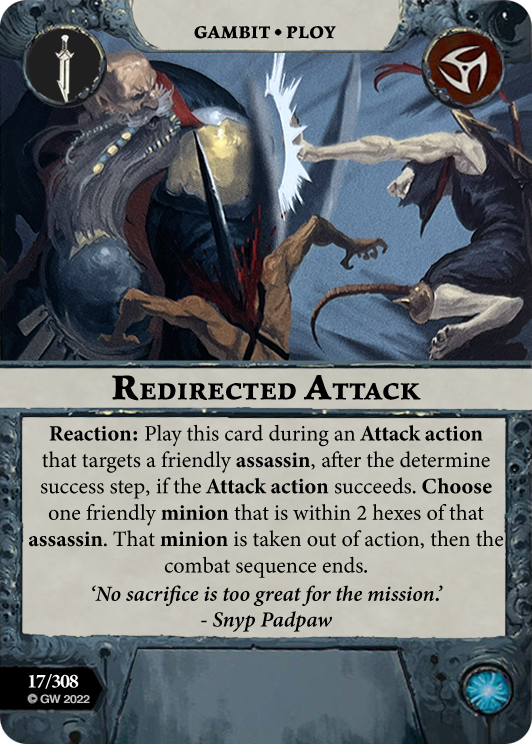 Redirected Attack] is not played here. We don’t need to protect our assasins because we will make our minions just as dangerous with a few upgrades.
Upgrades
The upgrades here are focused on two things: making our minions dangerous and making our assasins more dangerous.
[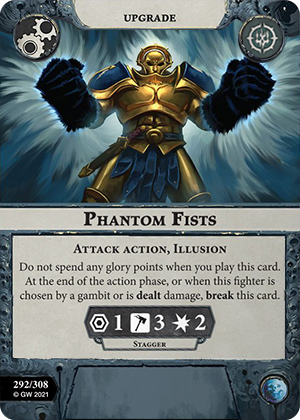 Phantom Fists] and [
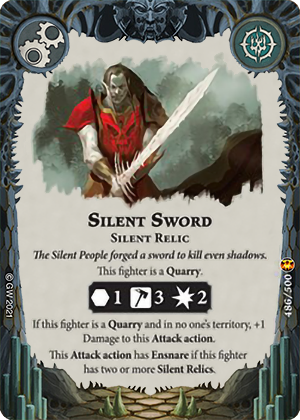 Silent Sword] are to help make your minions more lethal. I would consider adding in [
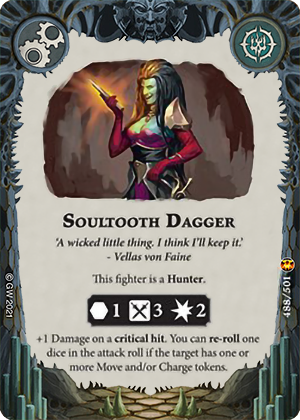 Soultooth Dagger] and switching out [
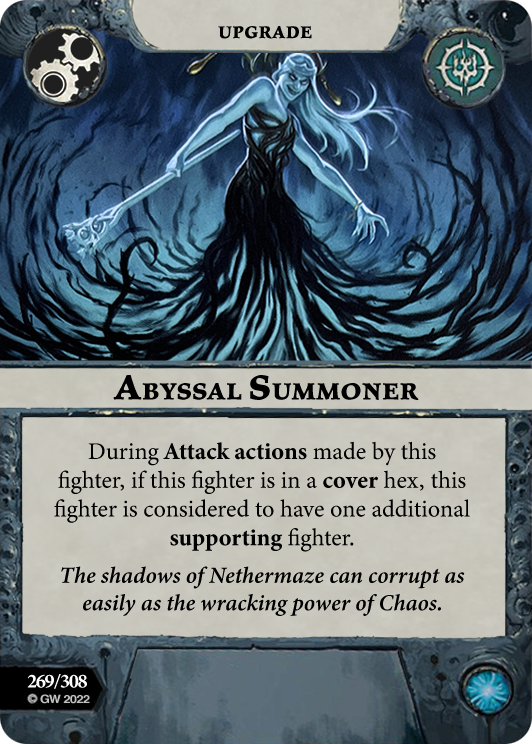 Abyssal Summoner] if you wanted to make sure your little rats can punch above their weight.
[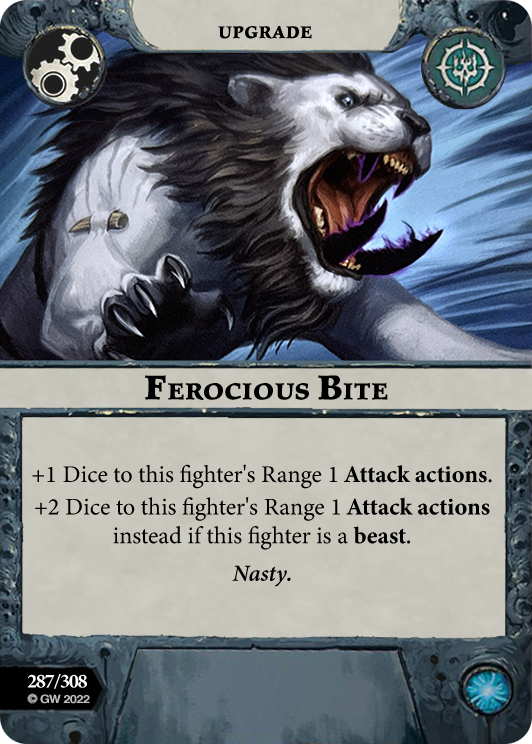 Ferocious Bite] is free dice. If you switched out [
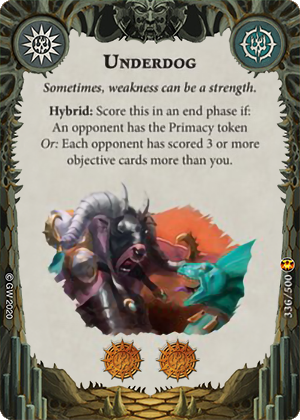 Underdog] for another end phase objective and freed a restricted slot, I would immediately slide in [
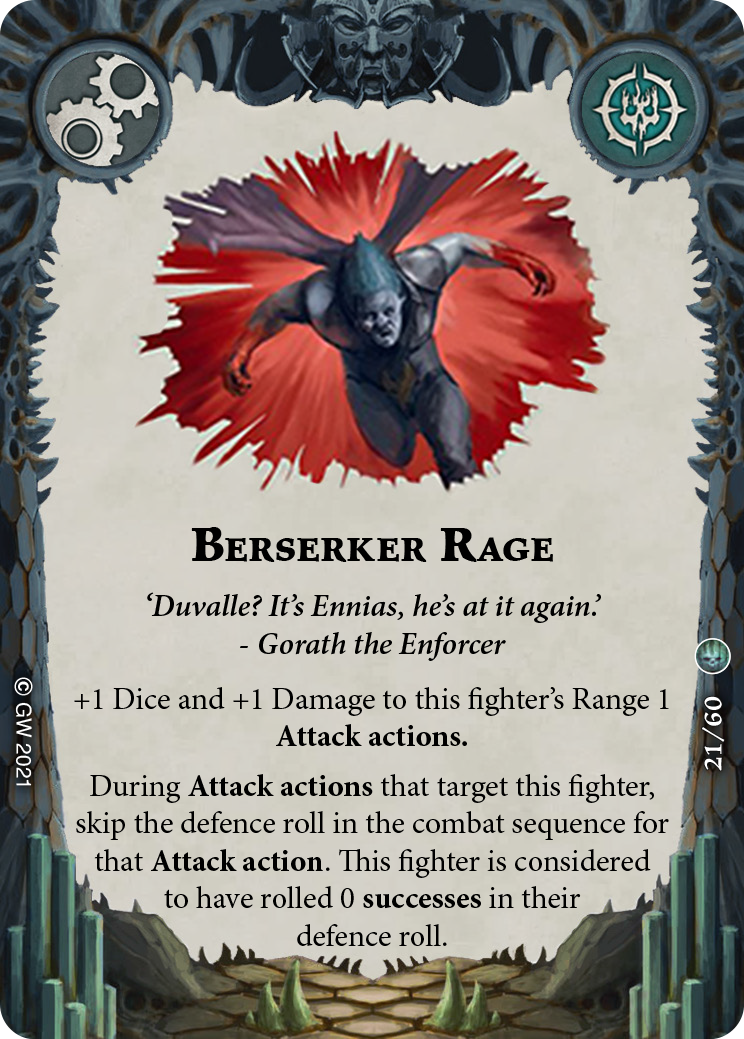 Berserker Rage] and take out one of the defensive upgrades.
The rest of the upgrades are fairly straightforward. Extra damage is important to keep the body counts high. [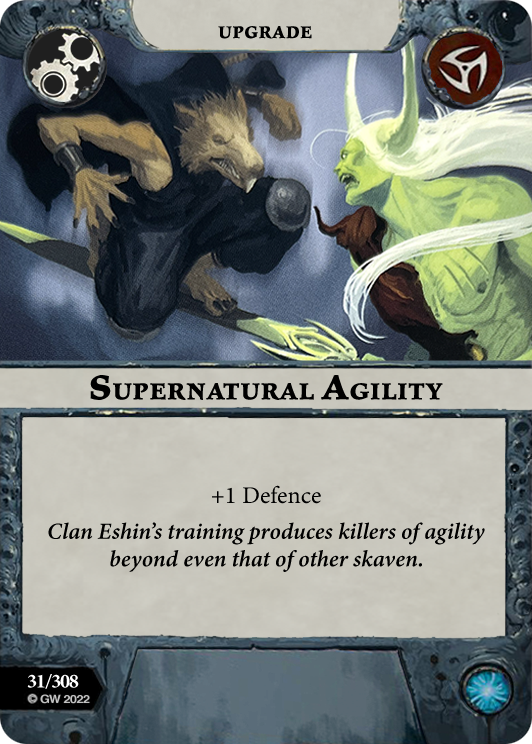 Supernatural Agility] and [
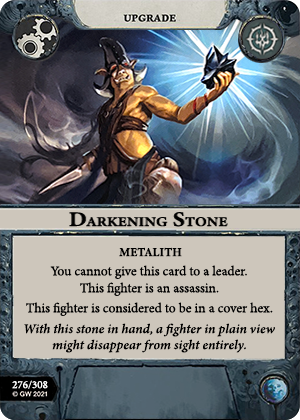 Darkening Stone] are to keep your fighters alive a bit longer, but if I was to switch out cards they would be the first to go. If players are running higher wound characters in your meta, I would suggest adding in [
 Savage Strength] to raise your lethality even further.

Mulligans / Do overs?
The answer is you don’t unless [Collateral Damage] or [Pure Carnage] is in your opening hand. You don’t wanna risk drawing into them using a mulligan.
—
Remember treat your fighters like disposable tissues! They are all expendable in your mission to take out the enemy leader. Kill-kill for Clan Eshin!